
Sanctum: Courageous Wit is a two-player puzzle dungeon in Zephyrus Landbridge built around Pawney's grappling hook and Cozite's mud ball and flight. This walkthrough covers where it sits on the map, how matchmaking pairs you up, how to work through the platform puzzle, where all 5 chests are, and how to get out of the bug that can lock the run.
Where to Find Sanctum: Courageous Wit
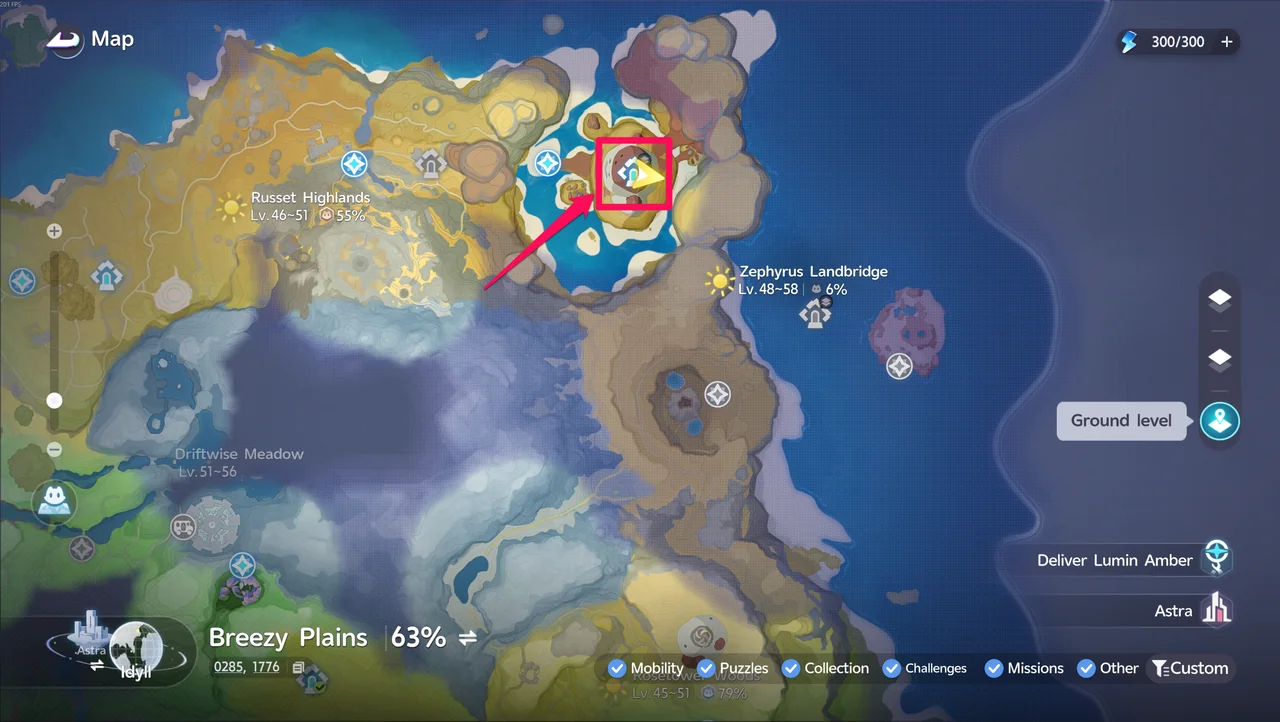
Sanctum: Courageous Wit sits in the northwestern part of Zephyrus Landbridge.
Objective and First Clear Rewards
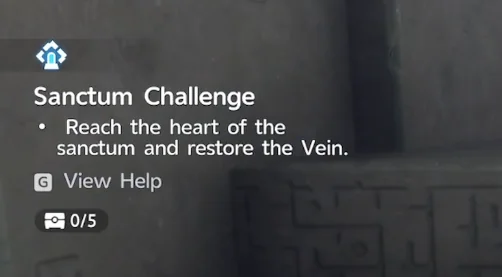
The objective is a single line on the Sanctum Challenge panel: reach the heart of the sanctum and restore the Vein. Tucked around that route are 5 chests, and the same panel shows how many of them you have opened.
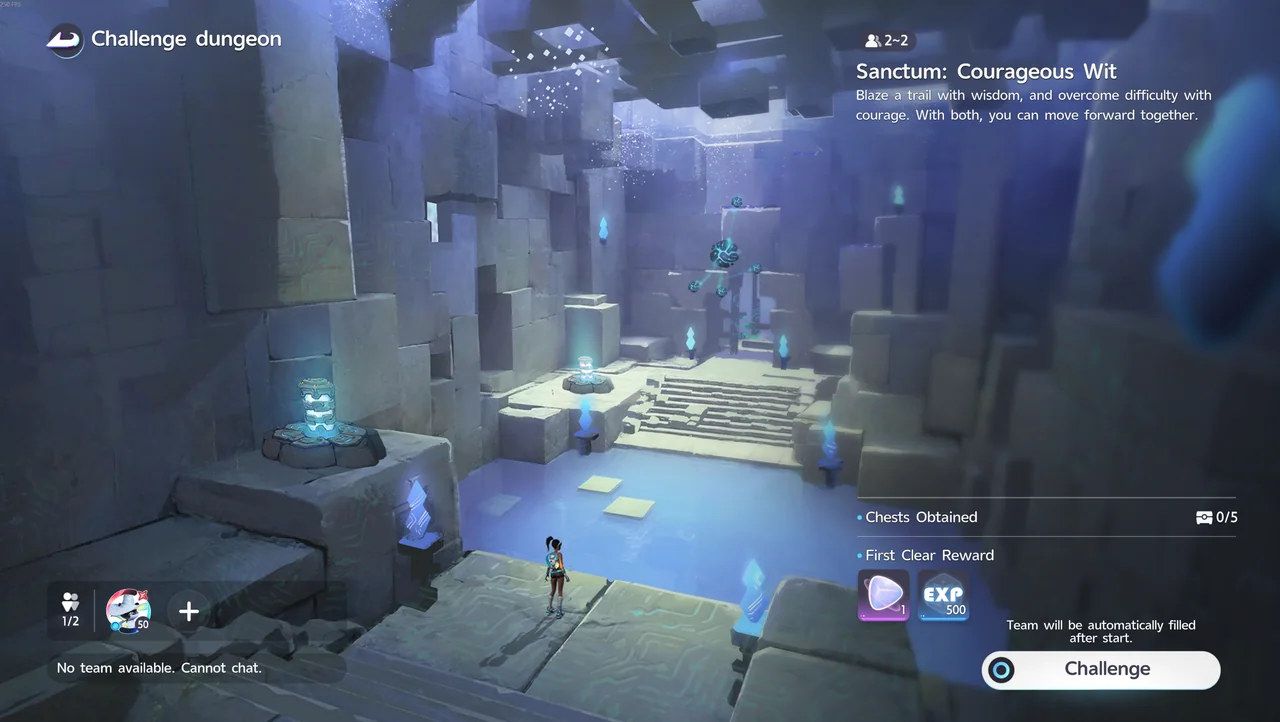
Courageous Wit needs 2 players to clear, so there is no solo route into it. The first clear pays out Lumin Amber x1 and 500 Character EXP.
Pairing Up for the Duo Sanctum
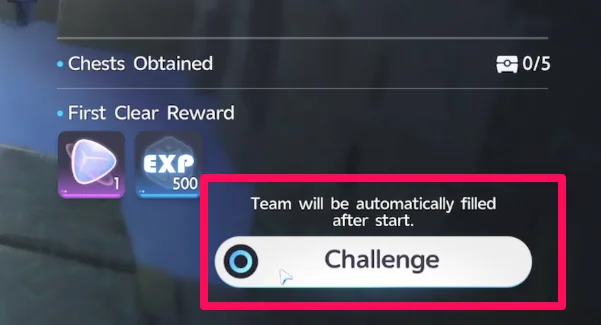
Courageous Wit is a Duo Sanctum, but you do not have to bring a friend. If you are not already in a party when you select Challenge, the game fills the empty slot by matching you with another player.
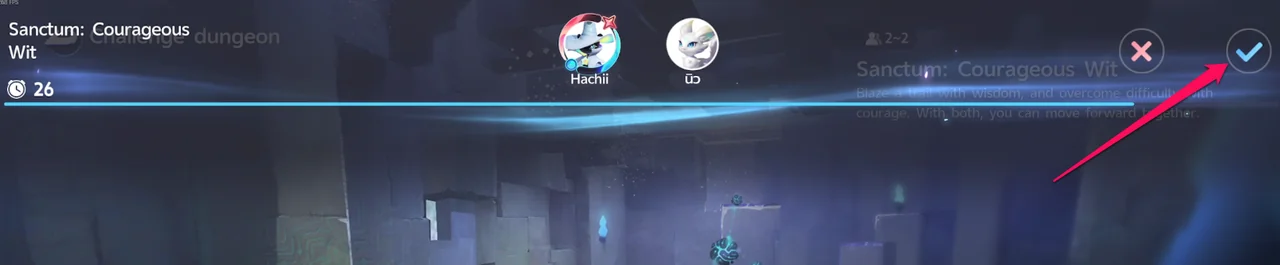
Once matchmaking finds your partner, press the check icon to confirm. That starts the sanctum.
How to Solve the Platform Puzzle
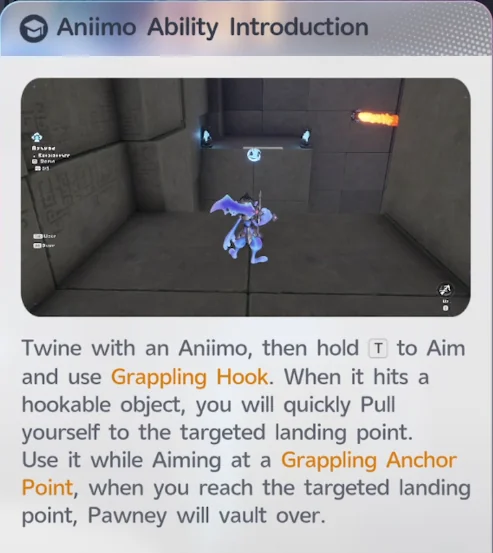
Which of the sanctum Aniimo you Twine with decides the tool you bring to the puzzle. If you took Pawney, Twine with it, hold T to aim, and use the Grappling Hook. Aim at a Grappling Anchor Point and Pawney vaults over the gap when it lands.
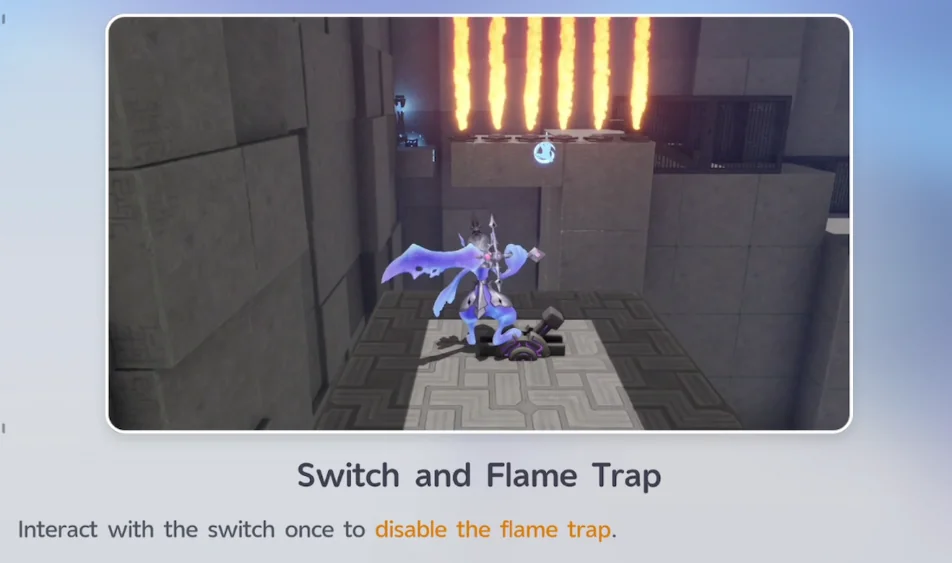
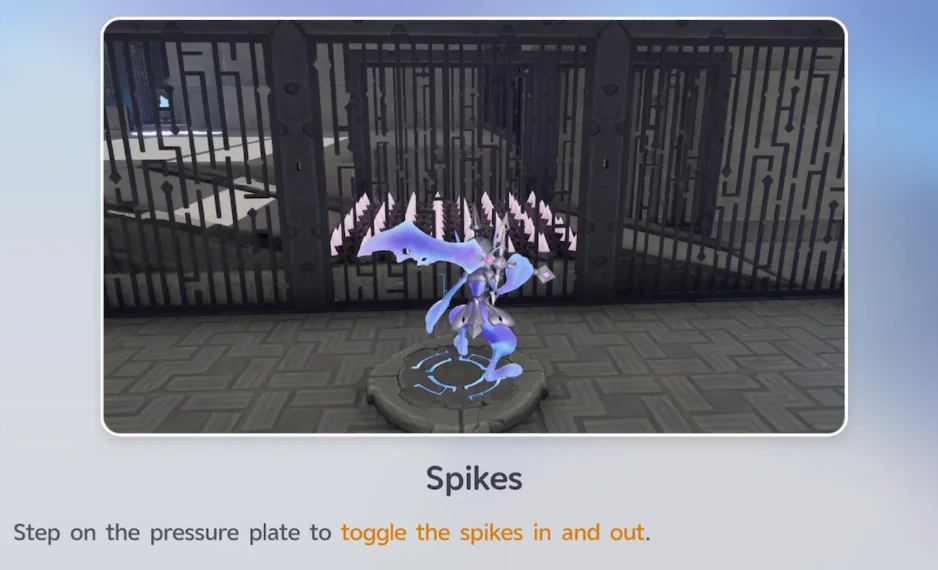
Pawney also deals with the traps. Interact with a switch once to disable the flame trap. Step on a pressure plate to toggle the spikes in and out.
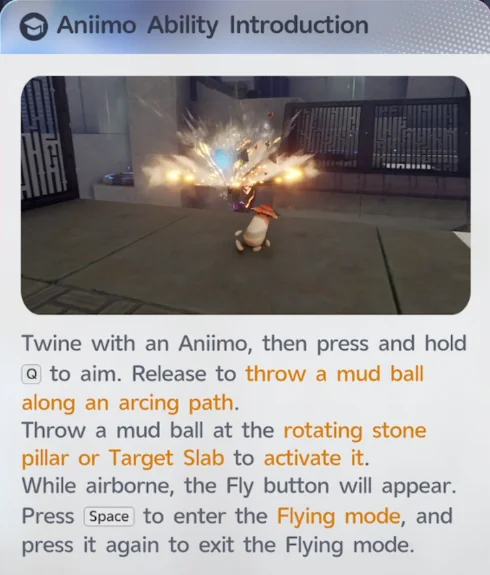
If you took Cozite, Twine with it, then press and hold Q to aim and release to throw a mud ball along an arcing path. A mud ball is what activates a Rotating Pillar or a Target Slab.
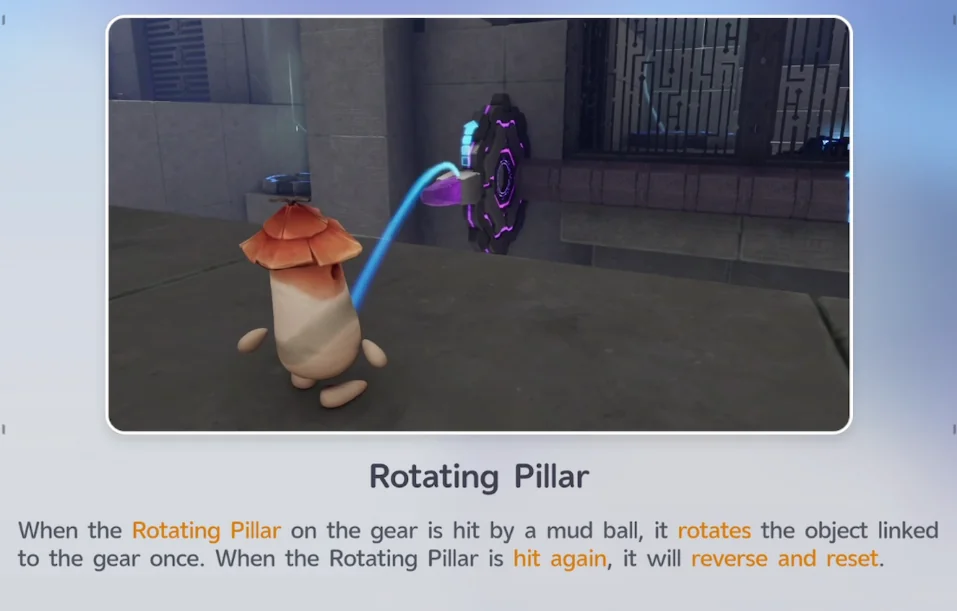
Rotating Pillars are worth understanding before you start throwing. A mud ball turns the mechanism linked to the pillar's gear by one step. Hitting the same pillar again does not turn it further: it reverses and resets it.
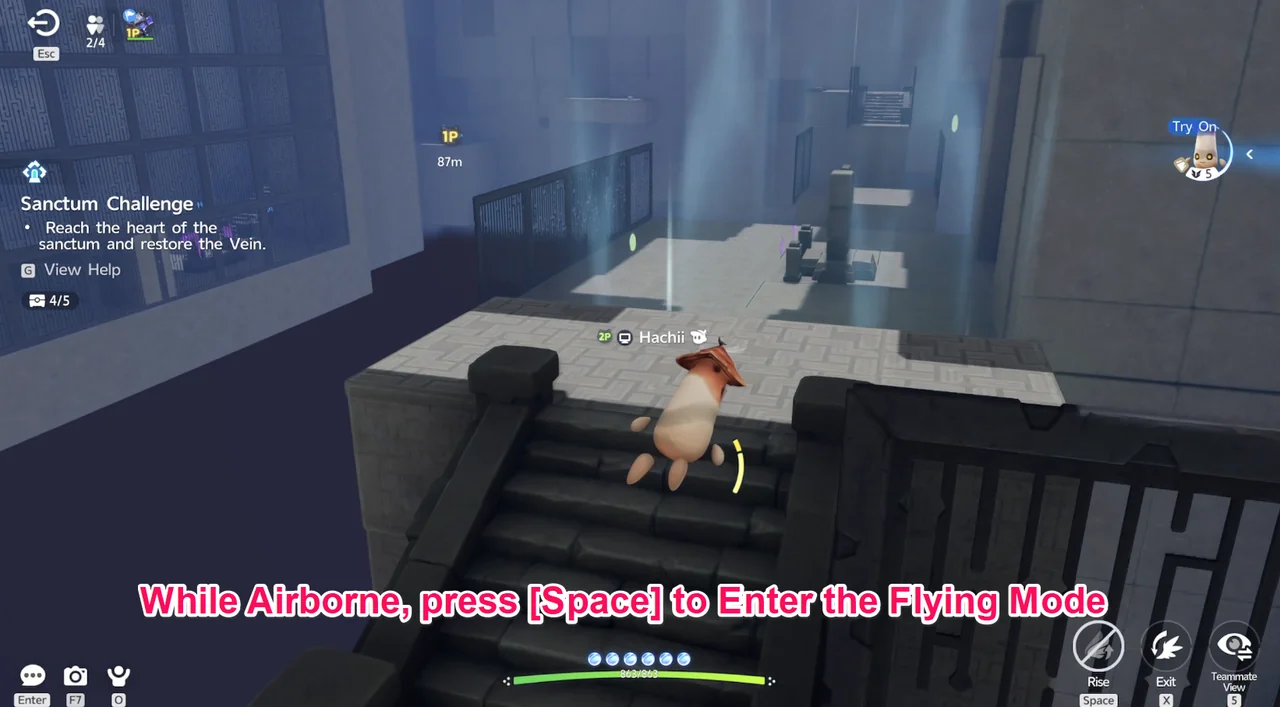
Cozite can also move between platforms on its own. While airborne, press Space to enter Flying mode. The flight controls then appear along the bottom of the screen with Rise on Space and Exit on X, and X is the one that drops you back down.
All 5 Chest Locations
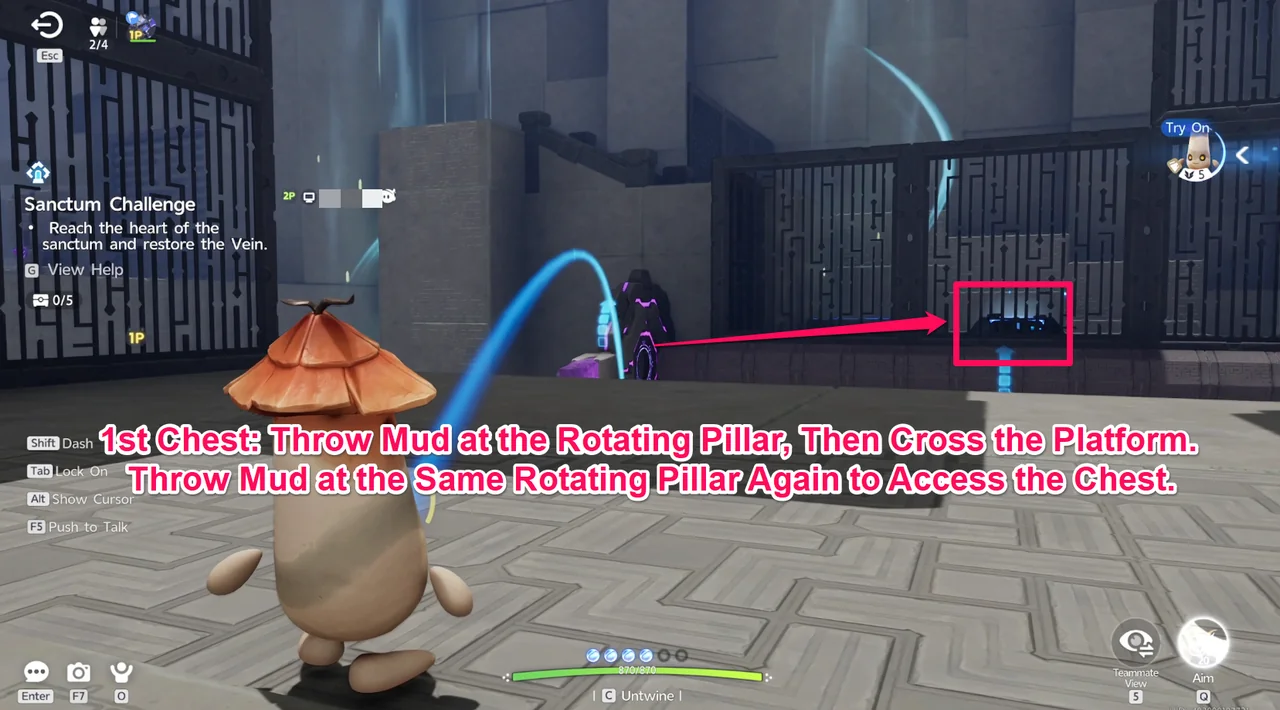
- Chest 1: beyond the Rotating Pillar platform
Throw a mud ball at the Rotating Pillar and cross the platform it moves. Then throw a second mud ball at that same pillar to open the way to the chest.
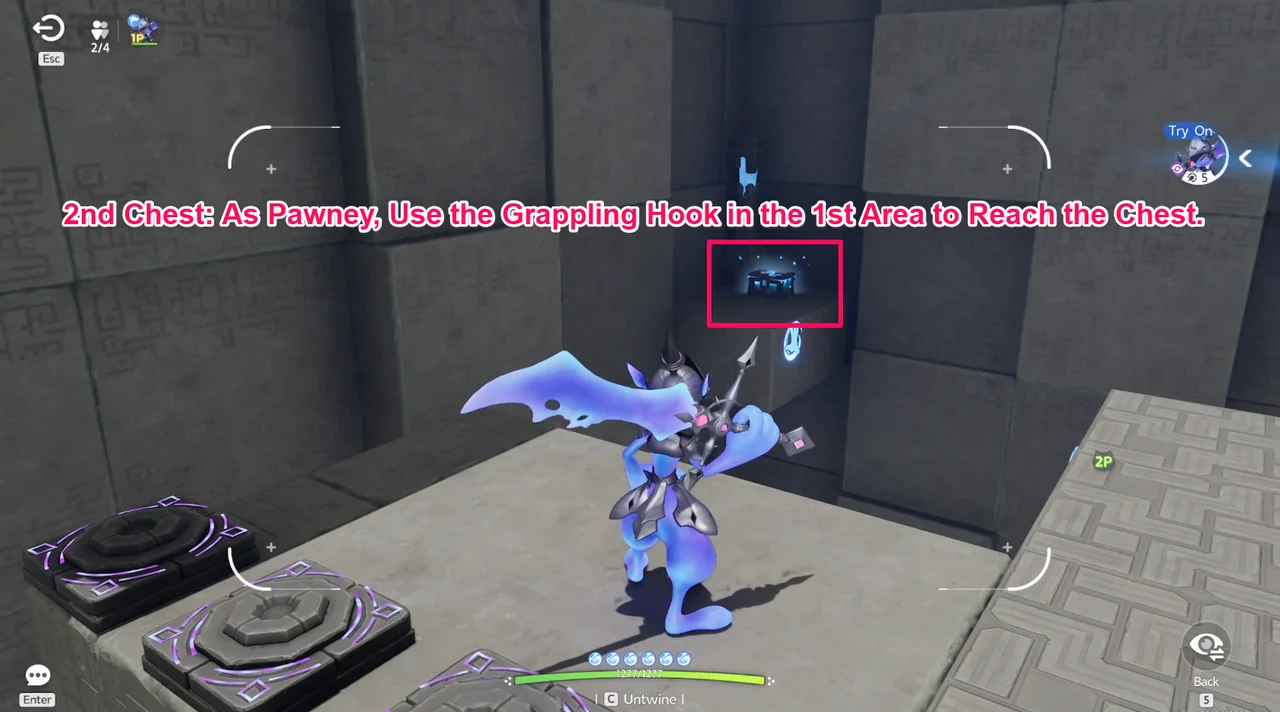
- Chest 2: in the first area, with the Grappling Hook
This one is Pawney's. Use the Grappling Hook in the first area to reach the chest.
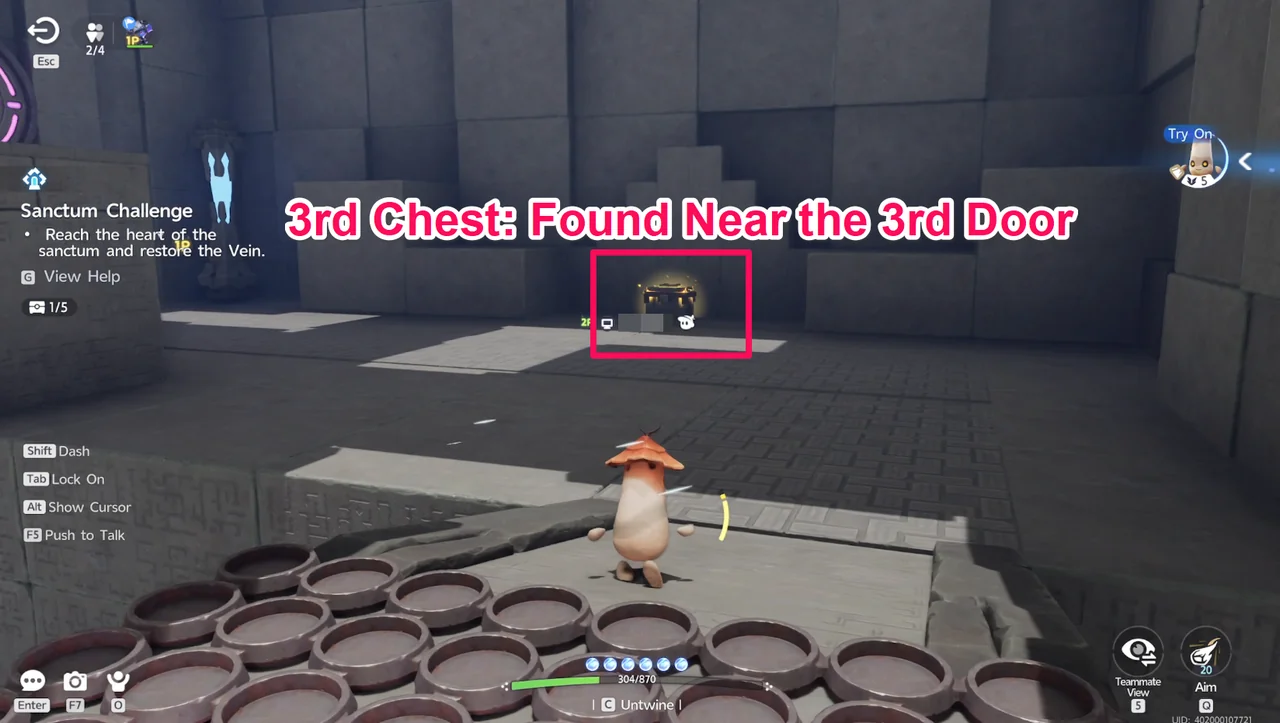
- Chest 3: near the third door
Chest 3 is found near the third door.
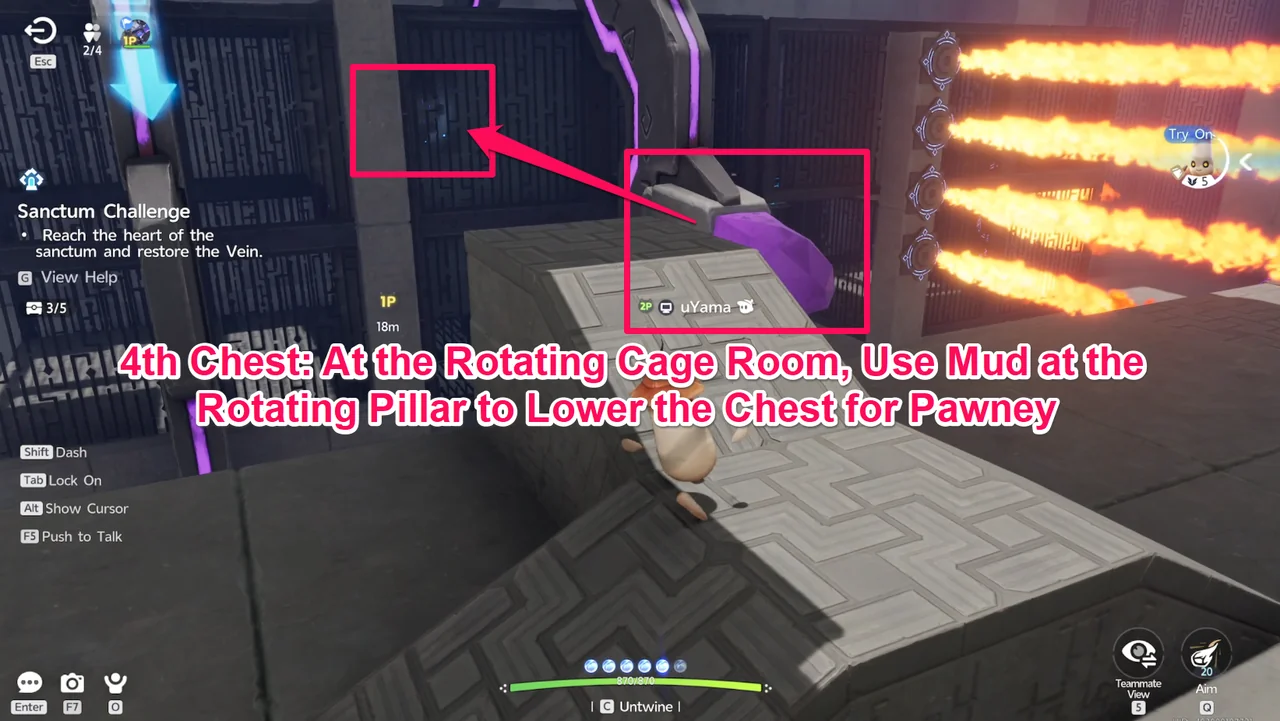
- Chest 4: in the Rotating Cage room
In the Rotating Cage room, hit the Rotating Pillar with a mud ball to lower the chest to where Pawney can reach it.
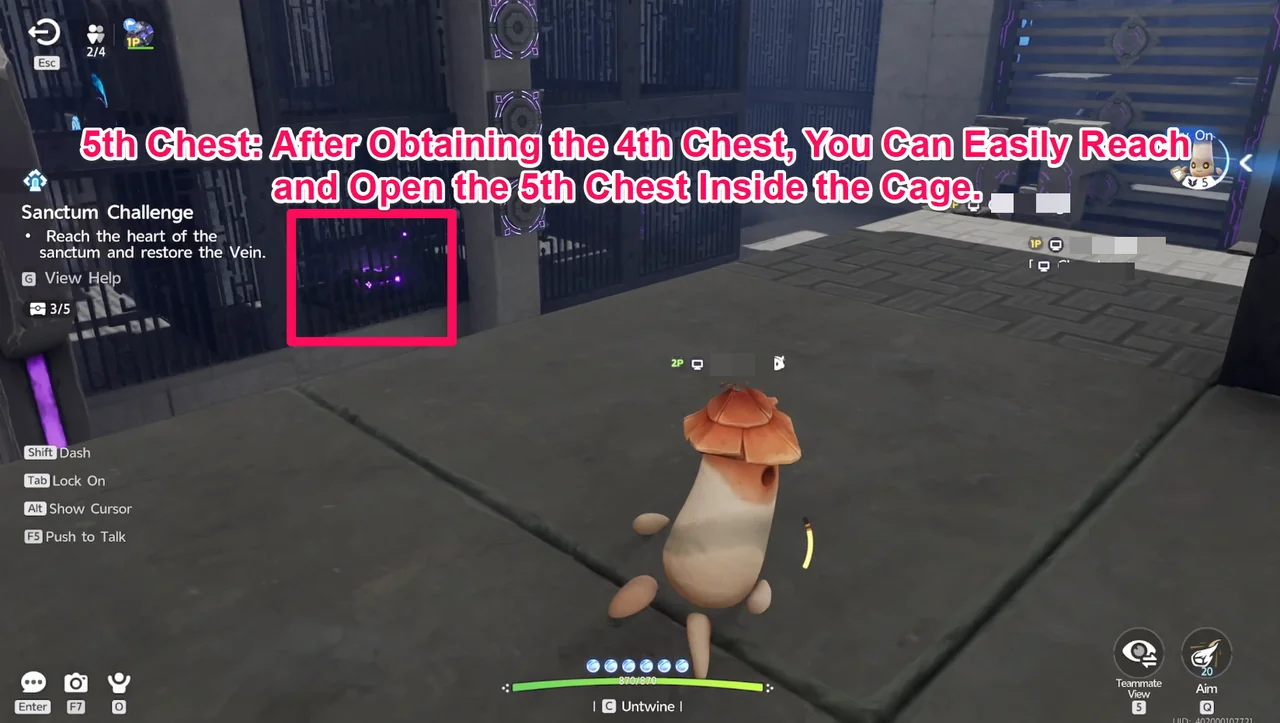
- Chest 5: inside the cage
Once you have chest 4, the fifth is easy to reach and open inside the cage.
Restoring the Vein and Replaying the Run
The run closes at the Vein: the 2 players restore it together to complete the sanctum.
You can rerun Courageous Wit as many times as you need.
If You Cannot Unseal the Sanctum Aniimo
One bug can strand a run before it starts. After the matchmaking queue hands you into Courageous Wit, your own Aniimo can come in with you, and while they are there the sanctum's sealed Aniimo cannot be unsealed. Without it there is no way to finish the sanctum.
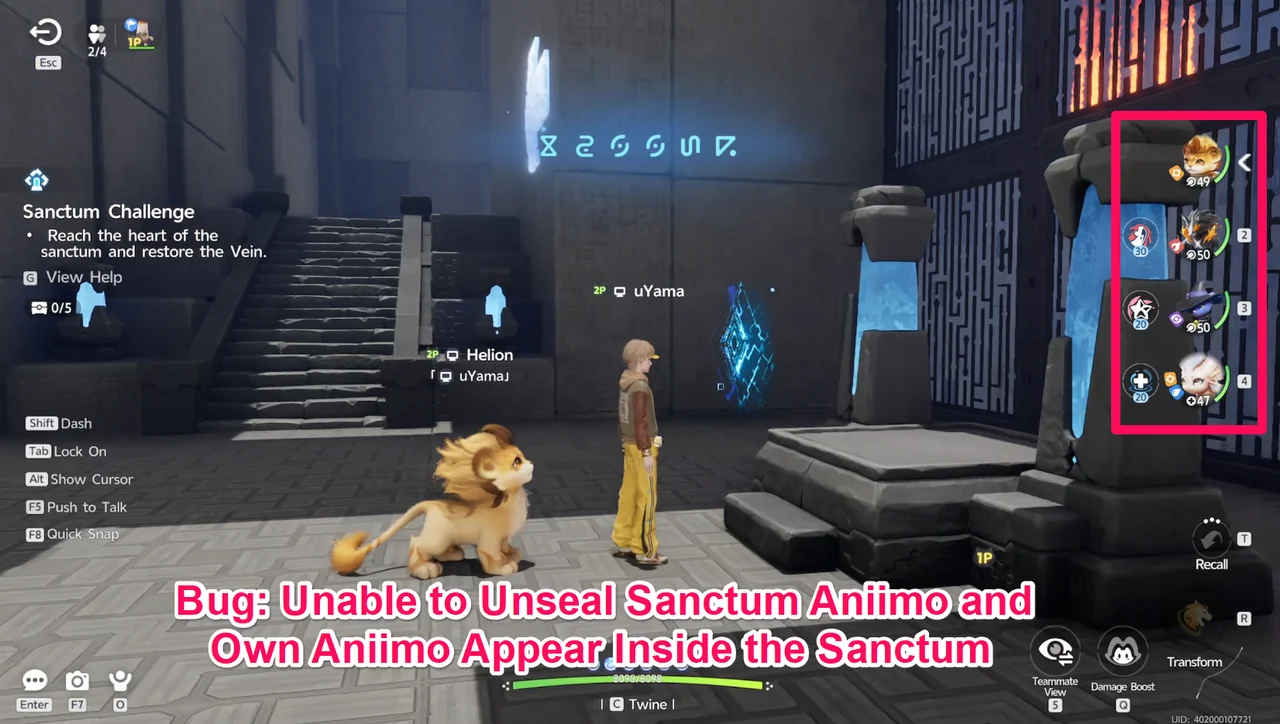
The usual fixes did not help here. Restarting the game left it in place, the Unstuck function did nothing, and leaving Courageous Wit and coming back in made no difference either. What did clear it was entering any solo sanctum and then leaving it again, after which Courageous Wit could be entered normally.
How to Find, Unlock, and Clear a Sanctum · Sanctum Challenge: Lightning Gale · Lumin Amber: Location Map, Uses & Branch Rewards · Aniimo Index · All Guides