The Alchemist's Mortar Walkthrough Guide
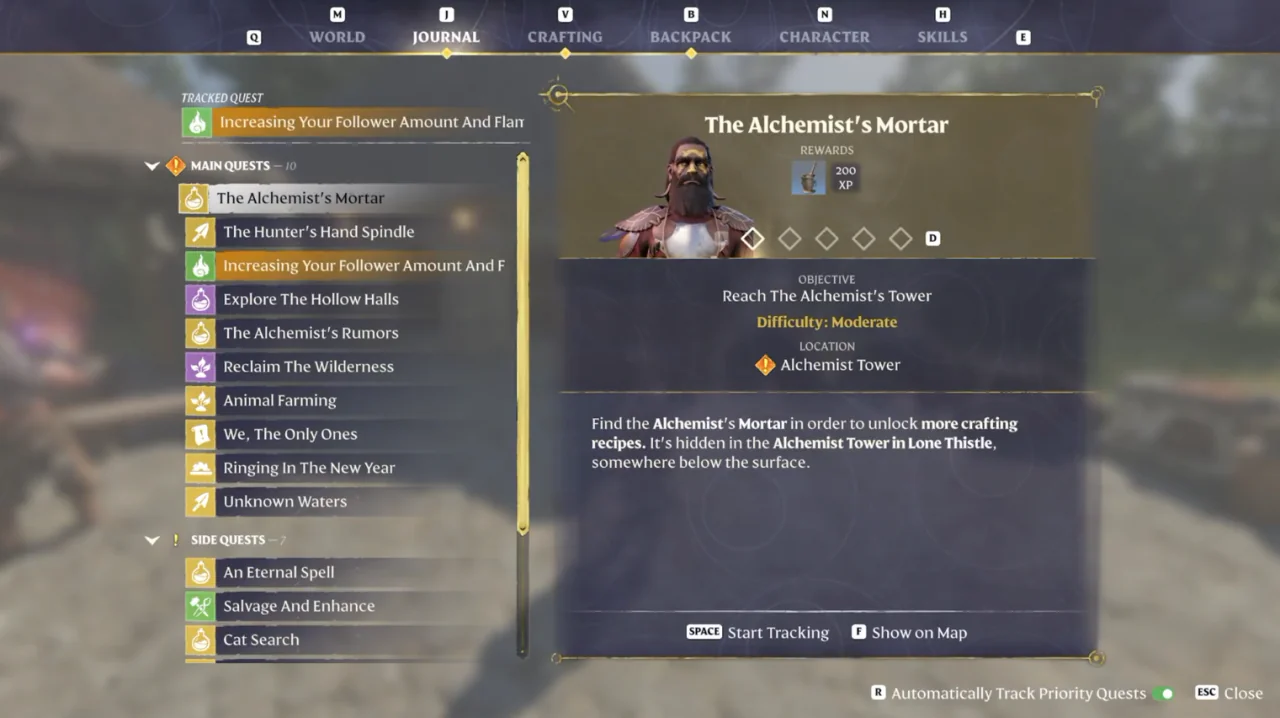
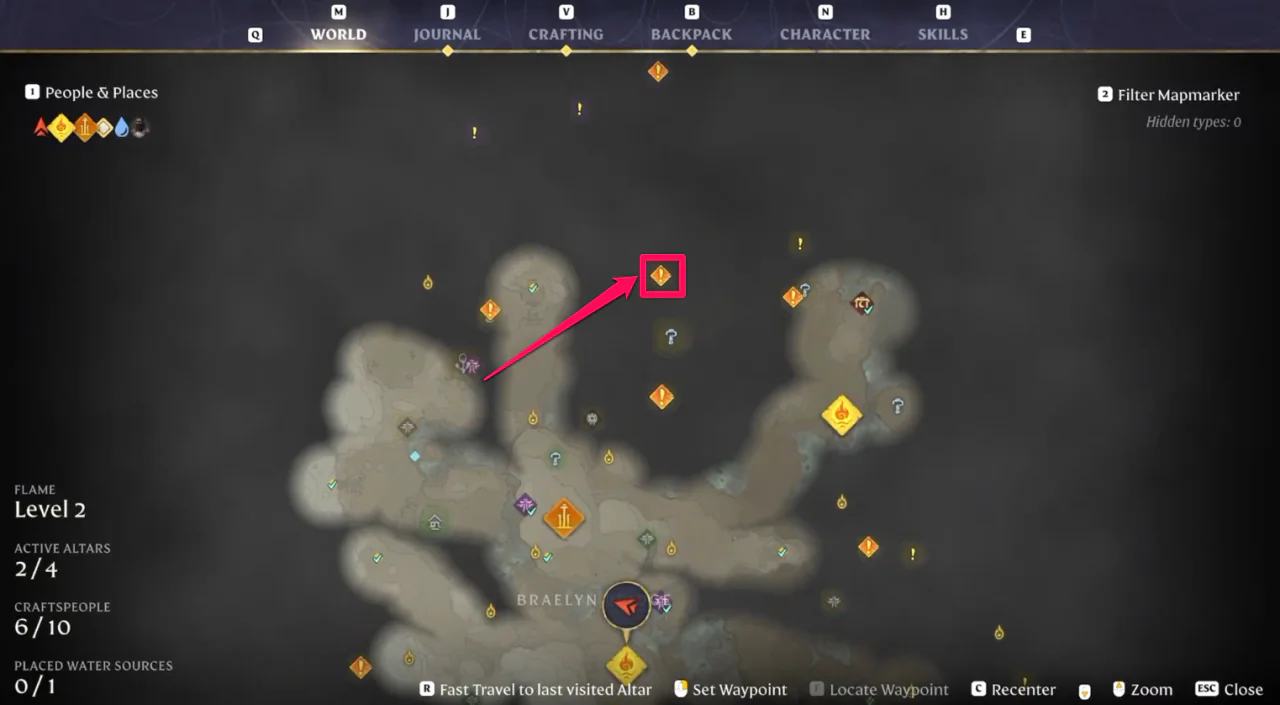
How to complete The Alchemist's Mortar quest? Head to the Alchemist Tower north of Braelyn Bridge, press the button upstairs, then take the Mortar to your base.
 GameWith Enshrouded EditorialGuide review teamGame version: Update 8 / v0.9.1.2
This page reflects Update 8 / v0.9.1.2. The game is now on Version 1.0, so some details may have changed.
How to Complete The Alchemist's Mortar
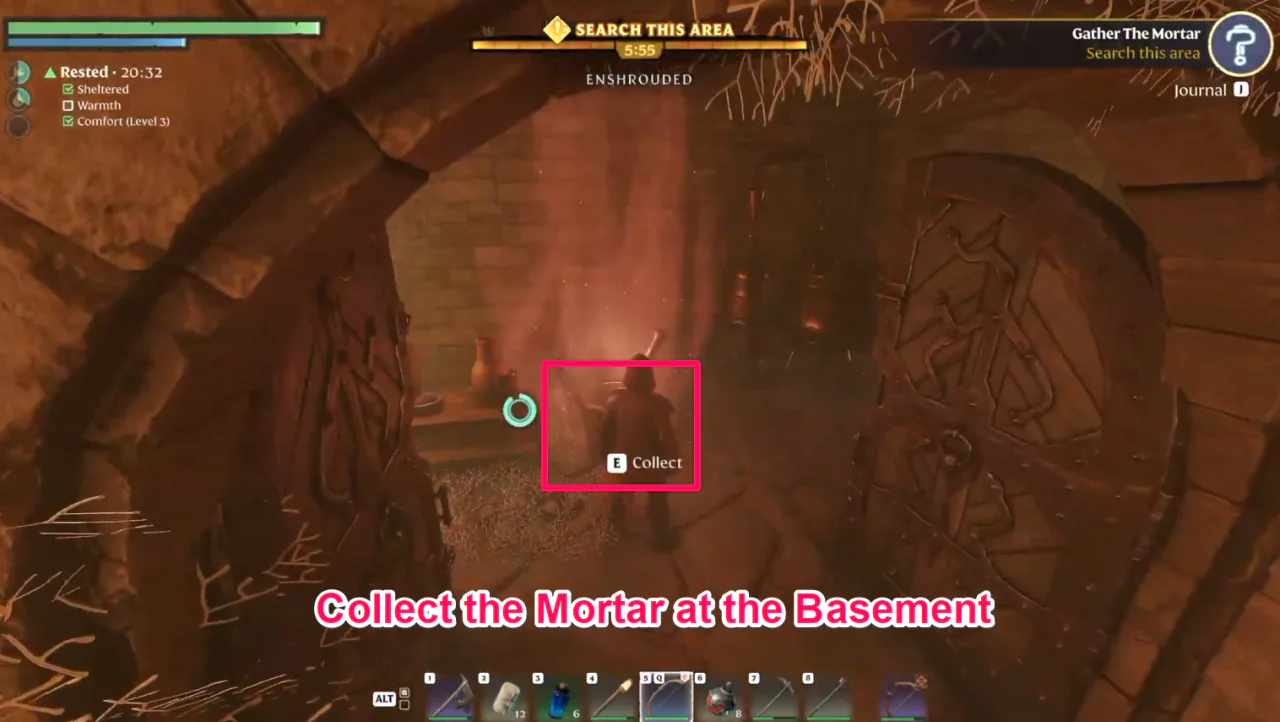
The Alchemist's Mortar is a main quest with five objectives: Reach The Alchemist's Tower, Search The Alchemist's Basement, Find A Way Inside The Laboratory, Gather The Mortar and Place The Mortar. The Journal says to find the Alchemist's Mortar to unlock more crafting recipes, and that it is hidden in Alchemist Tower in Lone Thistle, somewhere below the surface.
- 1
Reach The Alchemist's Tower
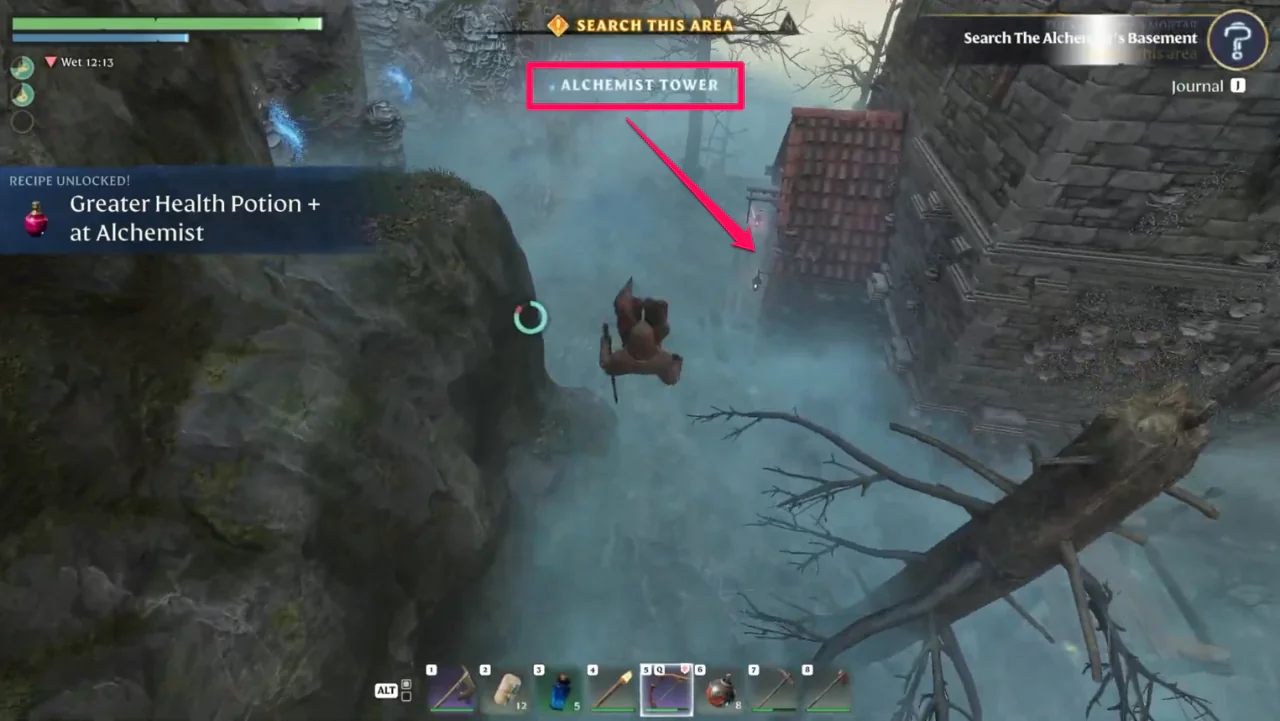
Head to Alchemist Tower north of Braelyn Bridge. The ground around the tower is in the Shroud.
- 2
Search The Alchemist's Basement
Go into the tower and down to the basement.
- 3
Find A Way Inside The Laboratory
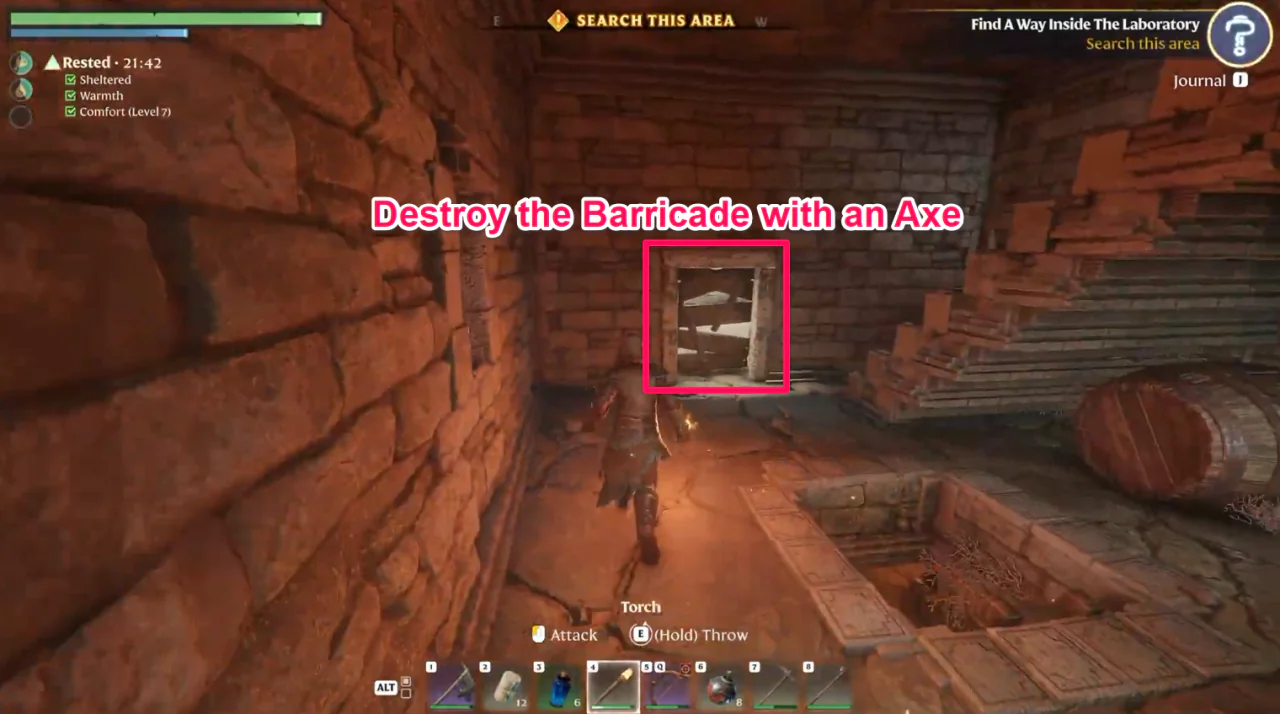
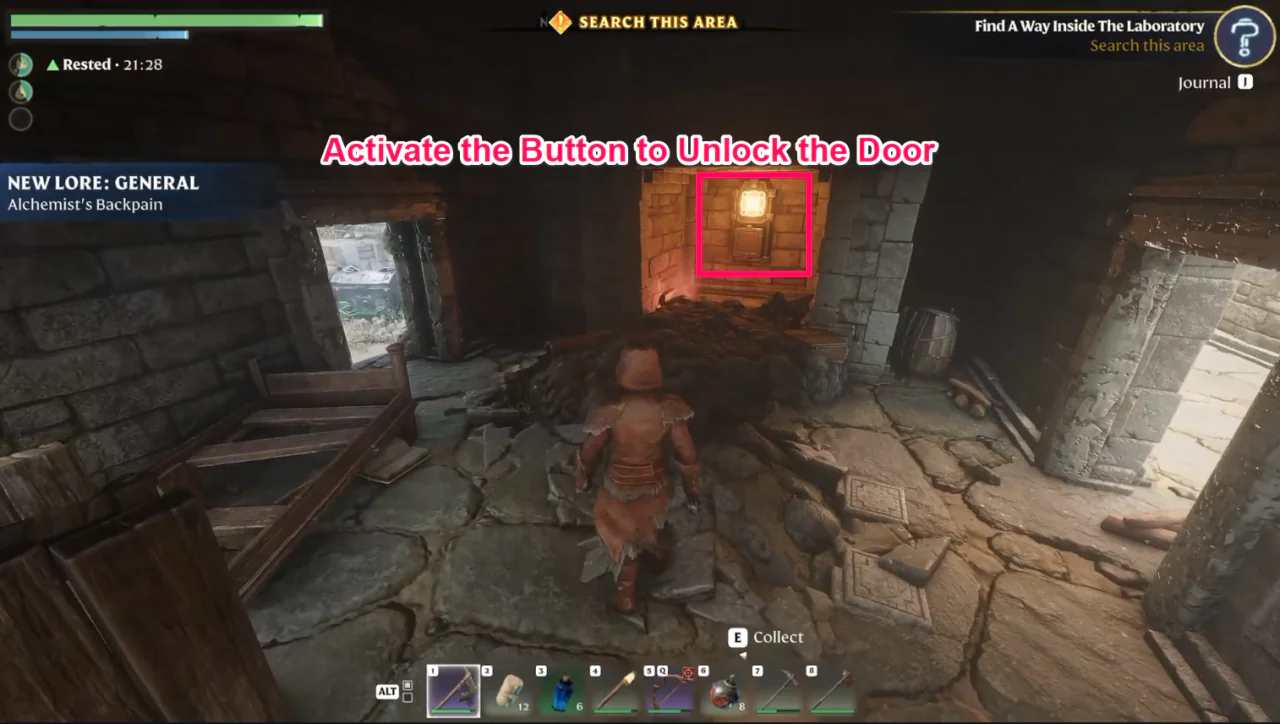
The laboratory door in the basement is locked. Go up the tower, break the boards blocking a doorway to get out to the balcony, break the boards on the second doorway on the balcony, and press the button in the small room behind it.
- 4
Gather The Mortar
Go back down to the basement and collect the Mortar in the laboratory.
- 5
Place The Mortar
Place the Mortar at your base. In our playthrough, the quest was completed right after we placed it.
| What to know | Detail |
|---|---|
| Quest type | Main quest |
| Location shown in the Journal at the start | Alchemist Tower |
| Difficulty shown in the Journal | Moderate |
| Rewards listed in the Journal | 200 XP and a mortar icon |
| XP shown on completion in our playthrough | XP +400 |
The Journal lists 200 XP as the reward, but in our playthrough, Quest reward XP +400 appeared when the quest was completed.
Where Is the Alchemist Tower
On the map, the marker for The Alchemist's Mortar is north of Braelyn Bridge.
In our playthrough, there was a Flame Shrine on the cliff above the tower, outside the Shroud, and RECIPE UNLOCKED! Greater Health Potion + at Alchemist appeared there.
The ground around Alchemist Tower is in the Shroud. In our playthrough, the objective changed to Search The Alchemist's Basement while we were dropping from the cliff to the foot of the tower, and ENSHROUDED appeared with the Shroud timer when we landed.
In our playthrough, we fought two enemies outside the tower entrance and smaller enemies on the entrance floor.
How to Unlock the Laboratory Door in the Basement
In our playthrough, the Journal we opened inside the tower showed the location Alchemist Tower Search Area, with a description saying you've reached the Alchemist's tower and should search his basement to find his laboratory.
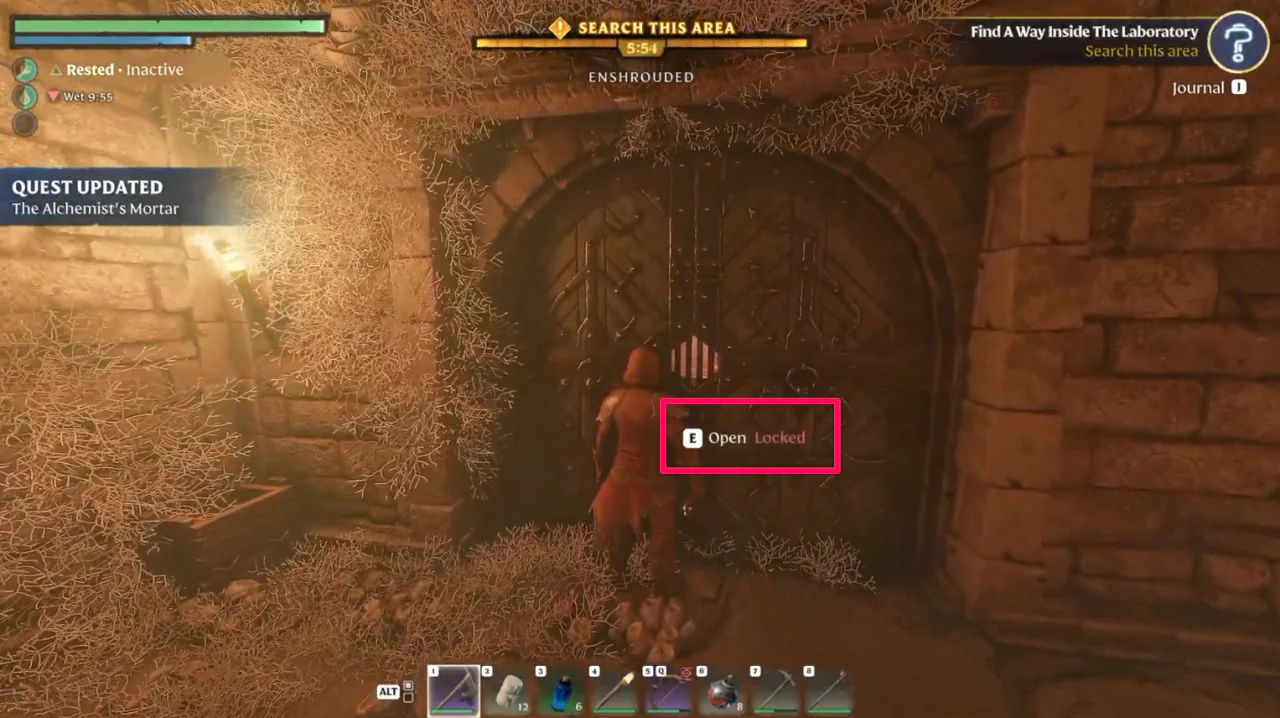
The basement is in the Shroud. When you reach it, the objective changes to Find A Way Inside The Laboratory. The double doors of the laboratory show Locked and do not open.
The upper floors of the tower are outside the Shroud. In our playthrough, the Shroud timer filled back up when we went upstairs.
- 1
Go up the tower
In our playthrough, we went outside once on the way up from the basement, came back in through another doorway, climbed some stone stairs, and then went up a ladder to the floor with the barricaded doorway.
- 2
Break the barricades
Break the boards blocking the doorway on the upper floor with an axe to get out to the balcony. Break the boards on the second doorway on the balcony as well to enter the small room with the button.
- 3
Press the button
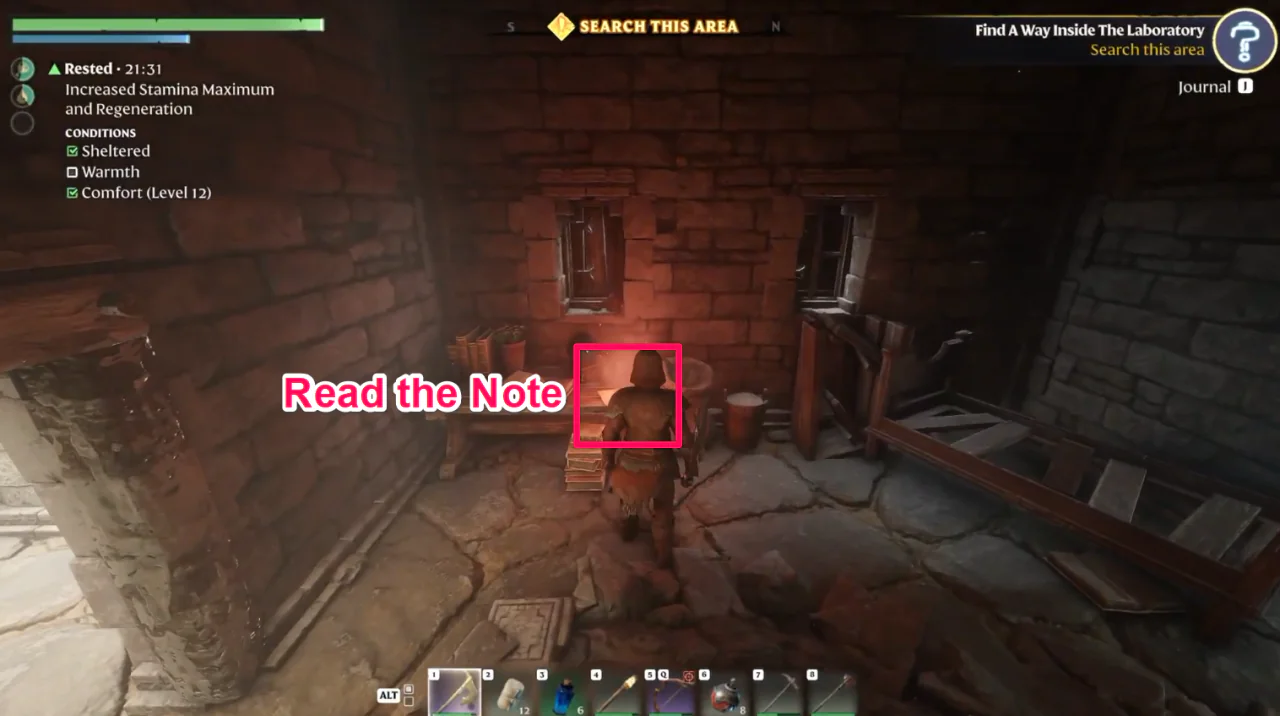
In the small room, a glowing button is in a recess on the side opposite the desk with the glowing note. Pressing it changes the objective to Gather The Mortar, and DOOR OPENED appears.
The desk in the small room has a note glowing red. Reading it shows a NEW LORE notice for Alchemist's Backpain. In our playthrough, the objective did not change when we read it.
Where to Find the Mortar and How to Place It
In our playthrough, we went back to a lower floor and dropped through a square opening in the floor to the basement. When we selected Collect inside the opened laboratory, SPECIAL ITEM ACQUIRED! MORTAR and RECIPE UNLOCKED! Wisp of Light (+14 more) at Alchemist appeared, and the objective changed to Place The Mortar.
The Mortar is a piece of furniture. Put it in your action bar and select it to show Place and Rotate 90°.
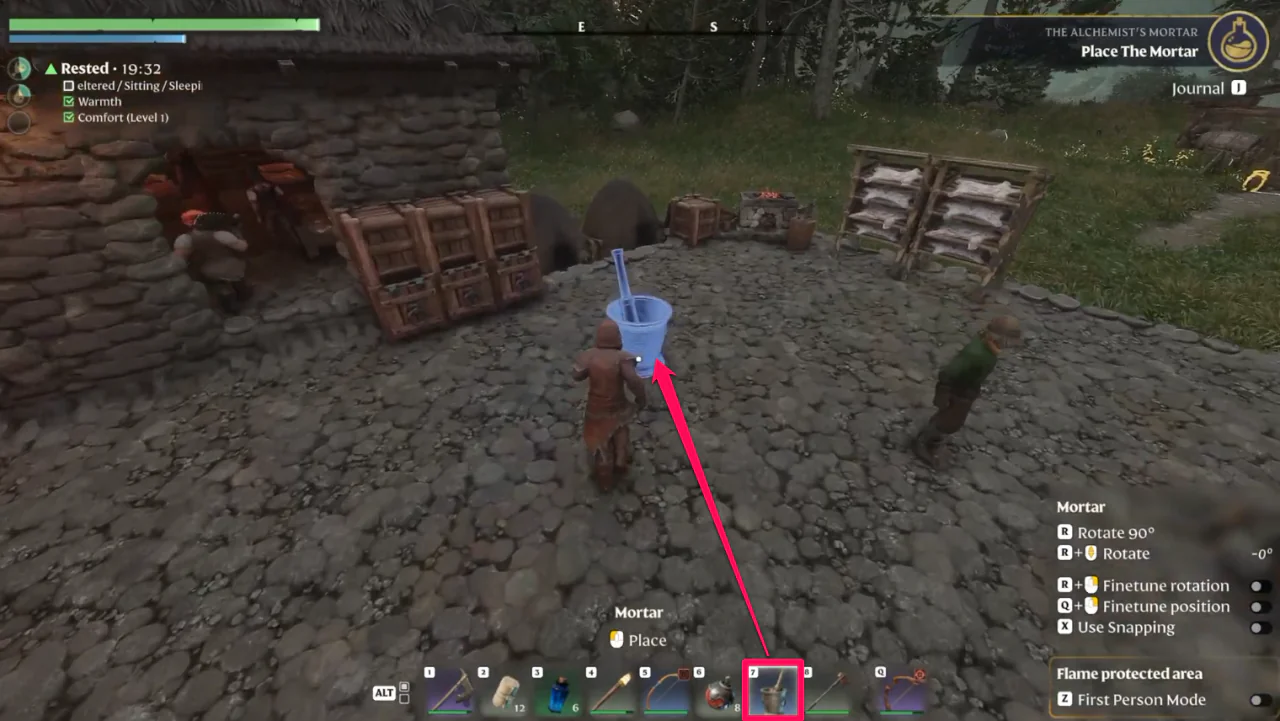
In our playthrough, we fast traveled to our base and placed the Mortar. Quest reward XP +400 appeared right after we placed it, followed by QUEST COMPLETED! The Alchemist's Mortar, and the tracked quest changed to The Hunter's Hand Spindle.