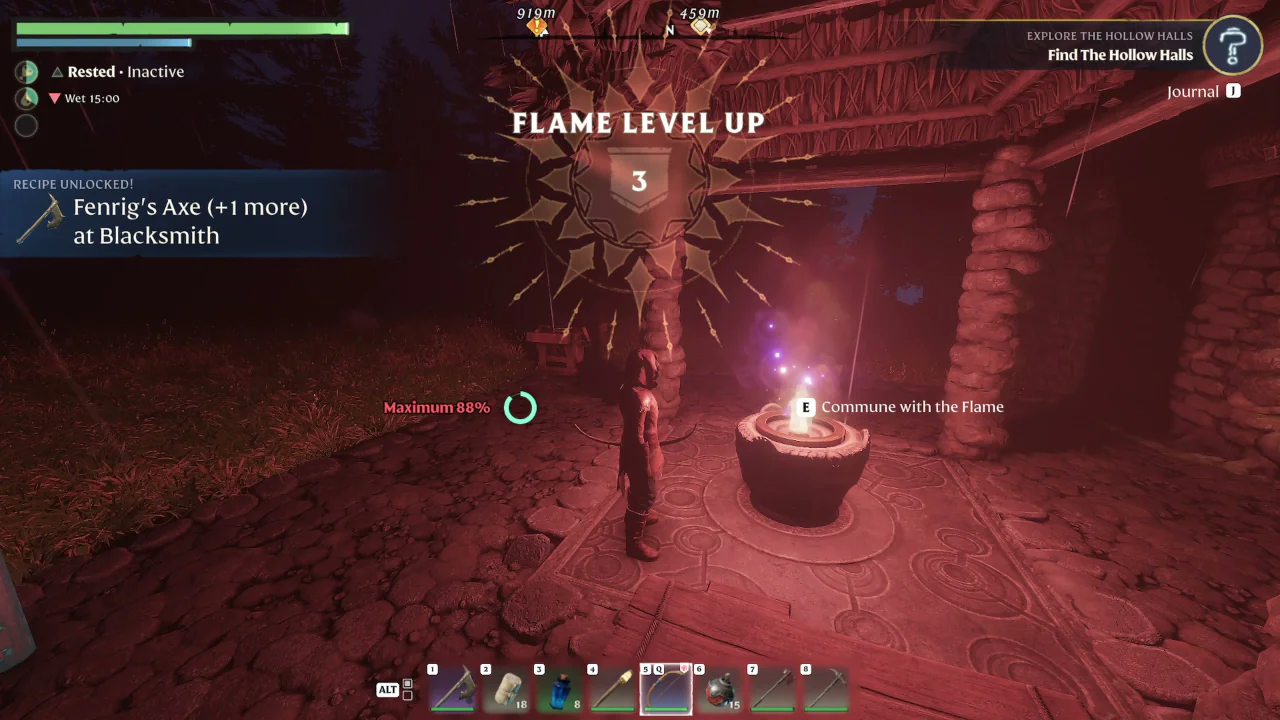
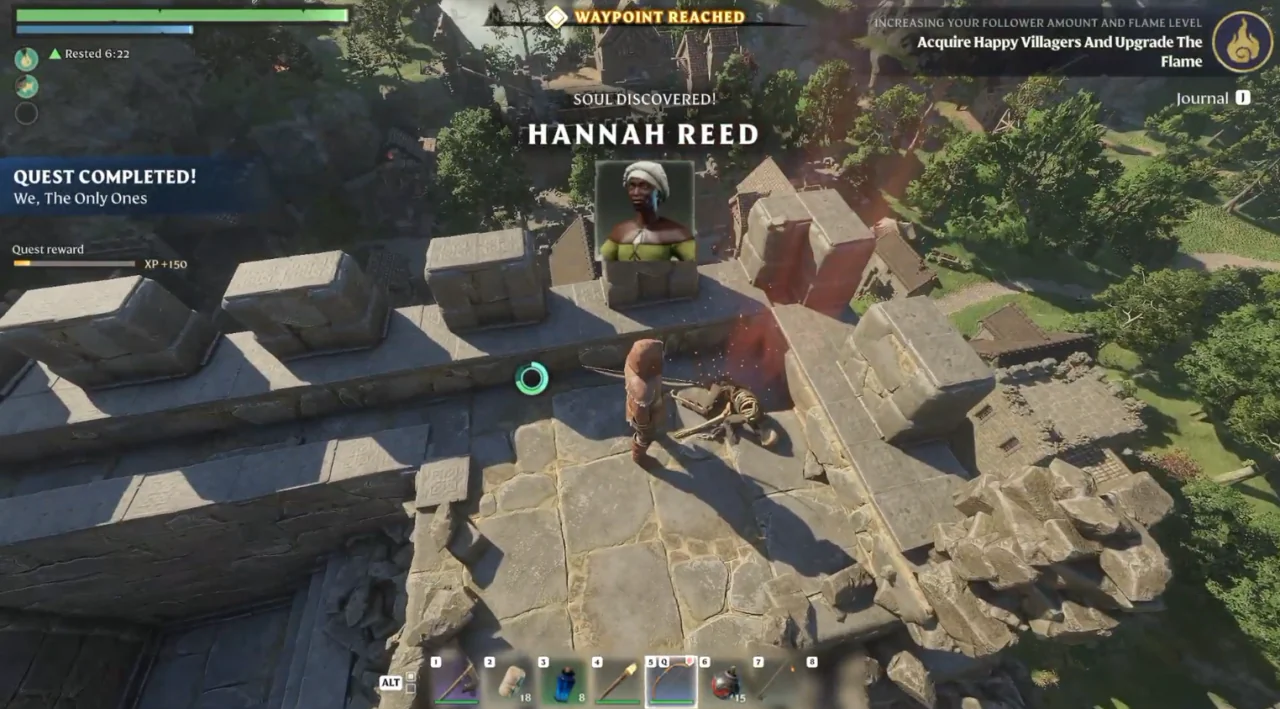
Explore The Hollow Halls Guide
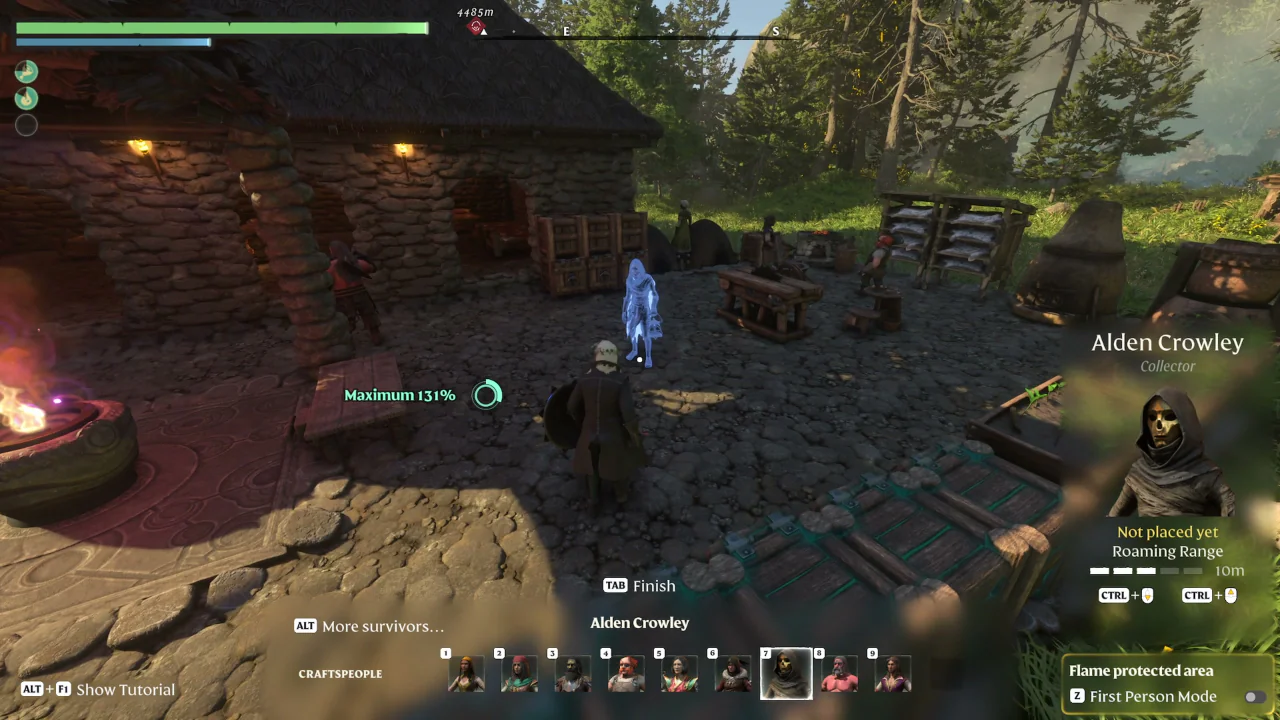
Explore The Hollow Halls leads to the Collector, Alden Crowley. Reach his pod beyond the dungeon barriers, awaken him, then place him at your base with the Summoning Staff.
 GameWith Enshrouded EditorialGuide review teamGame version: Version 1.0 / v1.0.0.2
Hollow Halls Location and Preparation
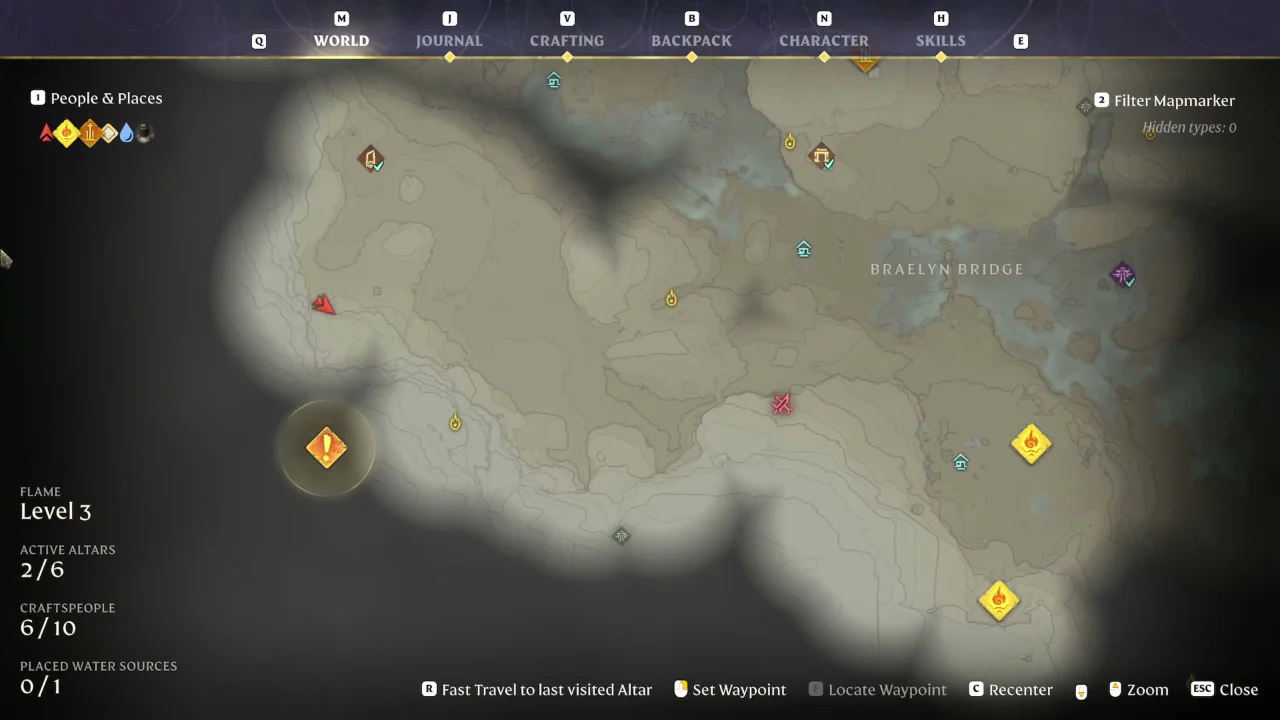
The Hollow Halls lie southwest of Braelyn Bridge. Follow the foot of the mountain to the uphill path, then follow it to the entrance.
Inside, use the glowing teleport platform to continue deeper into the dungeon.
Collect the Orbs for the First Barrier
Collect 2 glowing orbs to open the first barrier. Both orbs belong to this same barrier.
- 1
Reach the upper platform
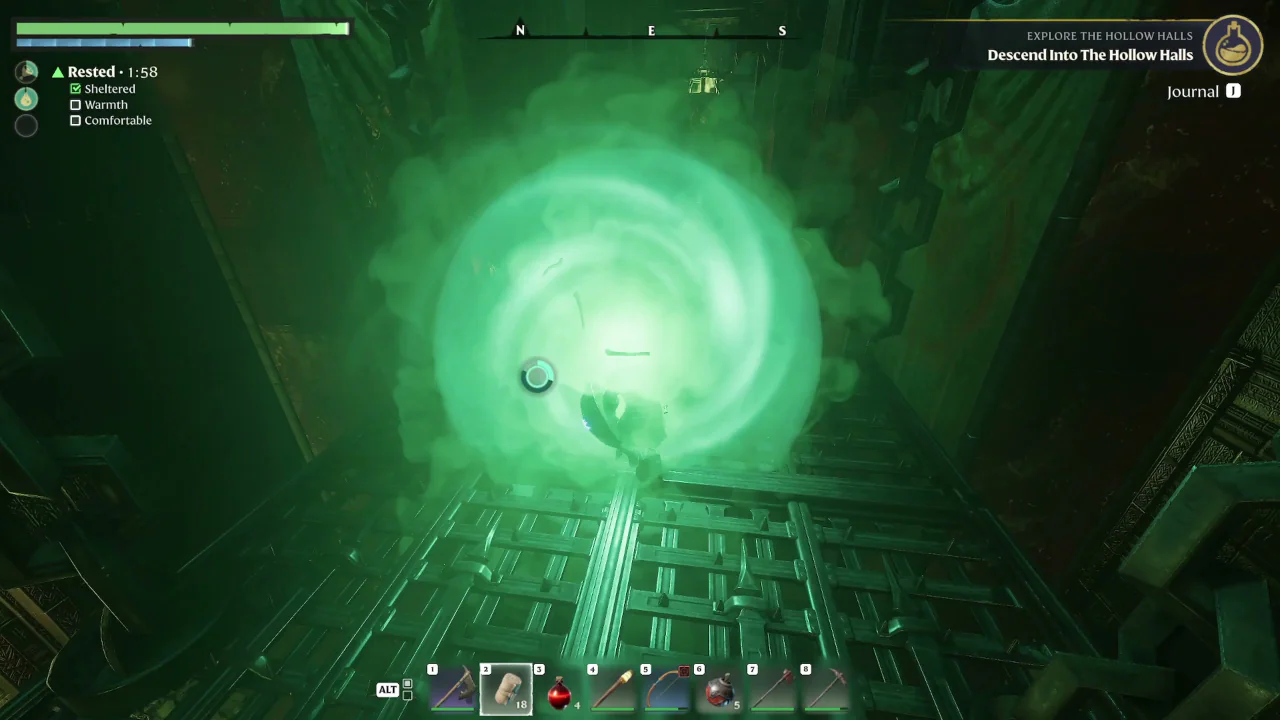
From the landing beside the barrier, look up toward the center of the room. Use the Grappling Hook at the anchor to reach the upper platform and touch the orb.
- 2
Glide through the lower orb
Look down from the upper platform toward the barrier. Glide through the orb below to open the path.
Follow the Corridors to the Floor Opening
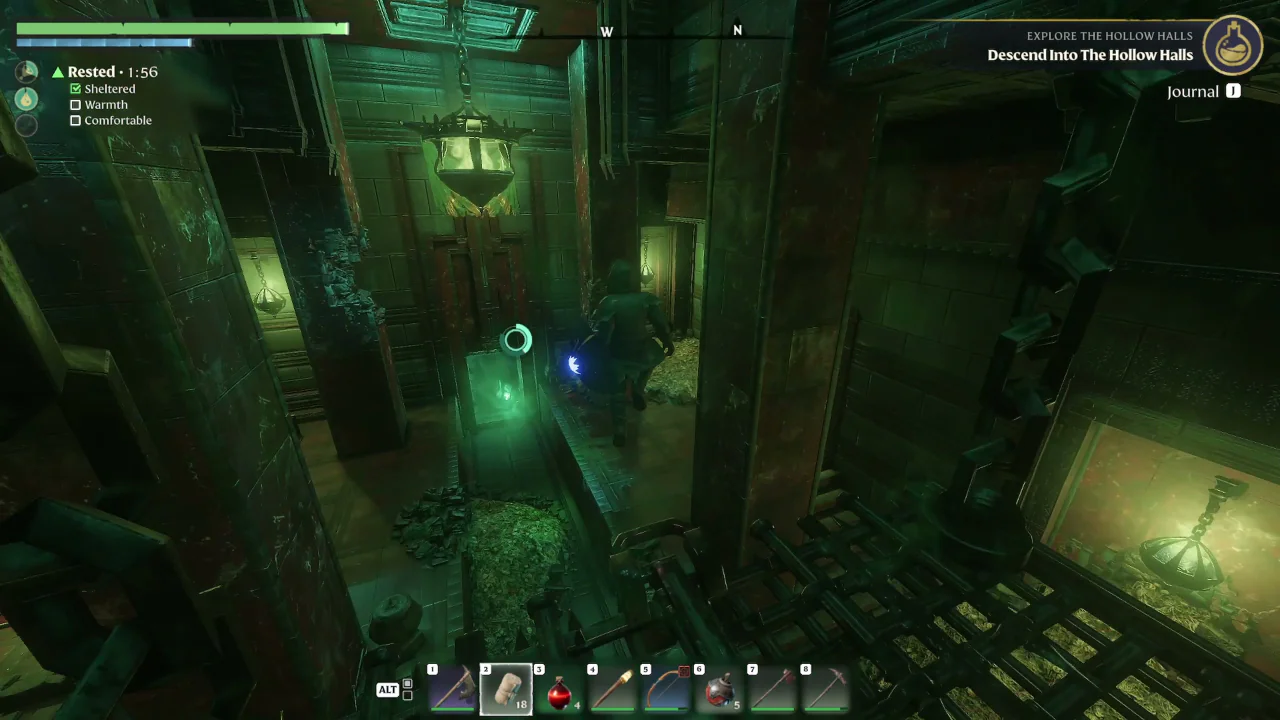
Beyond the first barrier, the room straight ahead contains a note and enemies. The onward route turns right at the intersection.
Continue through the corridor and fight the enemies at the next barrier to open the route. A repair anvil is available before the bone blockage farther ahead.
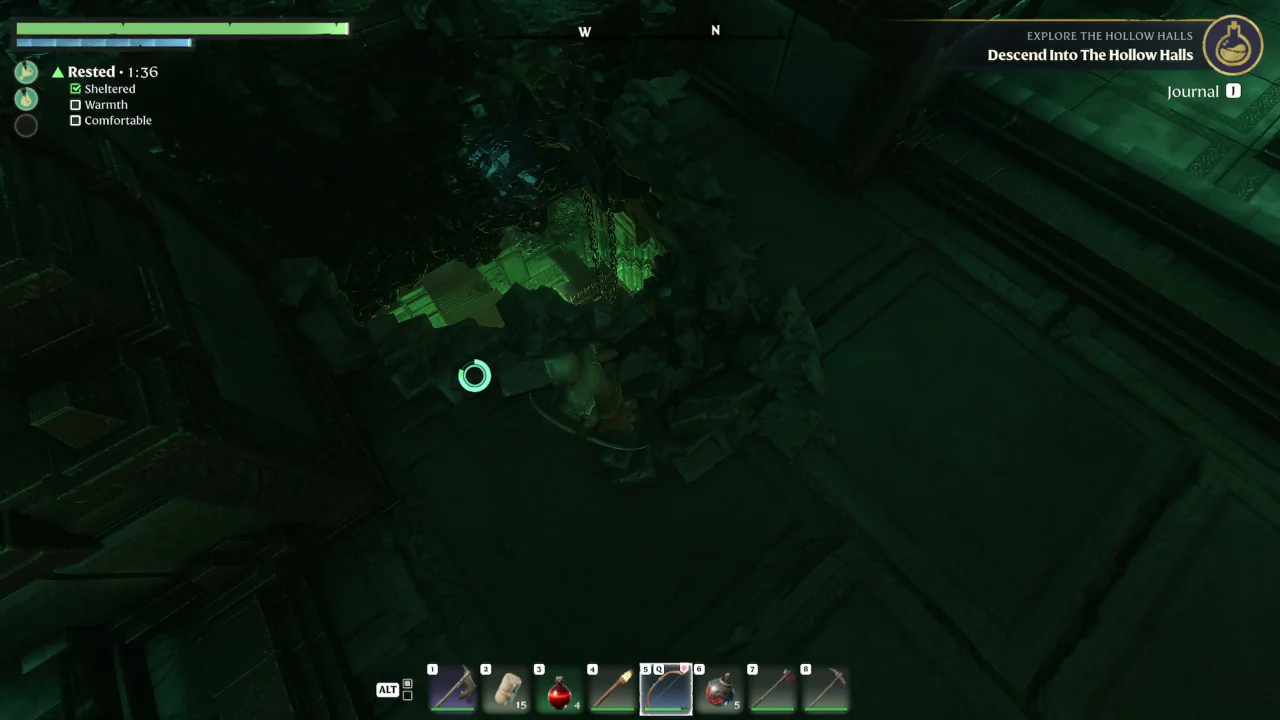
At the tall bone blockage, drop through the hole directly in front of it to reach the lower room.
Collect the Orbs in the Large Room
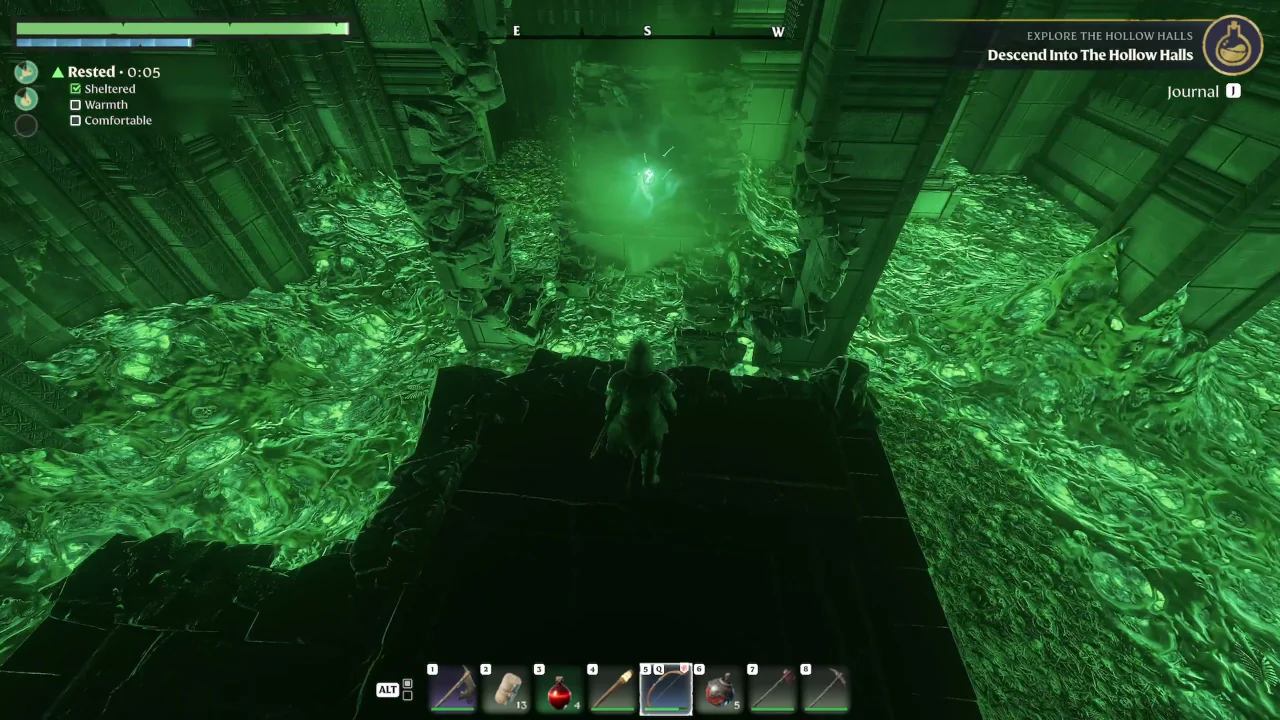
Collect 6 glowing orbs to open the barrier in this large room.
- 1
Below the bridge
Drop from the right side of the bridge onto the lower platform, then glide across to the orb beneath the bridge.
- 2
Center of the room
The next orb is in the center of the room, among enemies.
- 3
Upper walkway
Use the anchor on the right side of the room to reach the upper walkway. The orb is along this walkway, where bats guard the route.
- 4
Opposite platform
Glide from the upper level to the opposite platform to reach the next orb.
- 5
Platform across from the previous orb
Return to the upper level, then glide toward the platform across from the previous orb.
- 6
Near the barrier
Descend near the barrier and use the anchor to reach the orb on the ledge beside it.
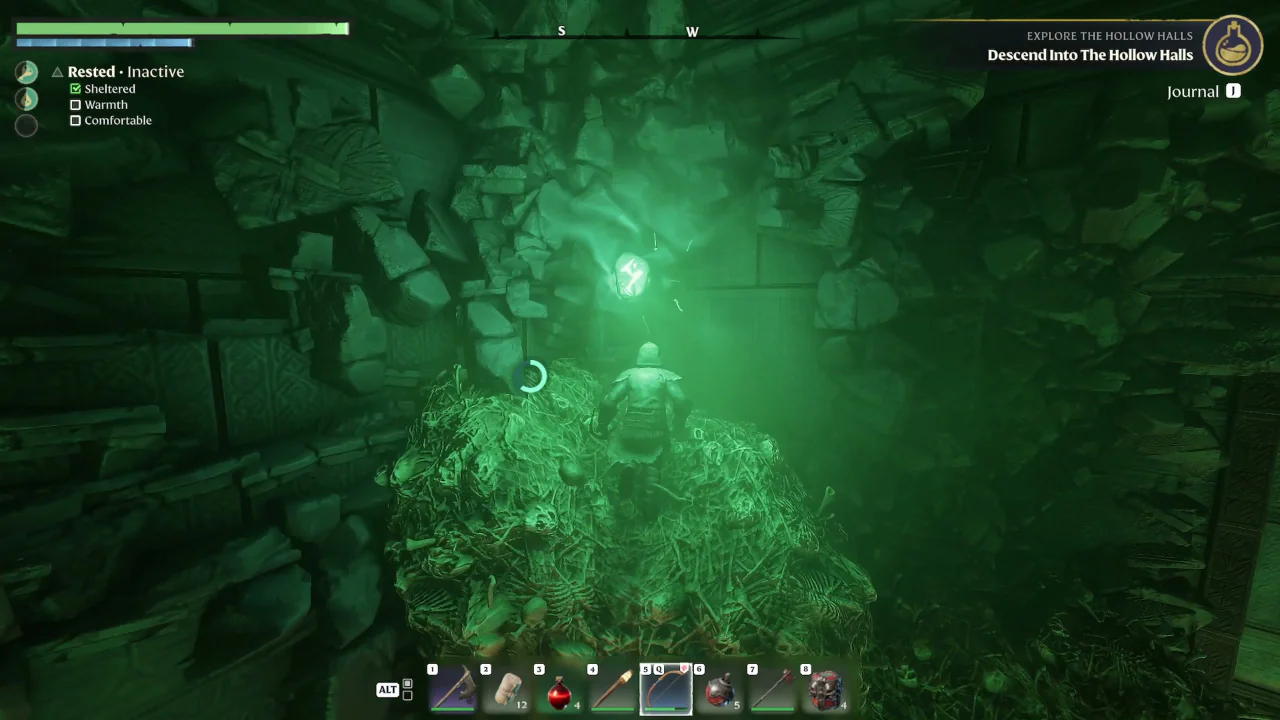
After collecting all 6 orbs, continue through the opened barrier. A repair anvil is available along the route beyond.
Defeat the Final Elite Waves
The final barrier requires defeating 5 Elite enemies. Look for the glowing orbs above their heads.
- 1
Defeat the initial Elite
Defeating the initial Elite opens 2 doors near the entrance, releasing 2 more Elite enemies.
- 2
Defeat both newly released Elites
Once both are defeated, the remaining 2 doors open and release the final 2 Elites.
- 3
Defeat the final pair
Defeat these Elites to open the final barrier.
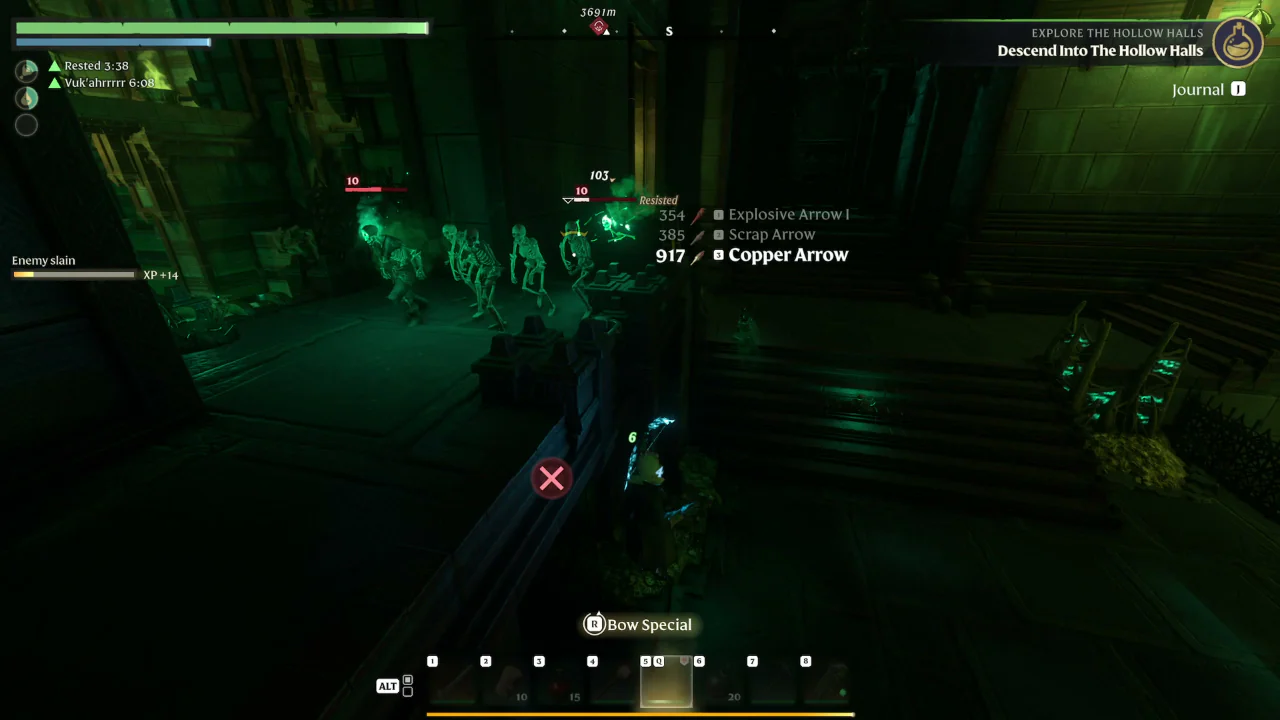
Awaken and Summon the Collector
Beyond the final barrier, interact with the pod to awaken the Collector.
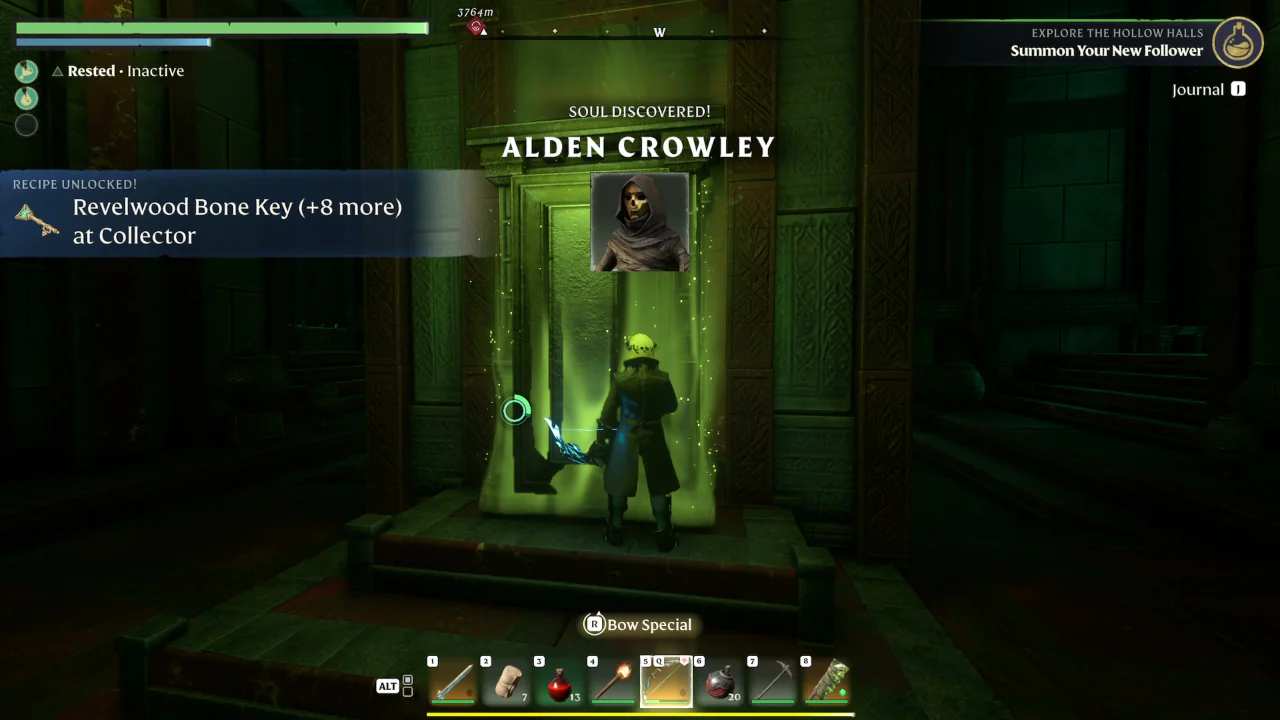
Farther inside, reward chests require Ectoplasm Fragments to open. Enemies inside the Hollow Halls drop these fragments.
Return to your base and use the Summoning Staff. Select Alden Crowley, the Collector, then place him to complete Explore The Hollow Halls.