Reclaim The Wilderness Guide
After accepting Reclaim The Wilderness, climb the Ancient Spire in Revelwood and commune with the Flame at the top. Follow the door puzzles below to reach the final teleport platform.
 GameWith Enshrouded EditorialGuide review teamGame version: v0.9.1.2
This page reflects v0.9.1.2. The game is now on Version 1.0, so some details may have changed.
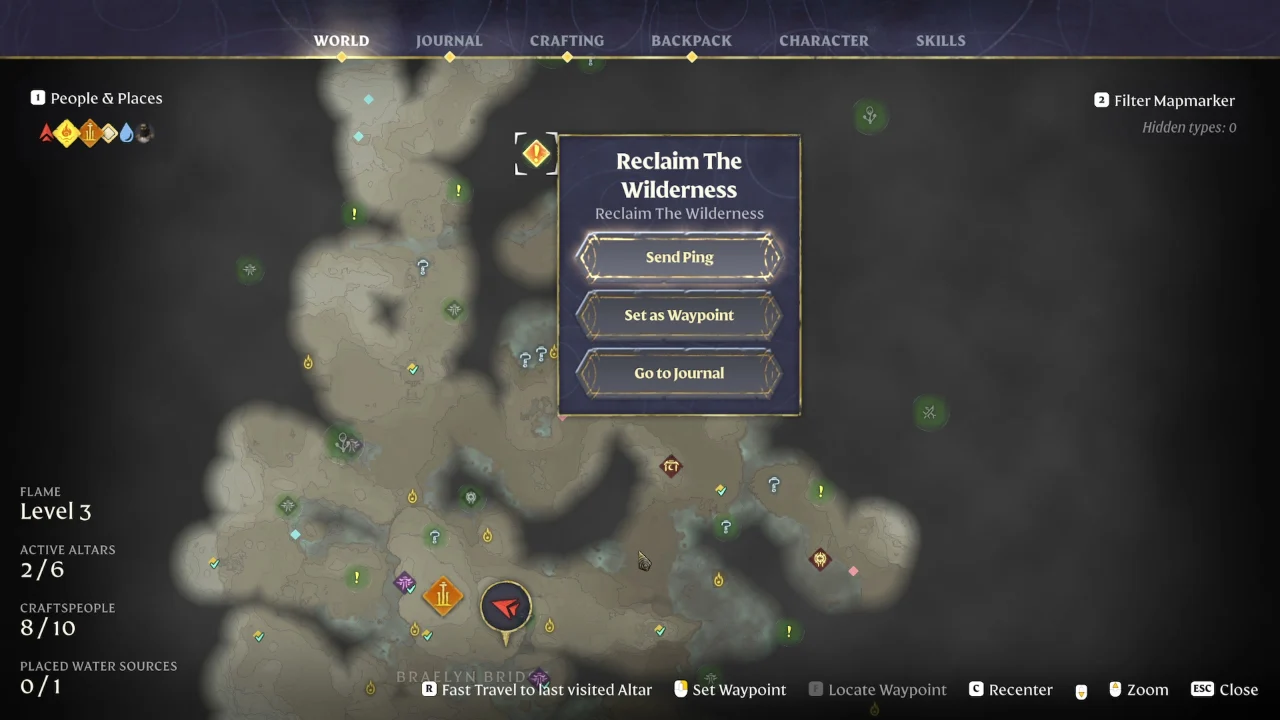
Find the Ancient Spire in Revelwood
The destination is the Ancient Spire in Revelwood, north of the Ancient Spire in Springlands. Follow the quest marker on the map to reach it.
Inside the entrance, use the glowing platform in the center of the room to travel upstairs.
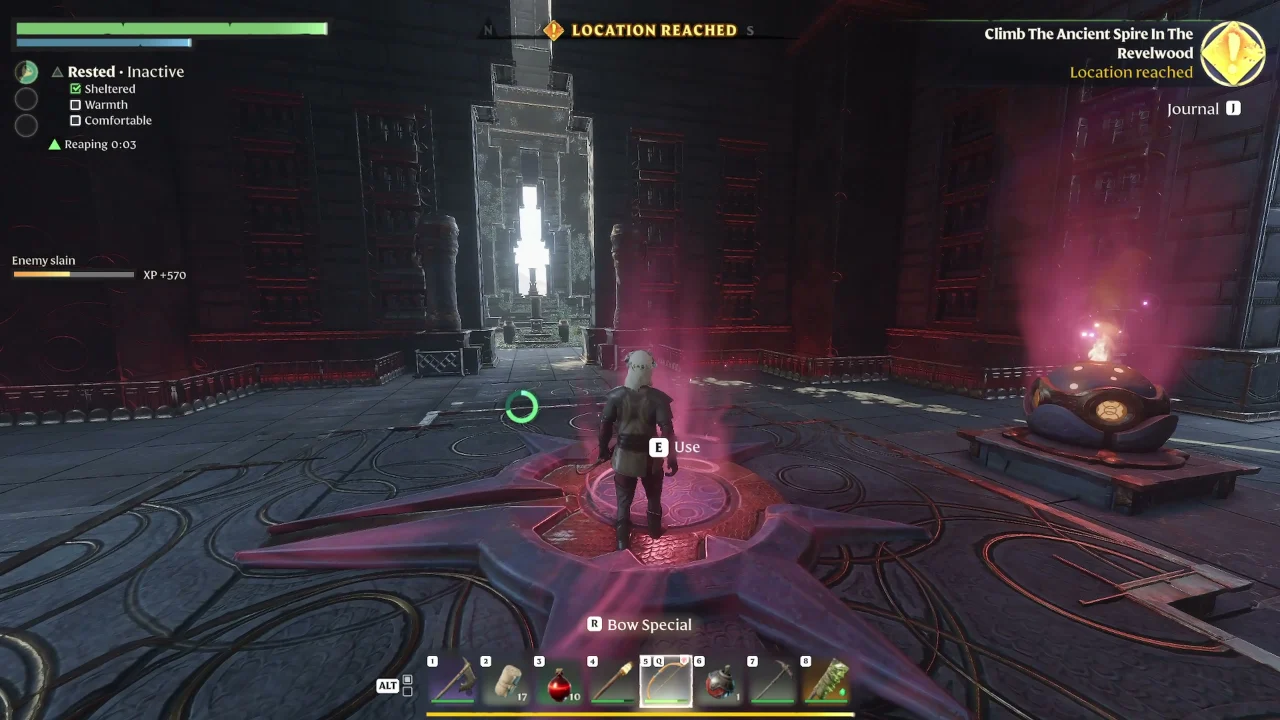
Open the first locked door
Activate the two wall switches on this floor to open the locked door leading onward.
For the first switch, take the hallway to the fireball traps. Watch the fireballs pass, move along the corridor, then turn left at the end. The switch is on the wall to your left; approach it and use it.
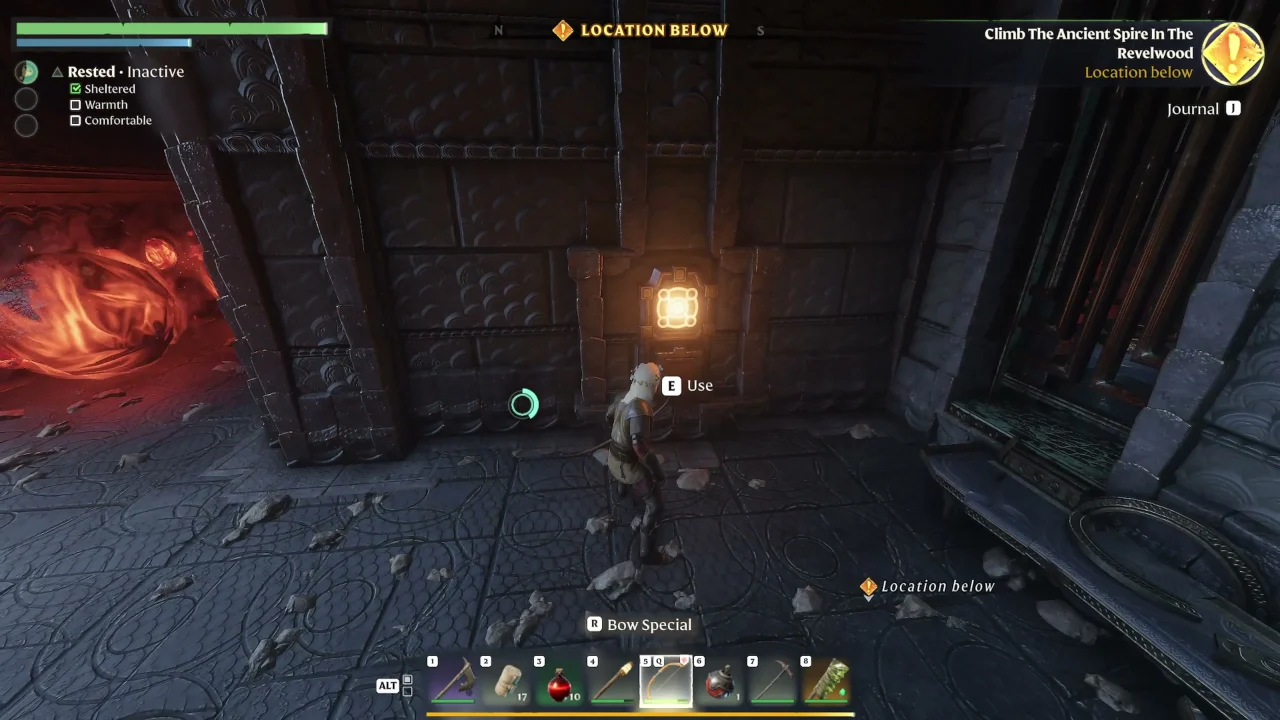
Go through the door that opens beside the first switch to return to the central room. Take the door on your right into the electrical trap corridor. Wait for the electrical orbs to pass before moving through. Continue to the end of the corridor and use the next wall switch.
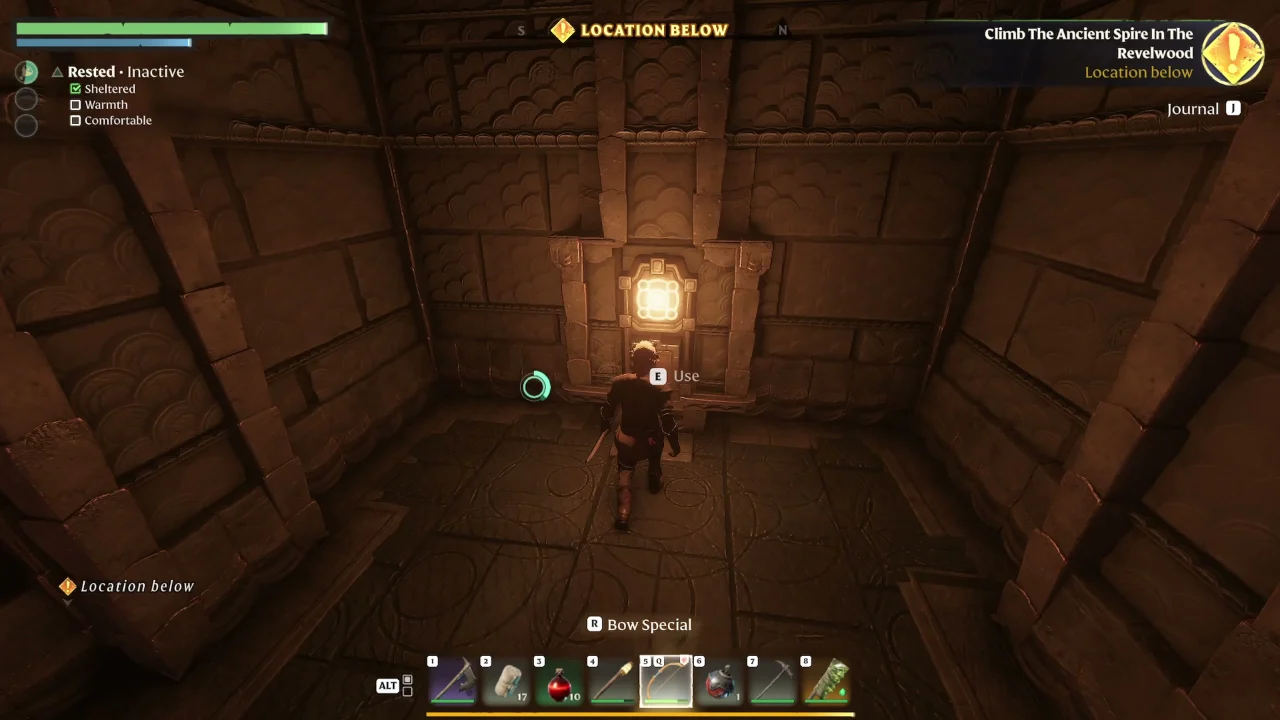
Return to the locked door. With both switches activated, it opens and gives access to the next teleport platform.
Find the four high wall switches
The next locked door has four indicators above it. Activate the four wall switches with a bow, then use the teleport platform behind the open door.
Wait for the floor spikes to retract before crossing their lanes. Check your landing area when jumping: a jump can still end in a hit from the spikes.
Look beside the barred window after crossing the side spike passage. Aim up at the wall switch.
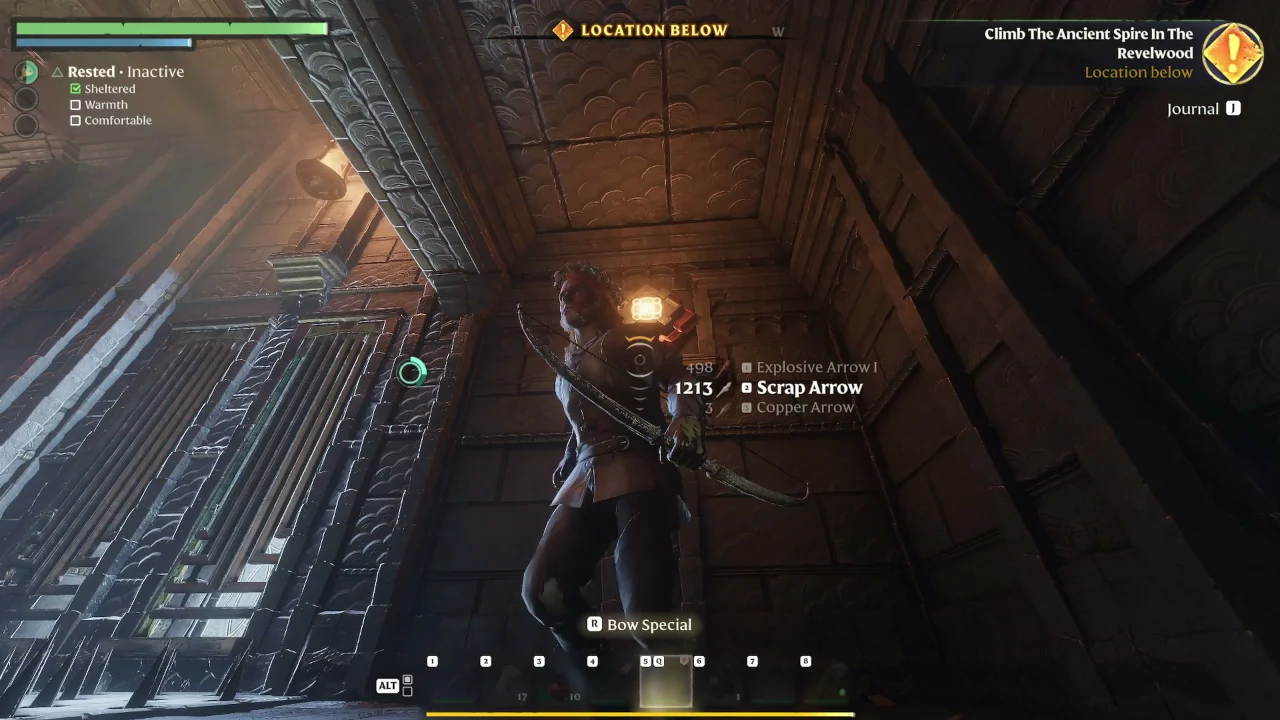
From the alcove with a glowing teleport platform, look across the spike lane. Another switch is high on the wall beneath the overhang.
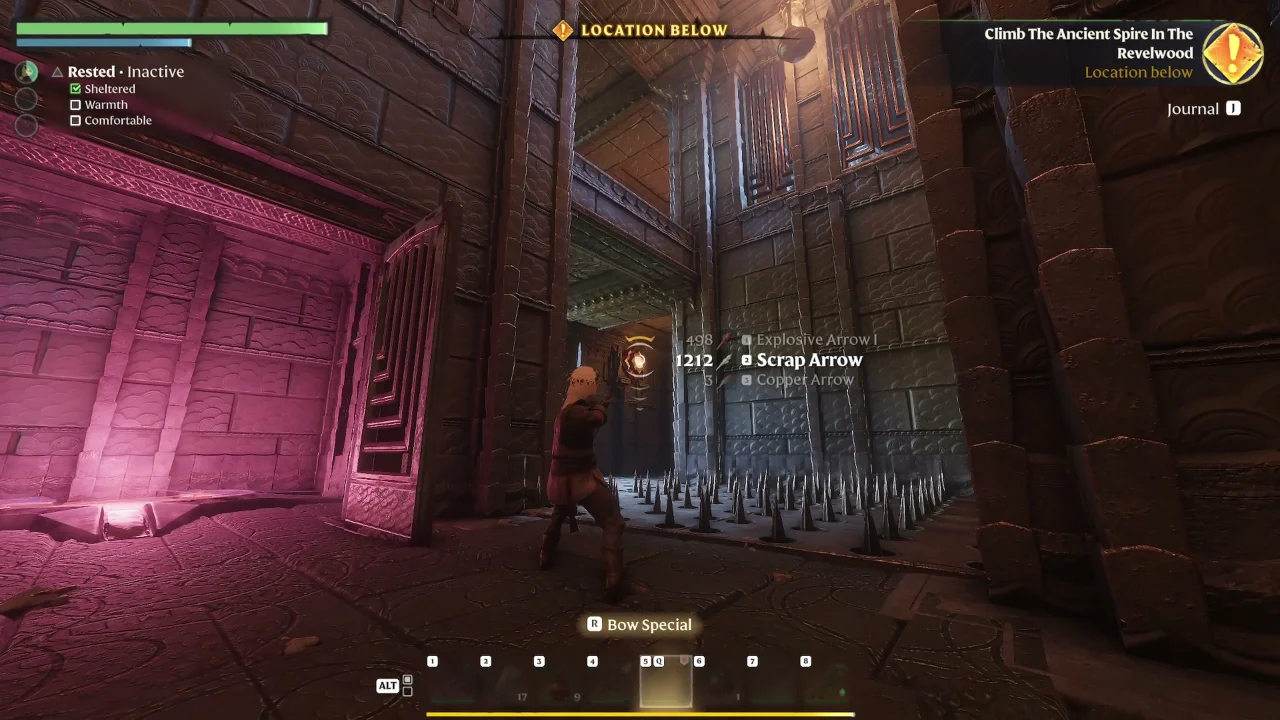
In the side passage with a brazier and jars, look high on the wall beside the opening for another switch.
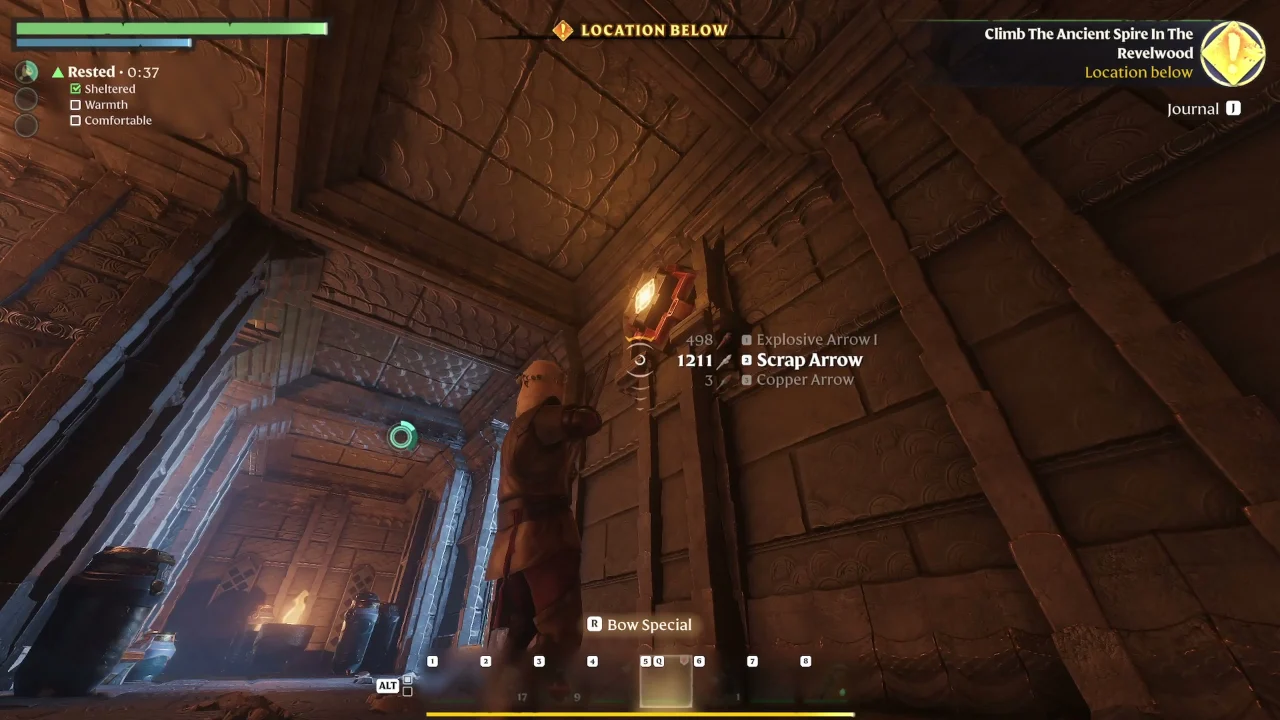
From the upper ledge beside the large jars, look across the gap. The remaining switch is on the wall beside a hanging lamp.
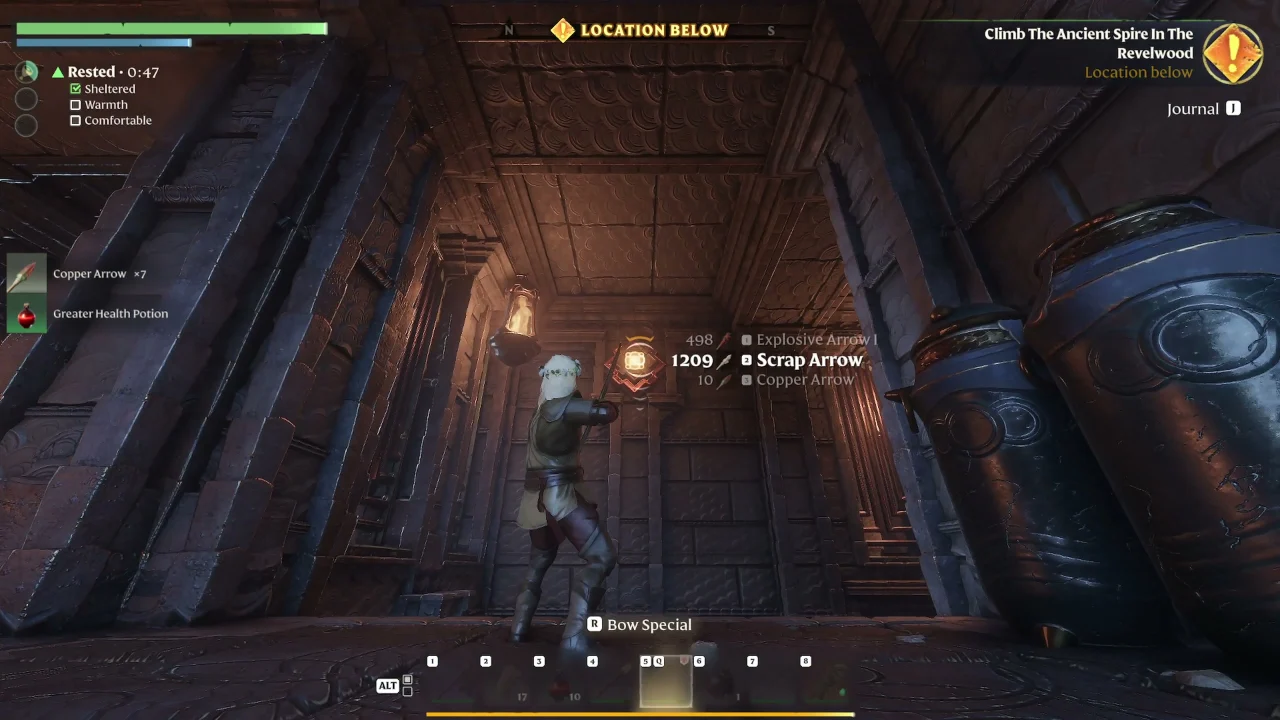
Once the four switches are activated, return to the door and take the teleport platform beyond it.
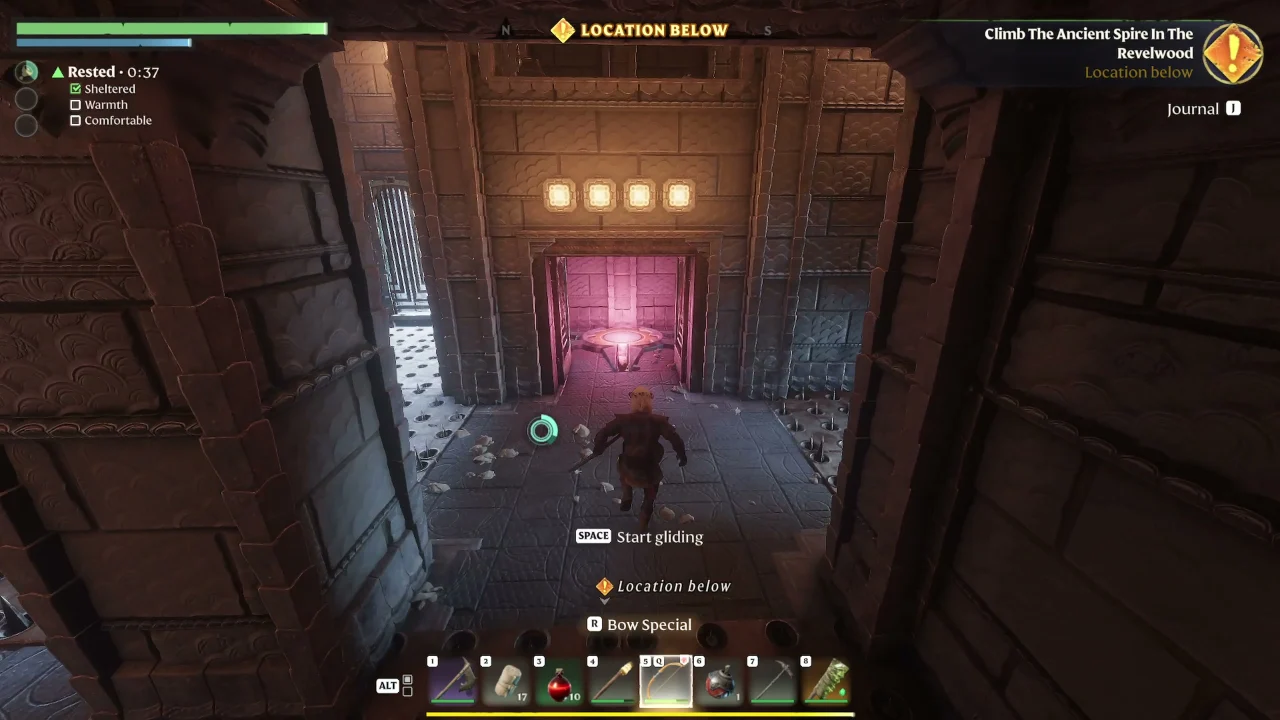
Open the upper doors
On the next floor, shoot the switches high on the walls to the left and right of the locked door. Activating both opens the door.
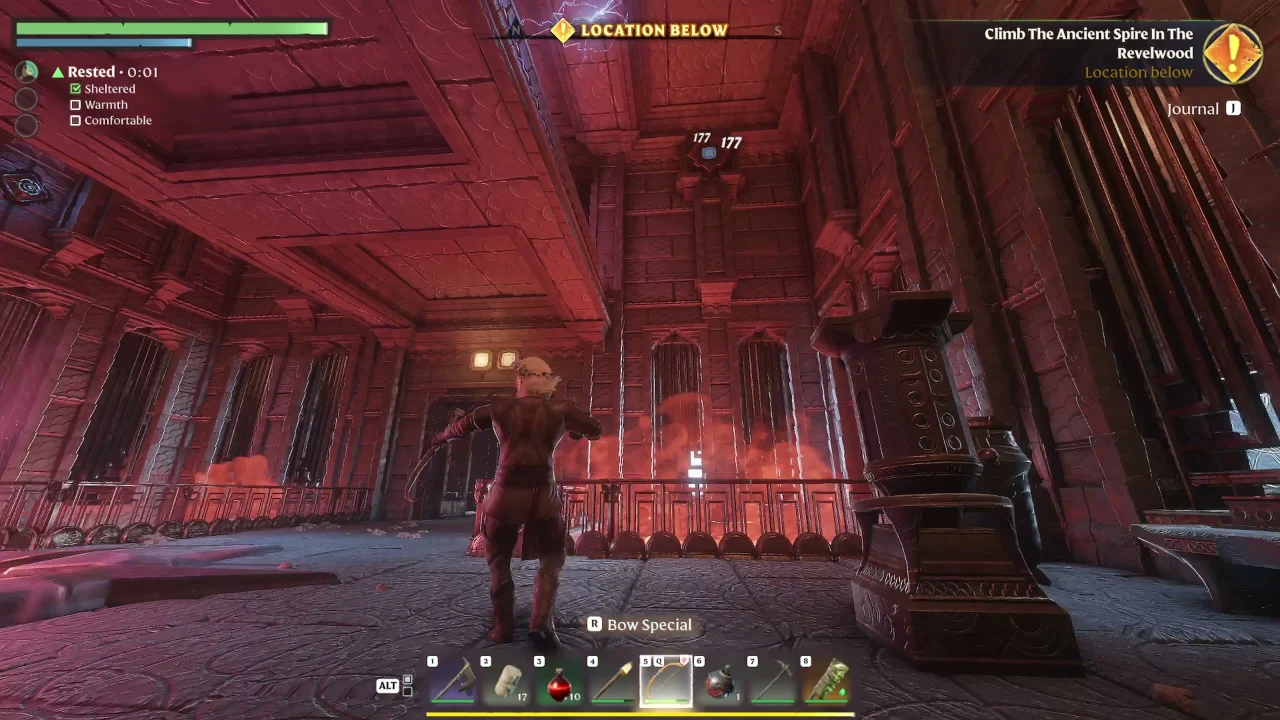
Beyond that door, the final locked door needs two more switches on the same floor. Look high above the staircases and shoot both wall switches.
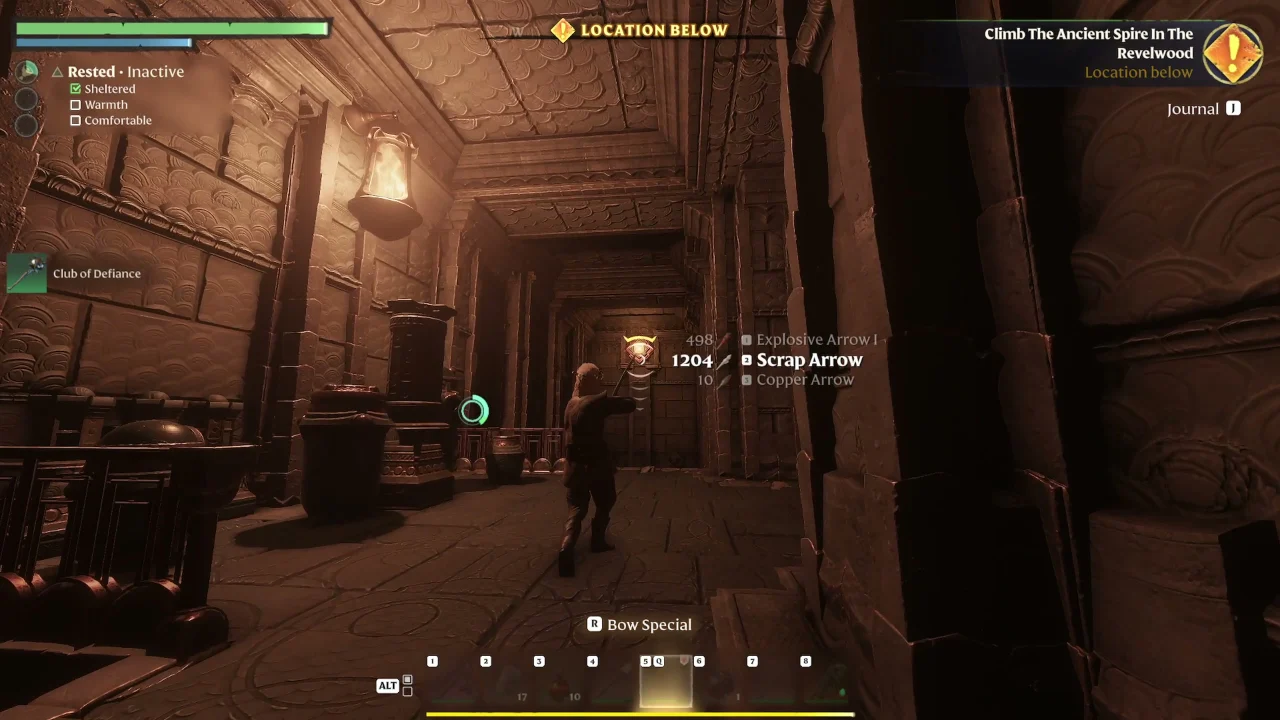
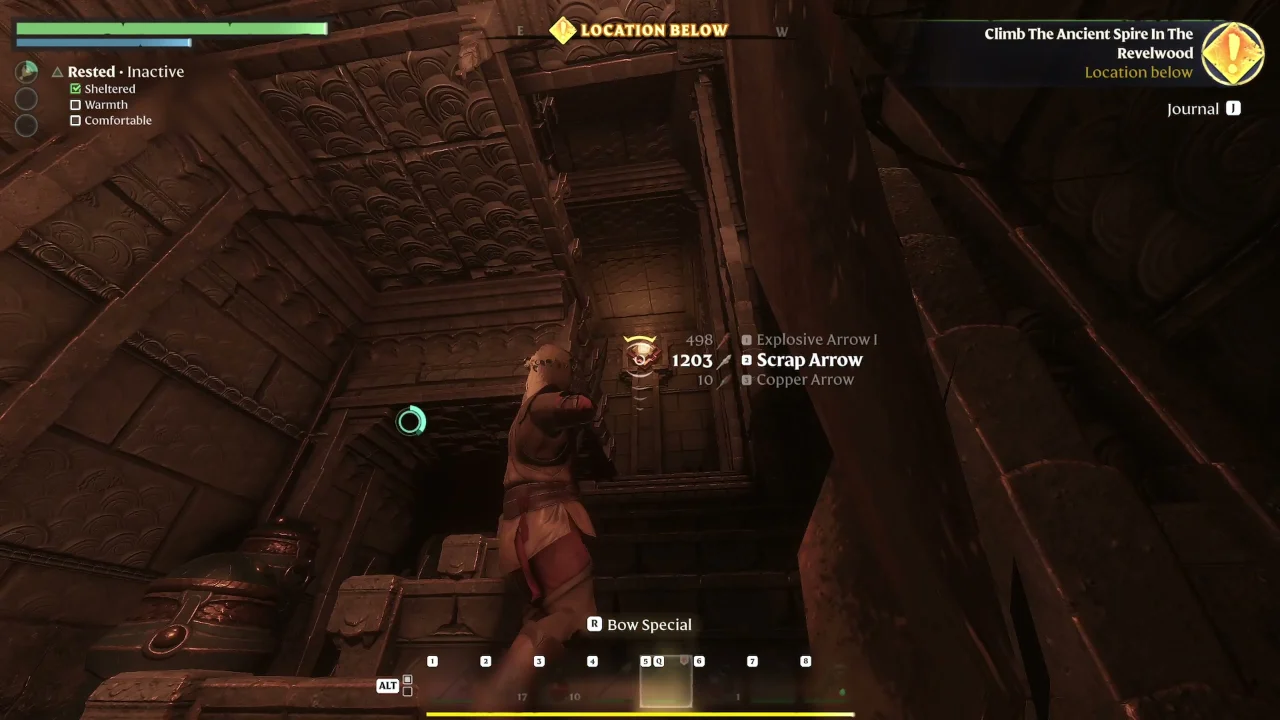
When the door opens, use the teleport platform behind it to reach the top of the spire.
Commune with the Flame to finish
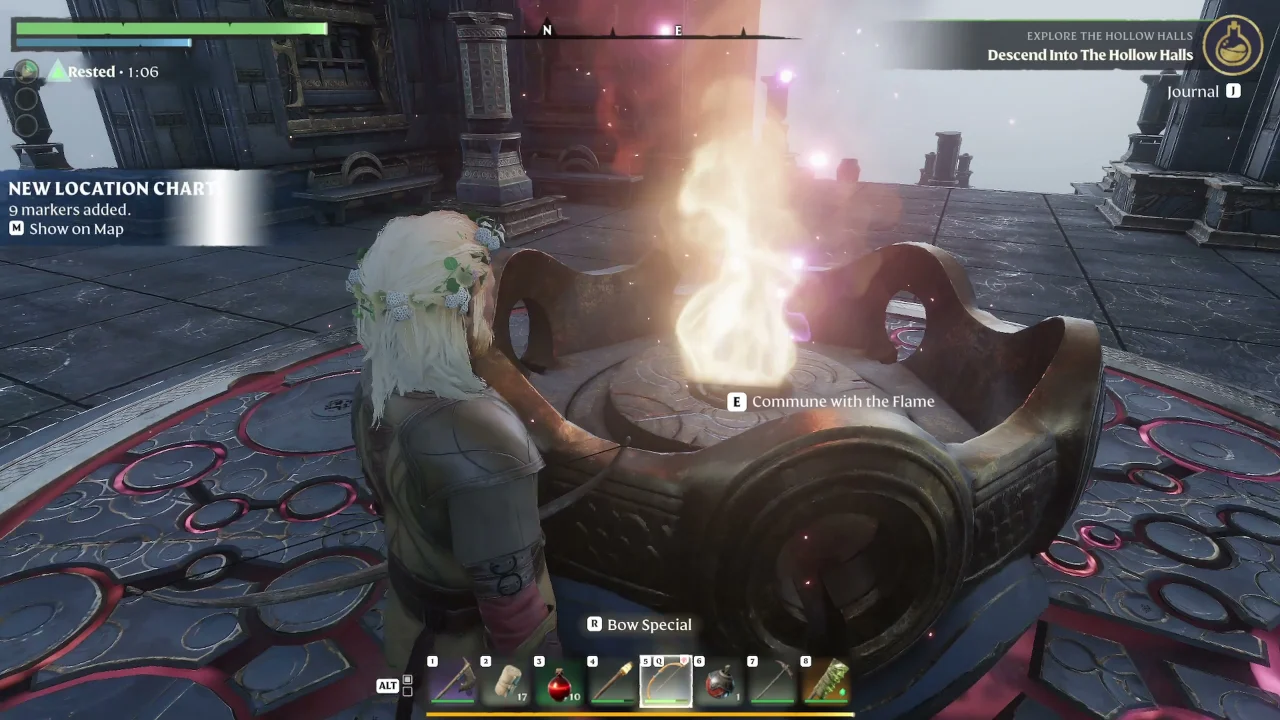
At the top, approach the Flame in the center and commune with it. This activates the Ancient Spire in Revelwood as a fast travel point and completes Reclaim The Wilderness. No further report is needed.
The quest reward listed in the Journal is 200 XP.