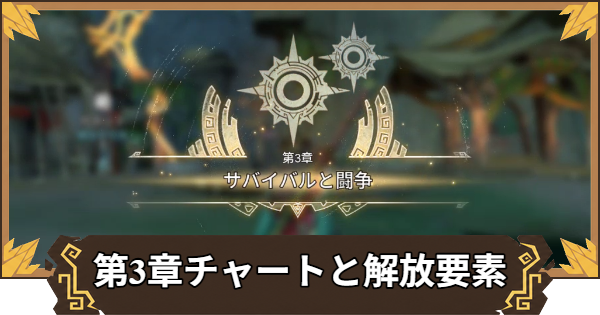
This is the walkthrough chart for Chapter 3, “The Engraved End,” of the Monster Hunter Outlanders story. It goes through each main quest step by step with screenshots and lists what each quest unlocks.
Chapter 3: The Engraved End Walkthrough
Sinister Glow in the Dark
Talk to the Quest Counter Attendant
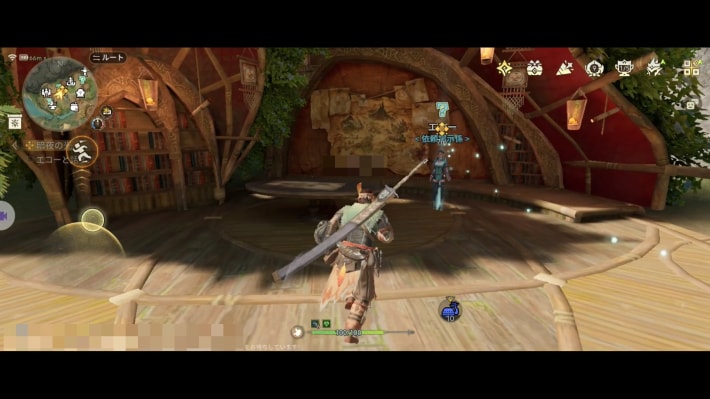
Talk to the attendant at the quest counter in Kulune. The story moves on as you approach and a fight begins, so prepare beforehand.
 Point!
Restock your Potions and upgrade your weapons and armor!
Slay the Radiant Great Jagras
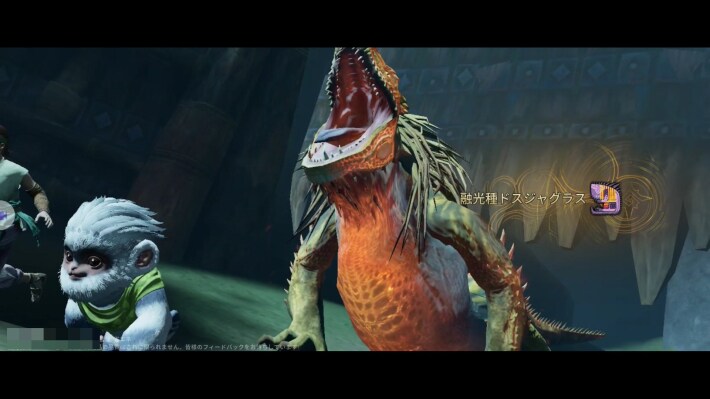
Slay the Radiant Great Jagras. Slaying it moves the story forward and completes the quest.
Opening in the Radiant Light
Check the Radiant Great Jagras's Weak Element
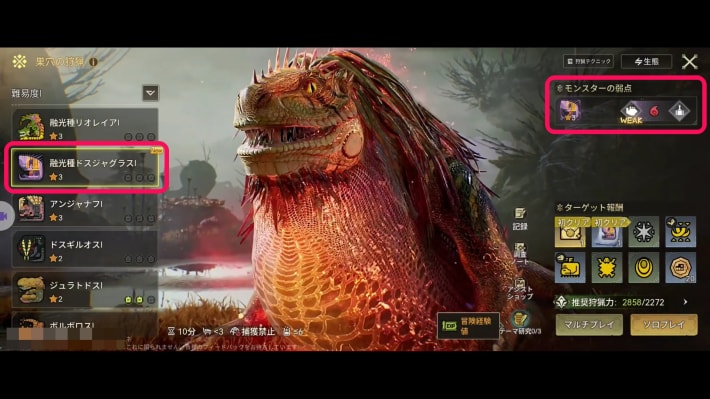
The Radiant Great Jagras has been added to Free Hunt, so check its weak element there.
Craft One Fire Weapon
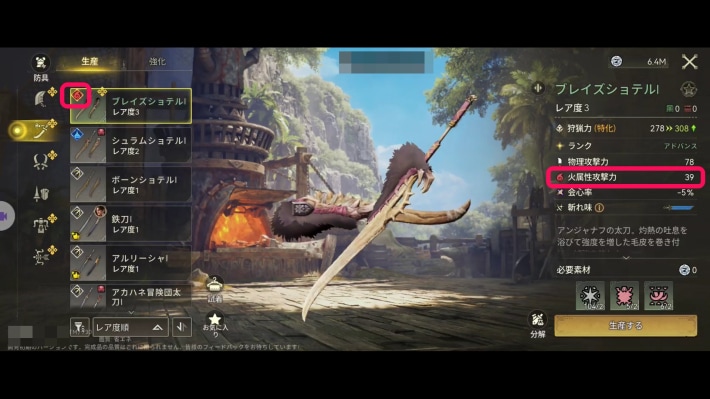
Craft one fire element weapon. You don't have to equip it, so if you're short on materials, Guild Crimson Crest gear will do.
Weapon ListCraft Two Pieces of Fire Damage Up Armor
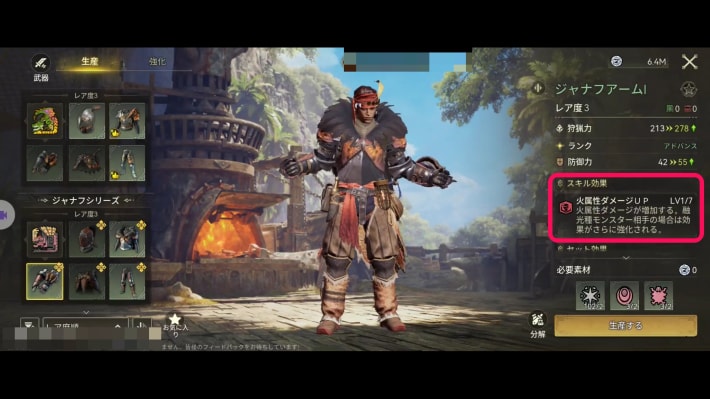
Craft two pieces of armor with the Fire Damage Up skill. If you're short on materials, hunt the monsters they come from to get them.
Armor ListTake On the Radiant Great Jagras in Free Hunt
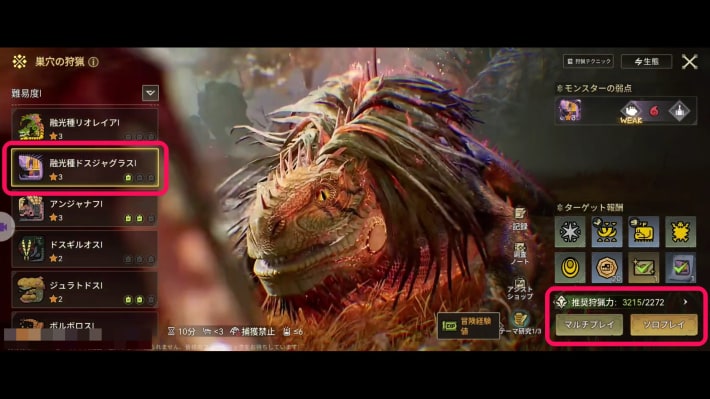
Go to Free Hunt and challenge the Radiant Great Jagras. The quest completes once the attempt ends.
Off to Mistwood
Enter Mistwood
| Destination | Map screen |
|---|---|
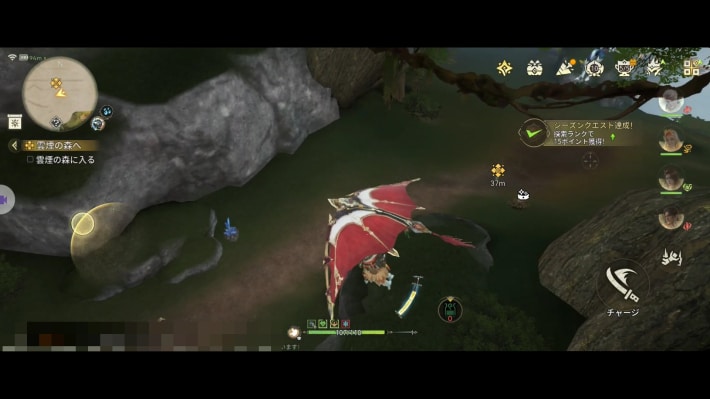 | 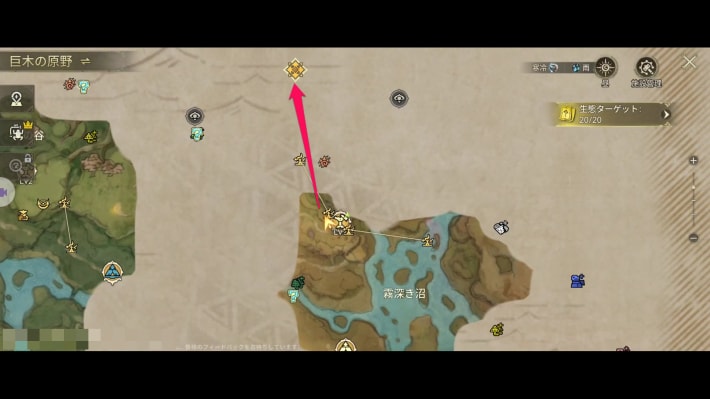 |
Head to the entrance to Mistwood. It's a long way, so build a Zip Line or Catapult near a fast travel point.
Head to the Northern Watchtower
| Destination | Map screen |
|---|---|
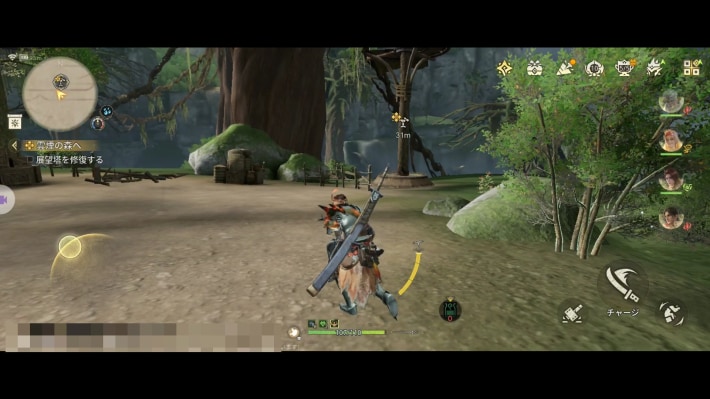 | 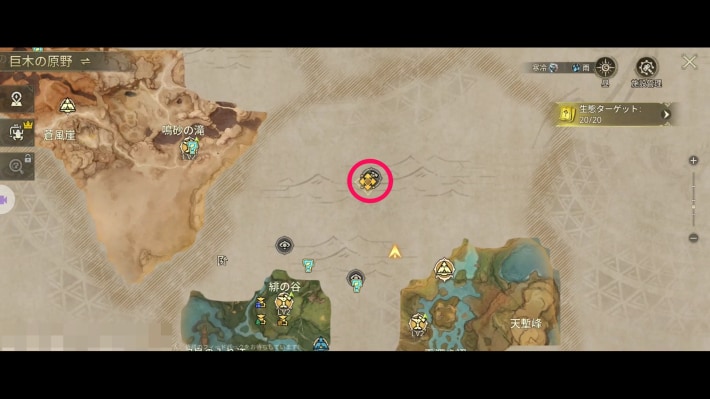 |
After reaching the entrance, head to the northern Watchtower in the Giantwood Locale.
Repair the Watchtower
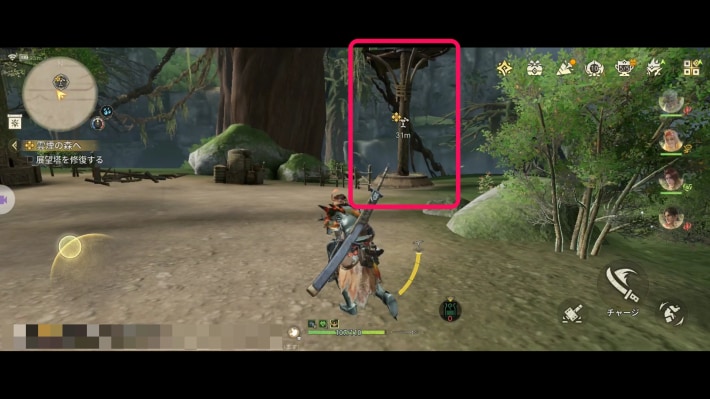
Repair the Watchtower. Afterward, a new quest marker appears.
Head Toward the Voice
| Destination | Map screen |
|---|---|
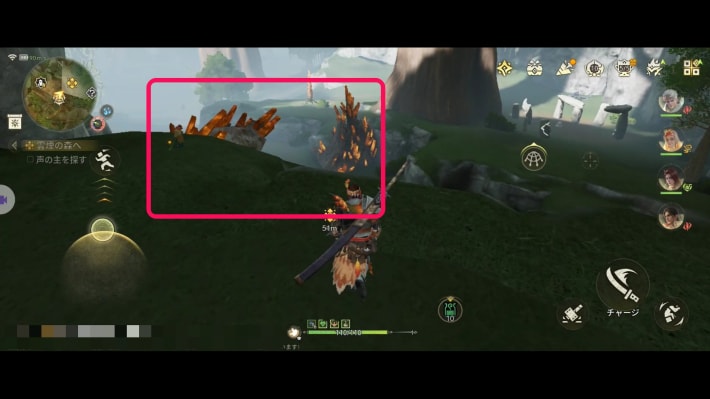 | 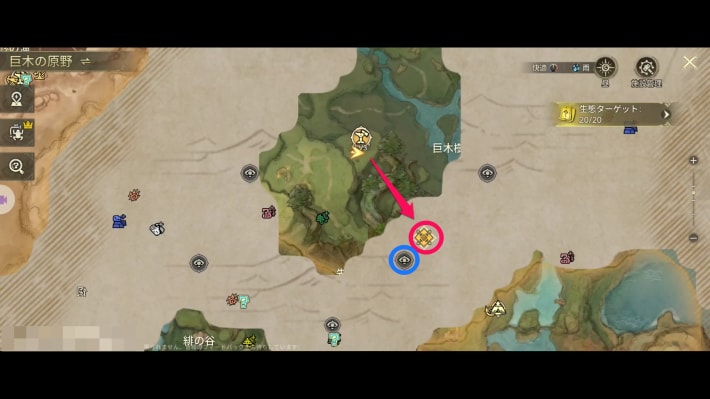 |
Head south-southeast of the Watchtower. It's a long way, so build a Catapult and use it. Setting up a Camp at the nearby observation point is also a good idea.
Slay the Radiant Pukei-Pukei
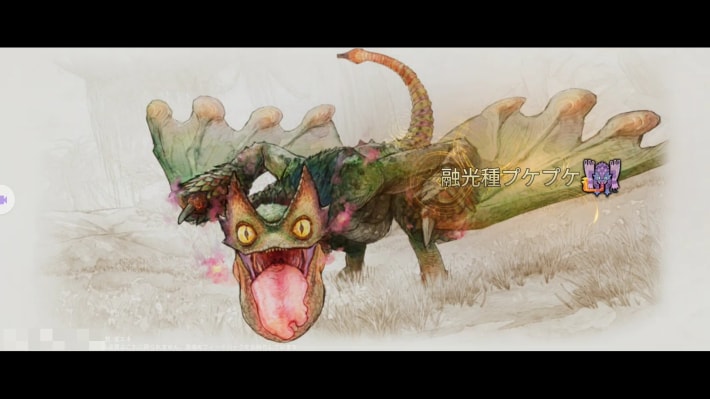
Slay the Radiant Pukei-Pukei that appears. Afterward, carve it to complete the quest.
Ruck's Survival Secrets
Return to the Northern Watchtower and Talk to Holly
| Holly | Map screen |
|---|---|
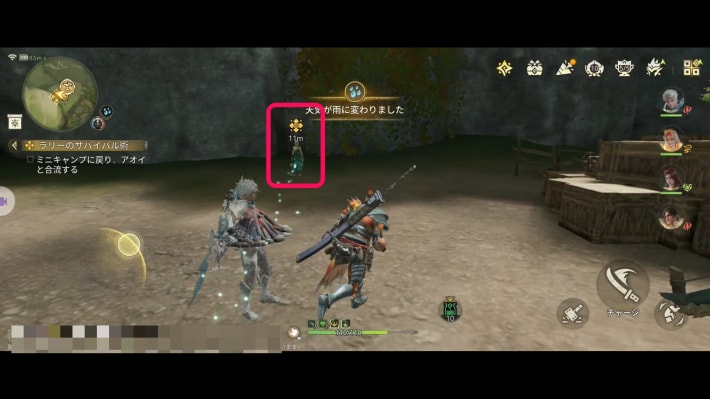 | 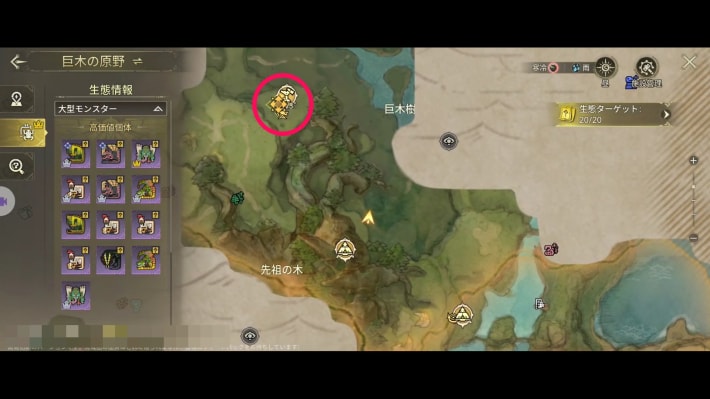 |
Fast travel back to the Mistwood Camp and talk to Holly. The quest completes once the story moves on.
Path of Adventure
Raise Your Proof of Mastery
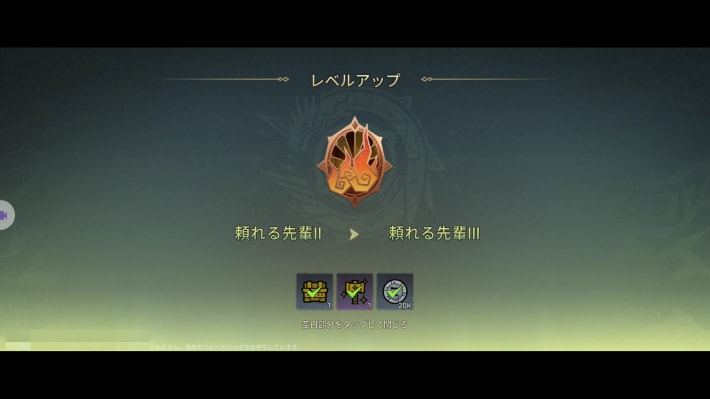
Raise your Proof of Mastery to Reliable Senior III.
The Rumbling Thunder
Unlock the Glider's Dash
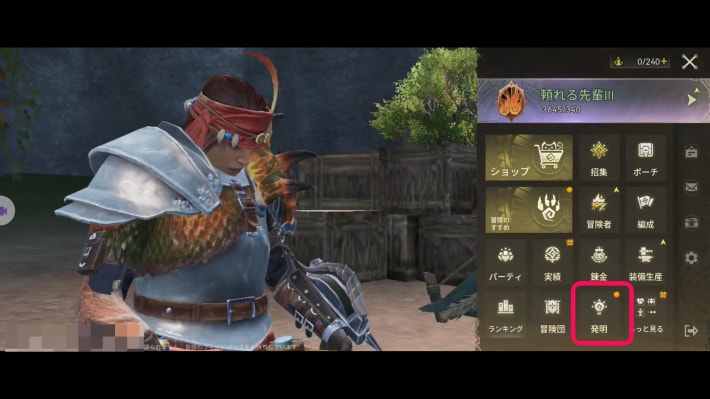 | 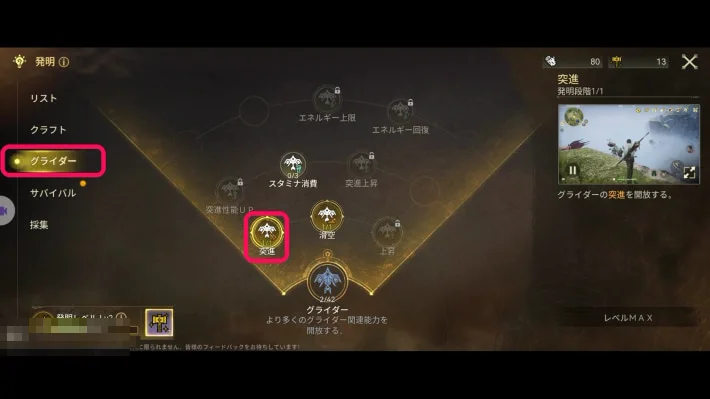 |
From Research, unlock the glider's Dash.
Research ListHead to the Area with Clues
| Destination | Map screen |
|---|---|
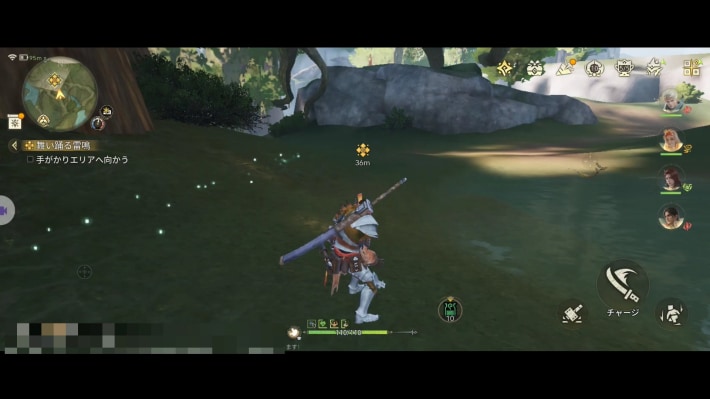 | 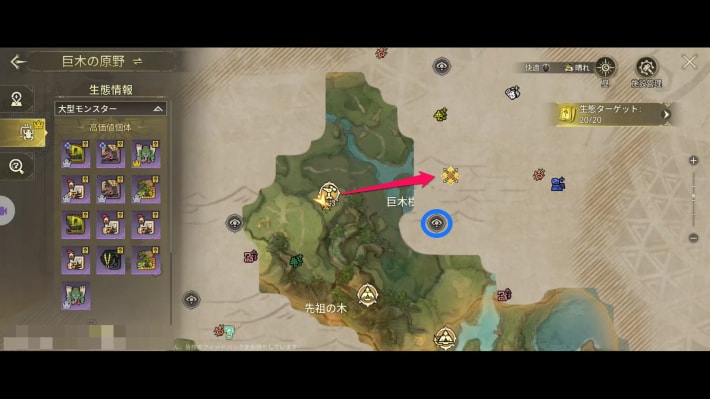 |
Head to the destination east of Mistwood. A fight starts when you arrive, so be ready. There's an observation point on the way, so activate it and set up a Camp.
Slay the Tobi-Kadachi
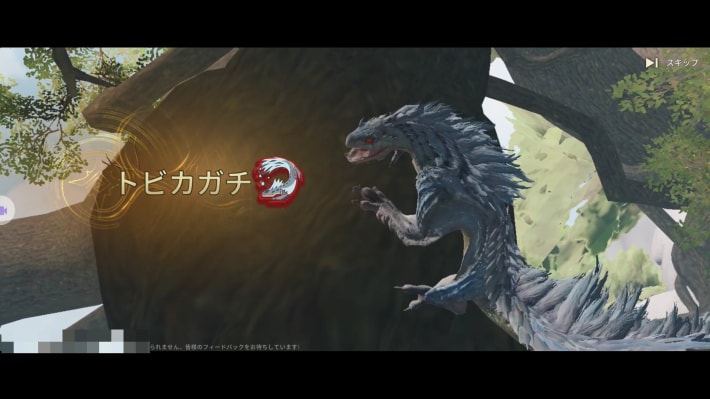
Slay the Tobi-Kadachi. Afterward, carve it.
Return to the Mistwood Camp
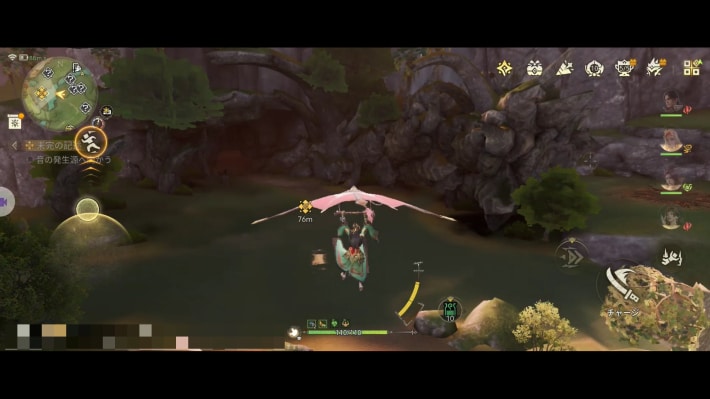
Return to the Mistwood Watchtower. The story continues as soon as you're back, completing the quest.
Unfinished Business
Head to the Destination
| Destination | Map screen |
|---|---|
 | 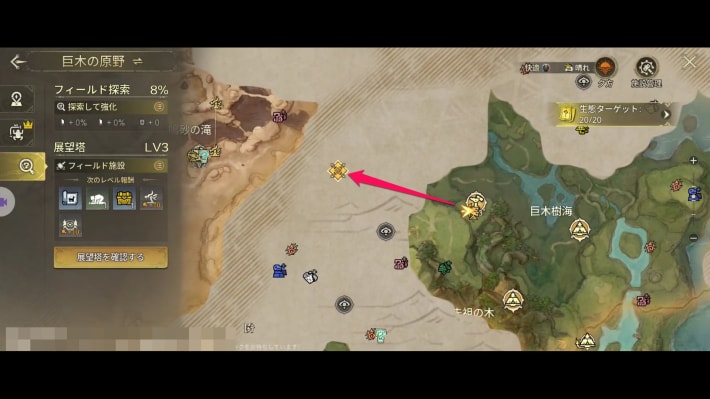 |
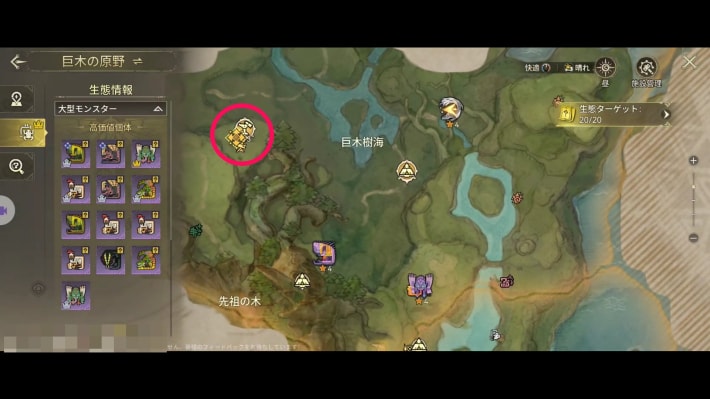
Head to the destination. It's a long way, so use a Catapult or similar.
Slay the Radiant Anjanath
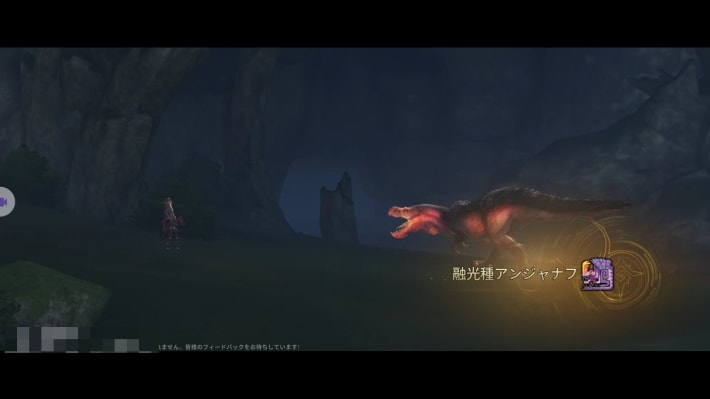
Slay the Radiant Anjanath. Afterward, carve it to move the story forward.
Head to the Cave
| Destination | Map screen |
|---|---|
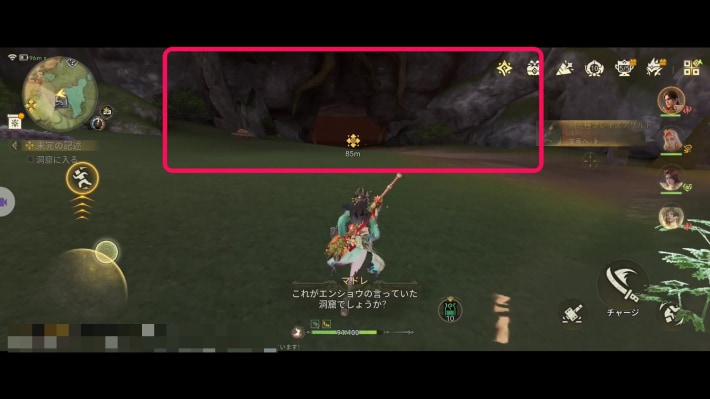 | 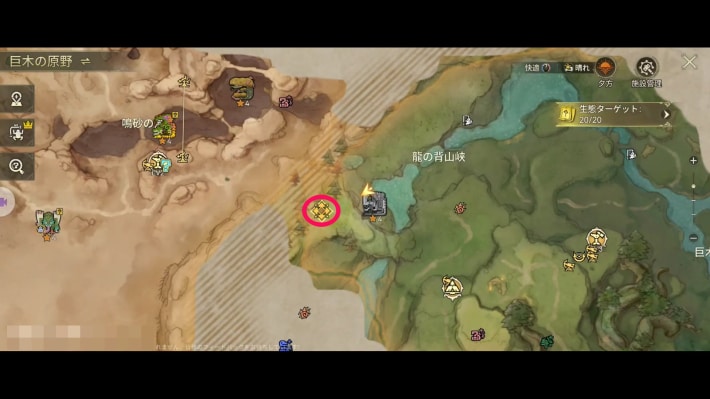 |
The destination cave is to the west of where the Radiant Anjanath appeared.
Explore the Cave
| Part 1 | Part 2 |
|---|---|
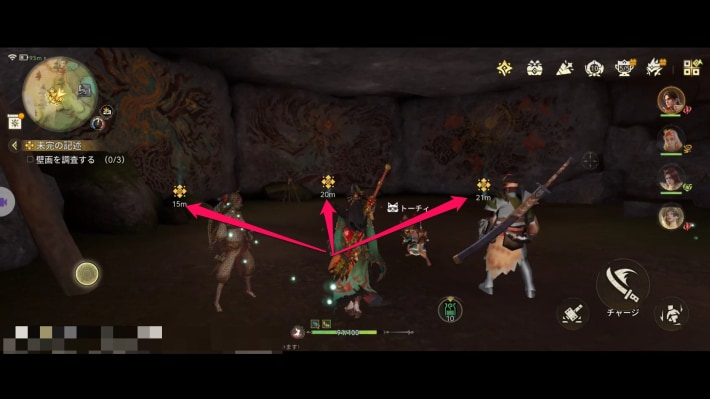 | 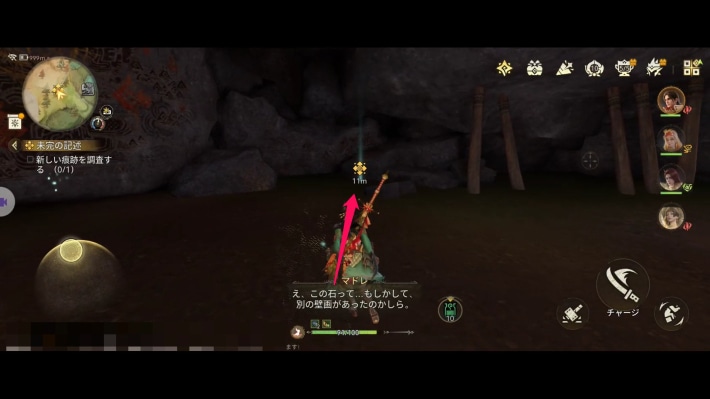 |
Investigate the three murals in the cave. A fourth point to investigate appears afterward.
Return to Kulune
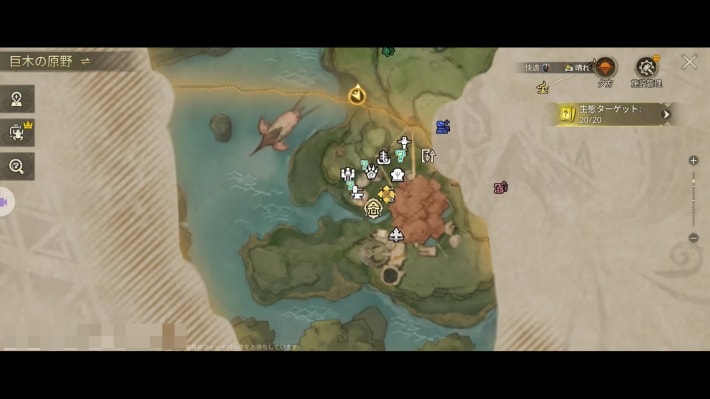
Return to Kulune and the story continues automatically.
The Power of a Full Visage Set
Check the Radiant Anjanath's Weakness
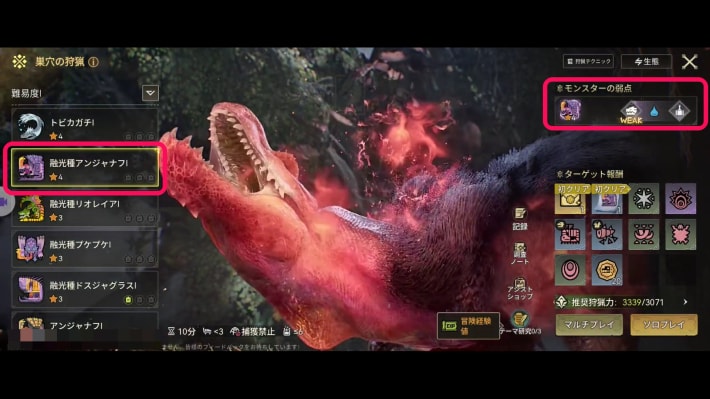
Check the weakness of the Radiant Anjanath, which has been added to Free Hunt.
Check the Water Visage Set
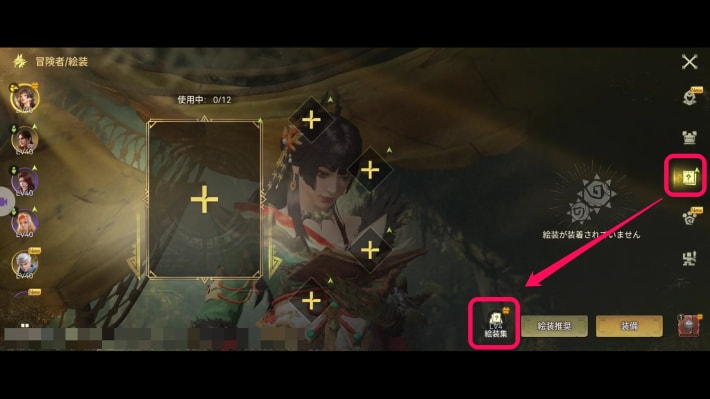 | 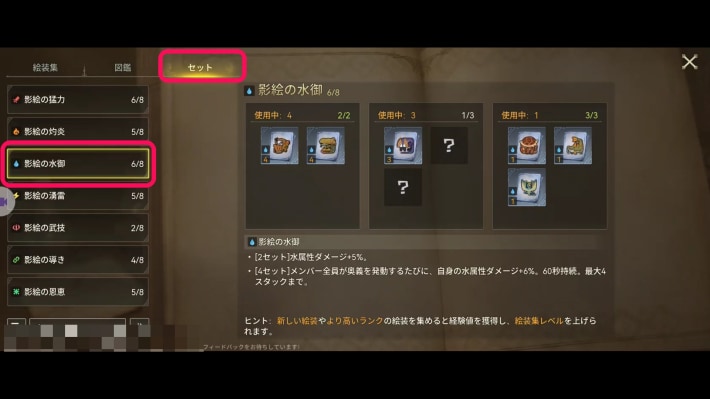 |
Check the water element set in the Visage Album. You can open the Visage Album from the adventurer screen.
Take On the Radiant Anjanath in Free Hunt
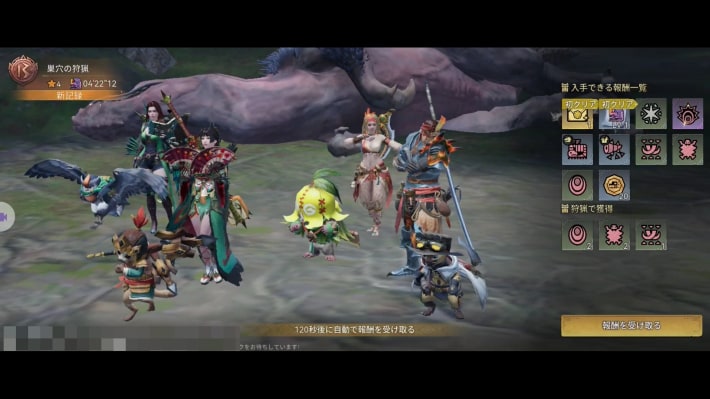
Challenge the Radiant Anjanath in Free Hunt.
Get Stronger, Adventurer
You need to raise your Adventurer Rank to the required level. If you meet the requirement, the quest completes and you move on to the next chapter; if not, raise your Adventurer Rank with daily requests and Free Hunt.
Chapter 3: The Engraved End Unlocks
| Quest | Unlocks |
|---|---|
| The Rumbling Thunder |
|
Story Walkthrough by Chapter
Story Walkthrough
The screenshots are from the Japanese version of the game.