This is the walkthrough chart for Chapter 4, “Toward the Light,” of the Monster Hunter Outlanders story. It goes through each main quest step by step with screenshots and lists what each quest unlocks.
Chapter 4: Toward the Light Walkthrough
Desert Path
Talk to the Quest Counter Attendant
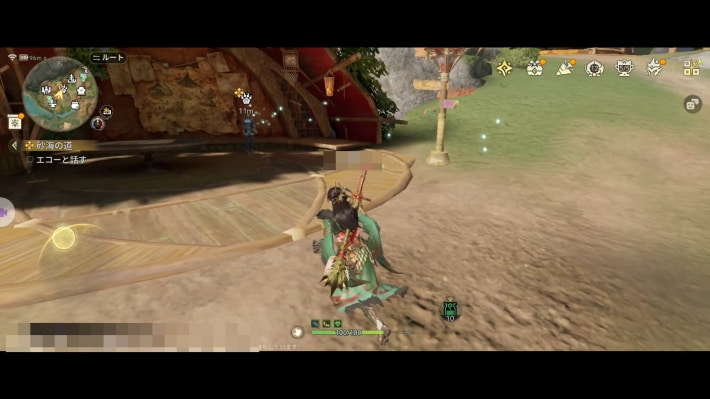
Talk to the attendant at the quest counter in Kulune.
Return to the Desert Oasis Camp
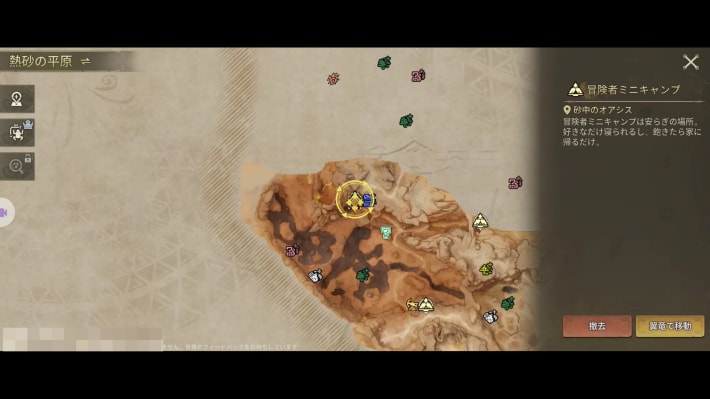
A fight starts when you return to the Desert Oasis Camp, so prepare beforehand.
 Point!
Have a Cool Drink ready!
Slay the Radiant Kulu-Ya-Ku
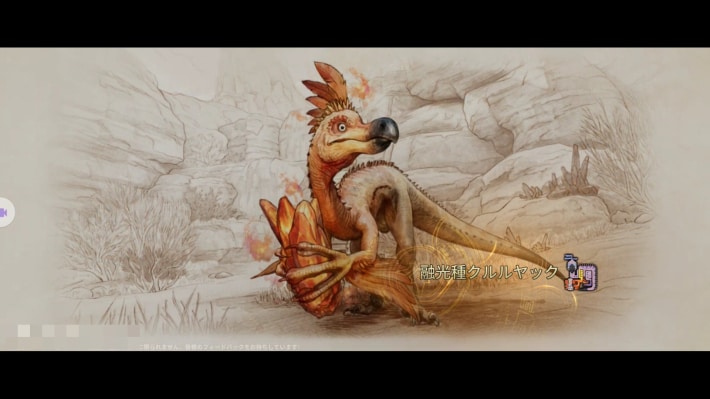
Slay the Radiant Kulu-Ya-Ku that appears at the Camp. Afterward, you need to carve it.
Return to the Camp
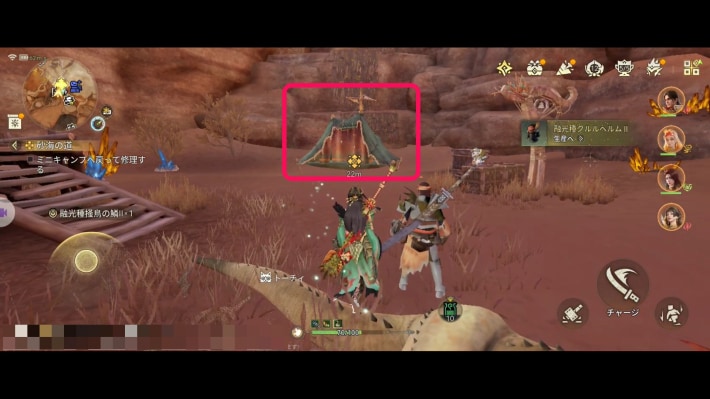
Approach the nearby Camp and the story continues automatically.
Path of Adventure
Raise Your Proof of Mastery
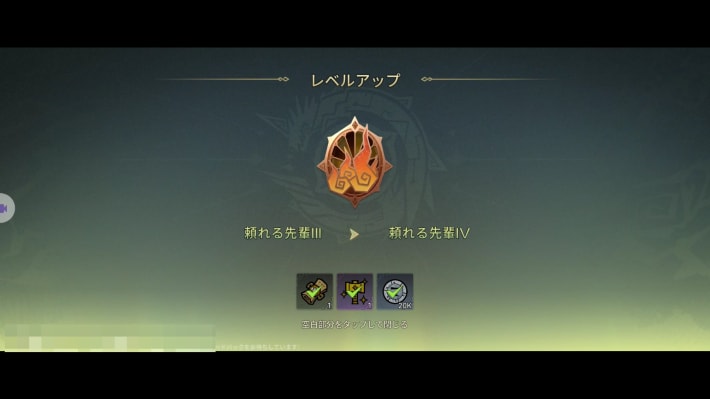
Raise your Proof of Mastery to Reliable Senior IV.
Advancing Through the Dust
Climb the Cliff North of the Camp
| What it looks like | Map screen |
|---|---|
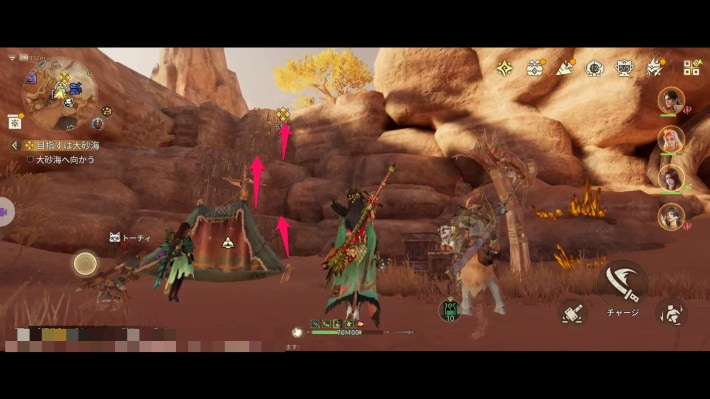 | 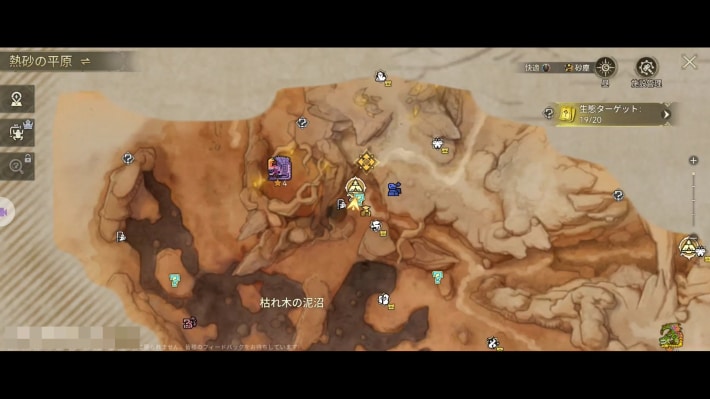 |
Climb the cliff on the north side of the Desert Oasis Camp.
Look for Dustbush
| Destination | Map screen |
|---|---|
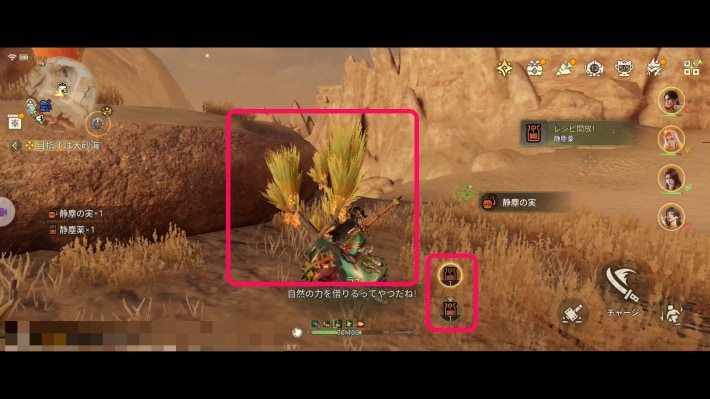 | 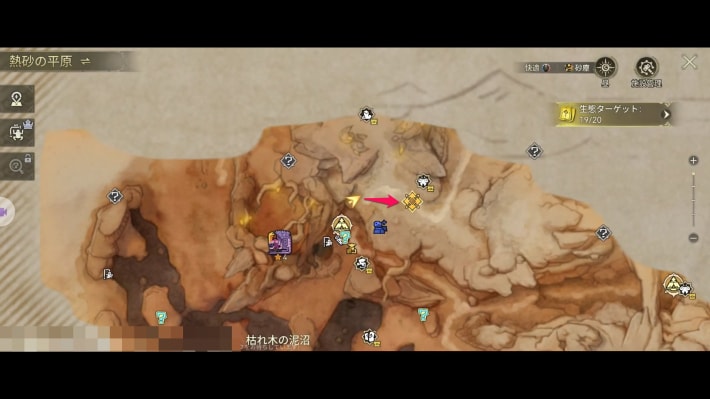 |
Head east once you're up the cliff. When you gather Dustbush, a Dustproof Potion is crafted automatically; use it.
Cross the Golden Expanse
| Destination | Map screen |
|---|---|
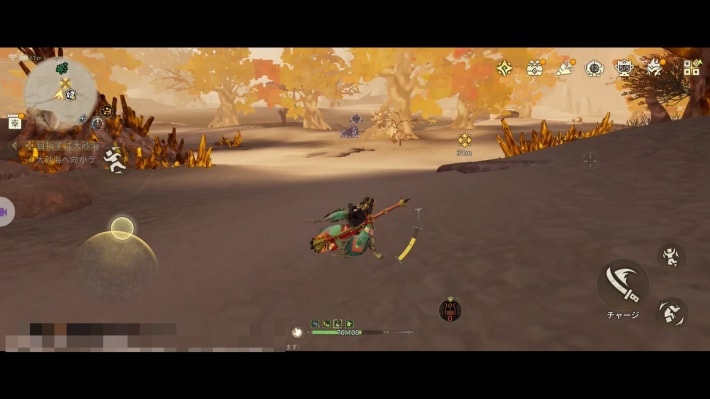 | 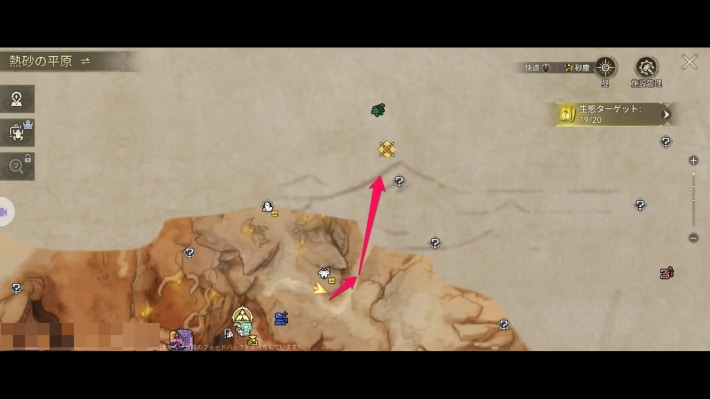 |
Keep heading north through the Golden Expanse.
Slay the Radiant Barroth
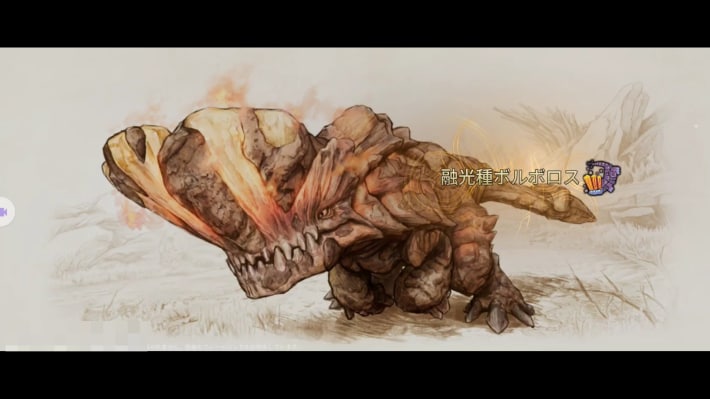
A Radiant Barroth appears; slay it. Afterward, carve it to complete the quest.
Wondrous Visages
Get Visages from the Newly Unlocked Field Hunts
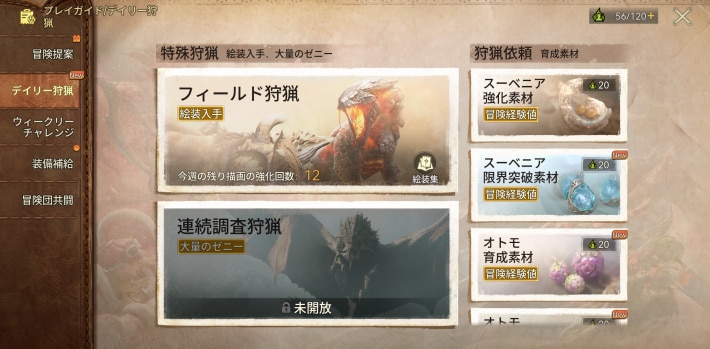
Field Hunts in Daily Hunts are now unlocked, so slay monsters to get visages. It isn't limited to the monsters shown when you tap Field Hunts: every field monster you can see on the map counts.
Point!You also get visages from captures, so walk up to the monster to collect them.
Equip the Visages You Got
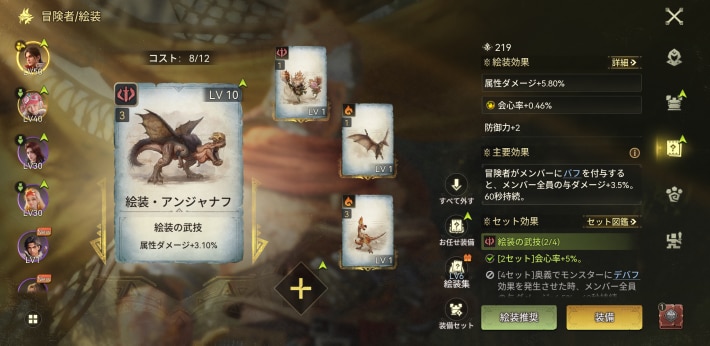
Equip the visages you got.
Visage GuideGet Upgrade Materials from Hunt Request and Upgrade
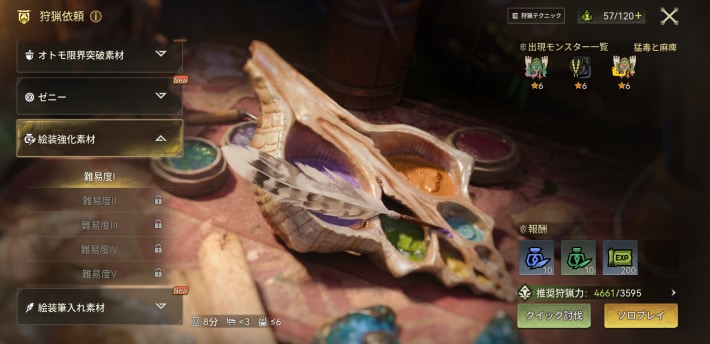
Get visage upgrade materials from Hunt Request and upgrade one of your equipped visages.
Raise Your Visage Album Level to 3
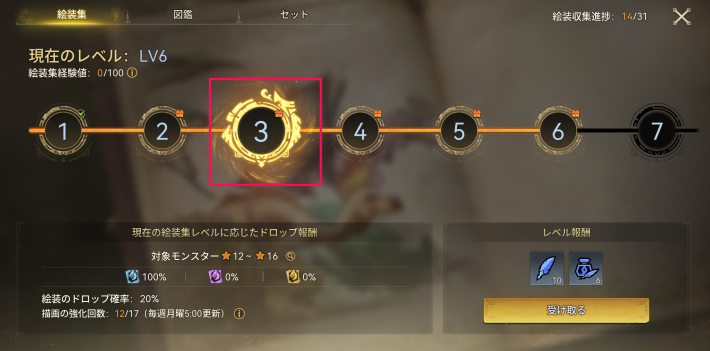
Raise your Visage Album to level 3. The Visage Album level goes up when you get a visage you didn't have, so slaying one more monster in Field Hunts for a visage gets you to level 3.
Visage GuideUnexpected Distress Signal
Keep Crossing the Sands
| Destination | Map screen |
|---|---|
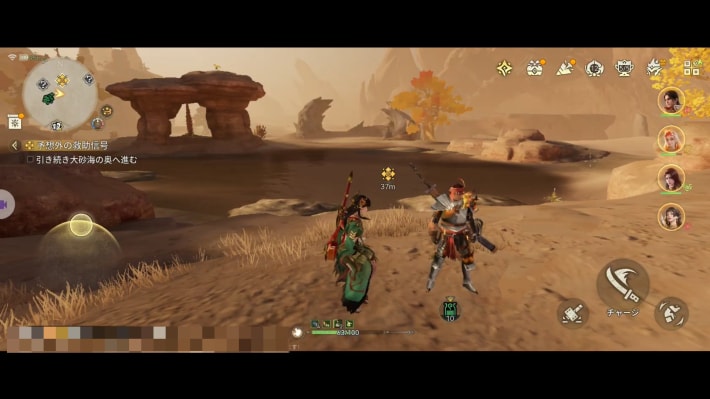 | 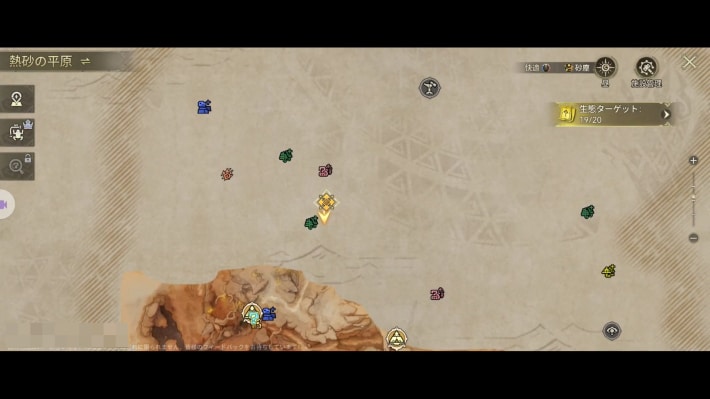 |
Keep heading north through the sands. Once you've gone some way into the water, the next quest marker appears.
Head to the Source of the Signal
| Destination | Map screen |
|---|---|
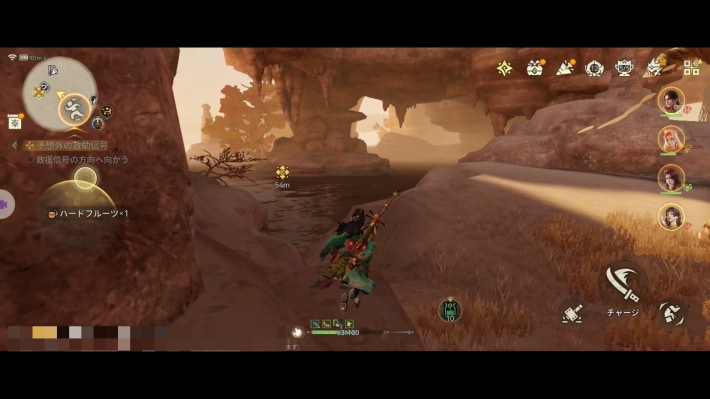 | 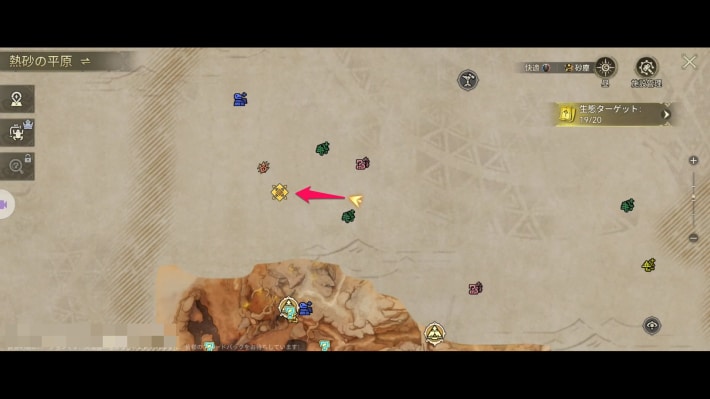 |
Head to where the signal was fired. There's a pond in the hollow beneath the rocky hill; the quest moves on when you get near it.
Slay the Radiant Jyuratodus
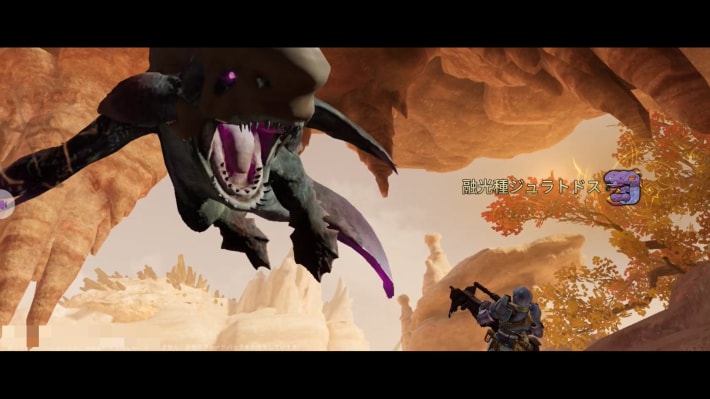
Slay the Radiant Jyuratodus. Afterward, you also need to carve it.
Meet Up with the Guild Member
| Destination | Map screen |
|---|---|
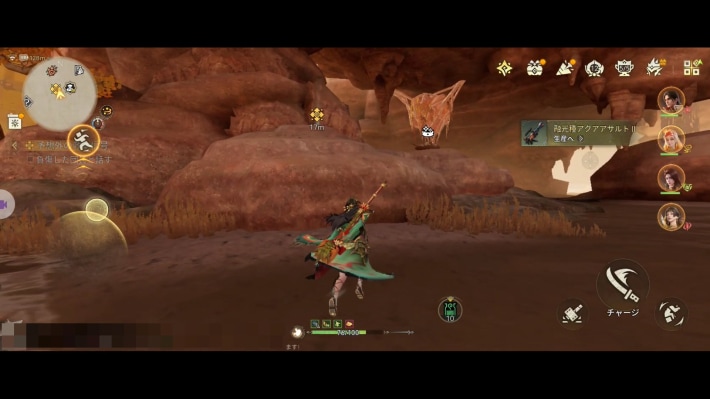 | 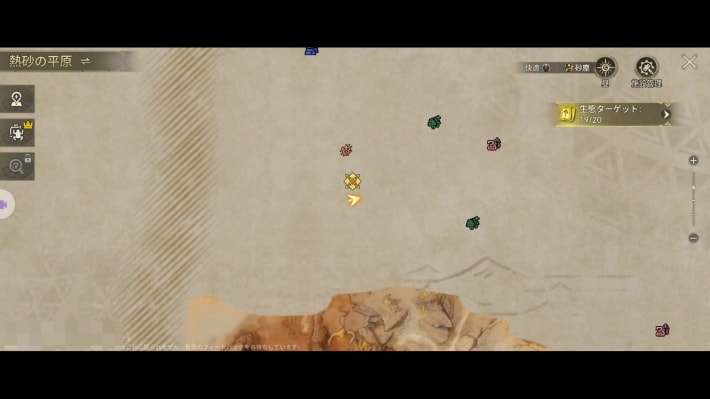 |
Meet up with the guild member on top of the rock nearby.
Head to the Observation Point
| Destination | Map screen |
|---|---|
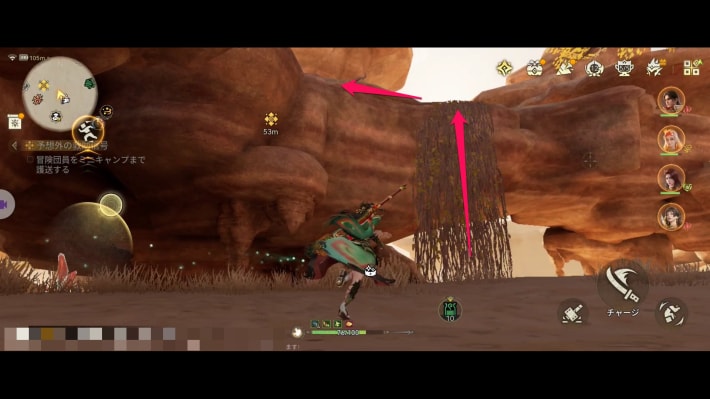 | 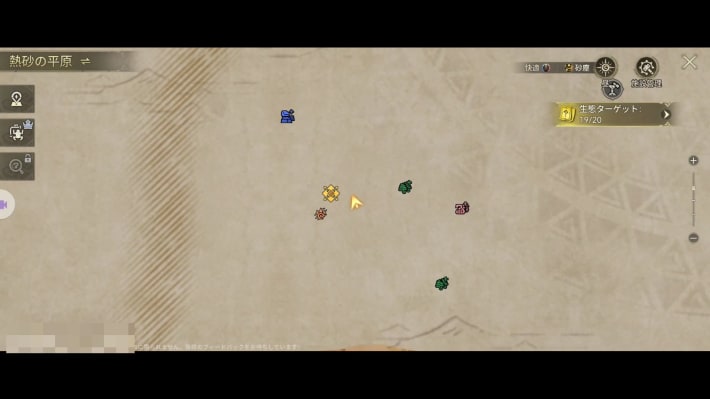 |
Head to the nearby observation point. It's above where you met the guild member, so go east first, then use a Wind Platform or the vines to get up there.
Set Up a Camp
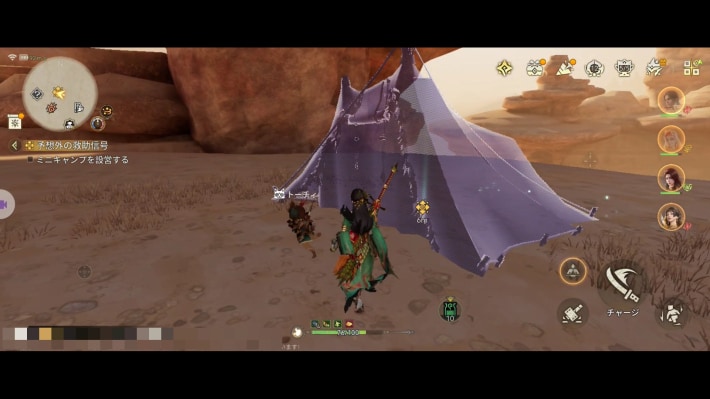
Set up a Camp at the observation point to move the story forward and complete the quest.
Path of Adventure
Raise Your Proof of Mastery
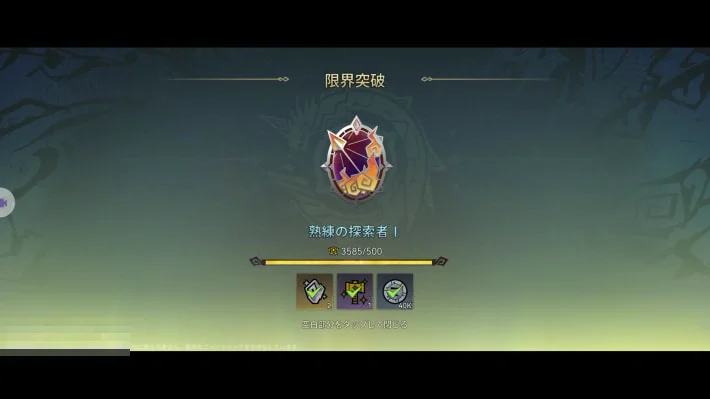
Raise your Proof of Mastery to Seasoned Explorer I.
Cradle in the Sandstorm
Return to the Sunken Oasis Camp
| Holly | Map screen |
|---|---|
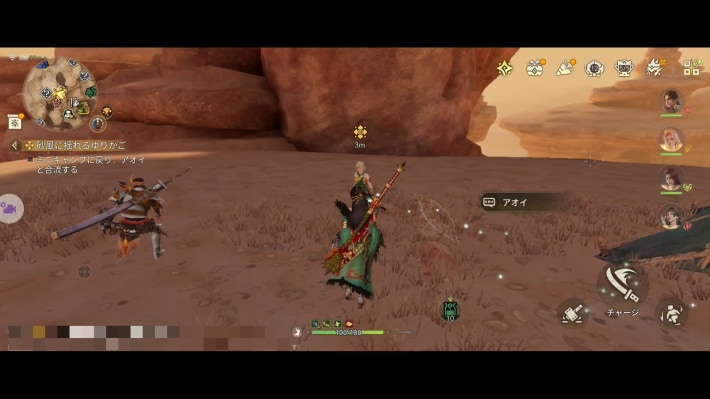 | 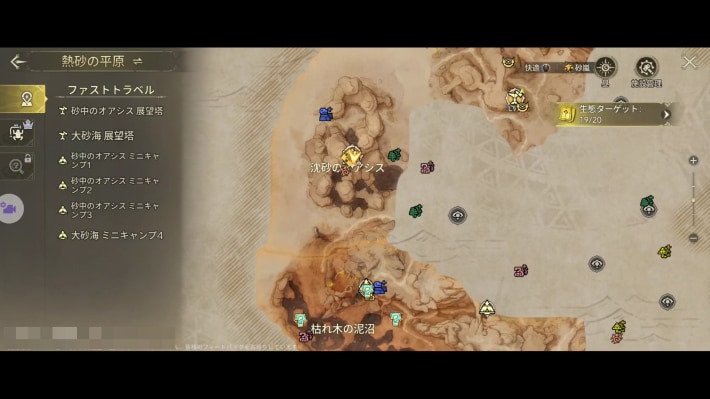 |
Talk to Holly, who's on the west side of the Sunken Oasis Camp.
Hunt a Rathian
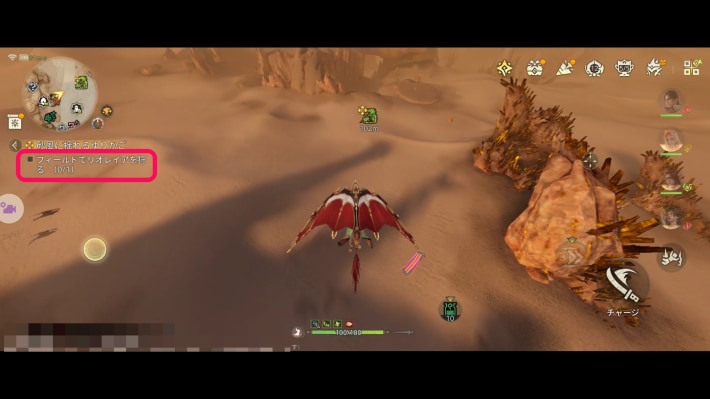
Hunt one Rathian in the field. If you slay it, you need to carve it. Tap the quest objective below the minimap and you'll track the Rathian automatically.
King of the Skies
Investigate the Rathian's Nest
| Nest | Map screen |
|---|---|
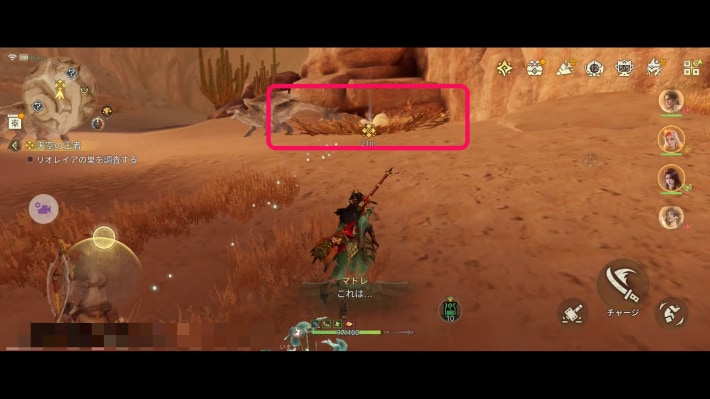 | 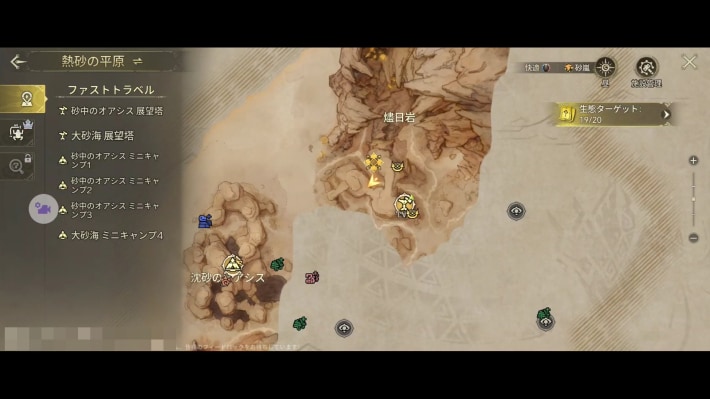 |
Investigate the Rathian's nest. Be careful: getting close moves the story on and starts a fight.
Hunt the Rathalos
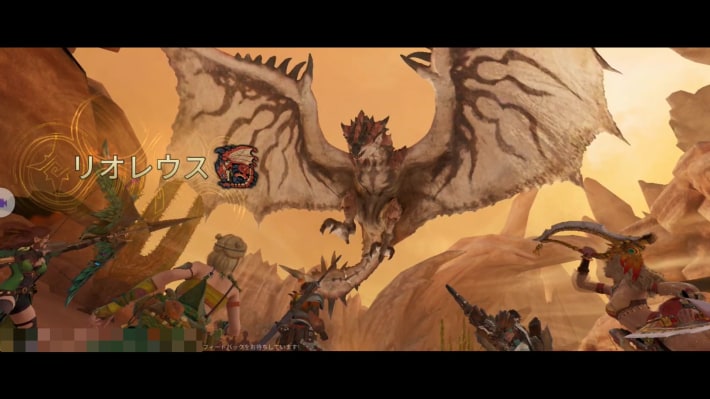
Hunt the Rathalos that appears. Afterward, carve it to complete the quest.
Vital Decision
Unlock the Glider's Ascend
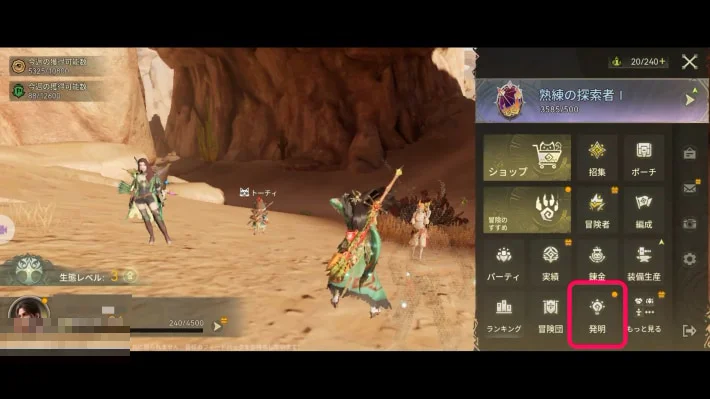 | 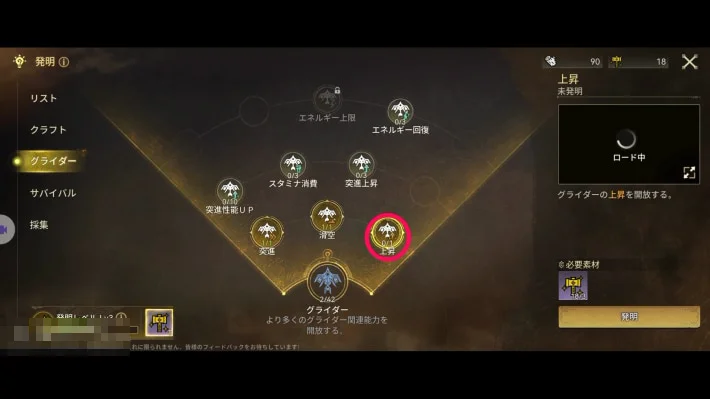 |
You can unlock Ascend under the glider in Research from the menu.
Research ListHead to the Golden Expanse Watchtower
| Destination | Map screen |
|---|---|
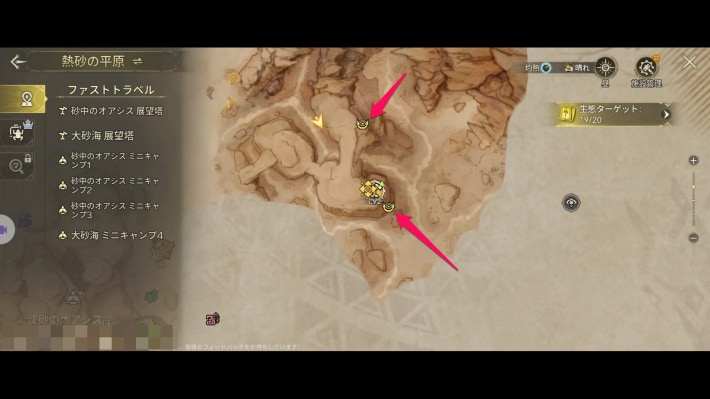 | 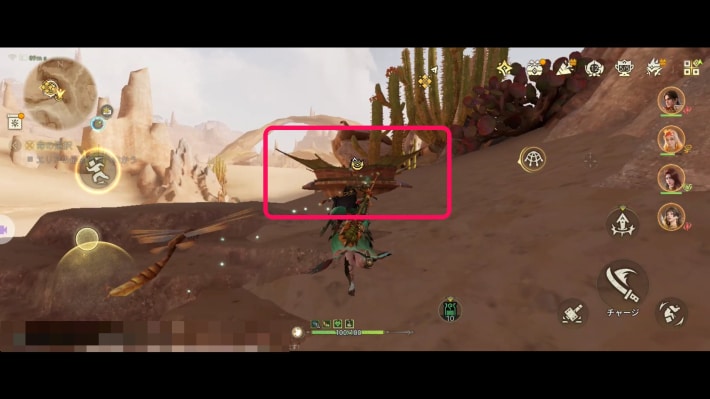 |
The Watchtower is on high ground, so we recommend placing a Wind Platform nearby and climbing with the glider's Ascend.
Get Stronger, Adventurer
You need to raise your Adventurer Rank to the required level. If you meet the requirement, the quest completes and you move on to the next chapter; if not, raise your Adventurer Rank with daily requests and Free Hunt.
Chapter 4: Toward the Light Unlocks
| Quest | Unlocks |
|---|---|
| Vital Decision |
|
Story Walkthrough by Chapter
Story Walkthrough
The screenshots are from the Japanese version of the game.