This is the walkthrough chart for Chapter 6, “Crimson Dusk,” of the Monster Hunter Outlanders story. It goes through each main quest step by step with screenshots and lists what each quest unlocks.
Chapter 6: Crimson Dusk Walkthrough
Dawn Against Disaster
Approach Freya near the Quest Counter
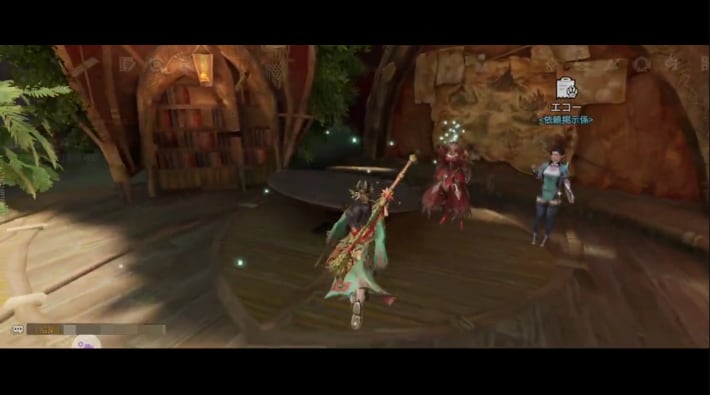
Approach Freya near the quest counter in Kulune, and a cutscene plays and the story moves on.
Where the Sea Wind Ends
Set Up a Camp at the Landing Point
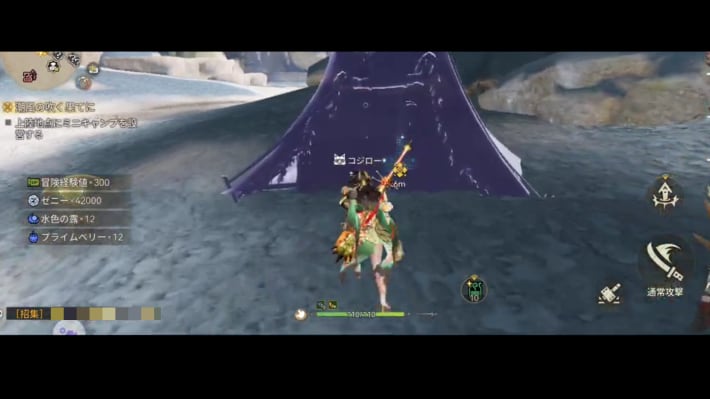
After the cutscene, you move to a new map. First, set up a Camp nearby as the quest guide shows.
Head to the First Survey Point
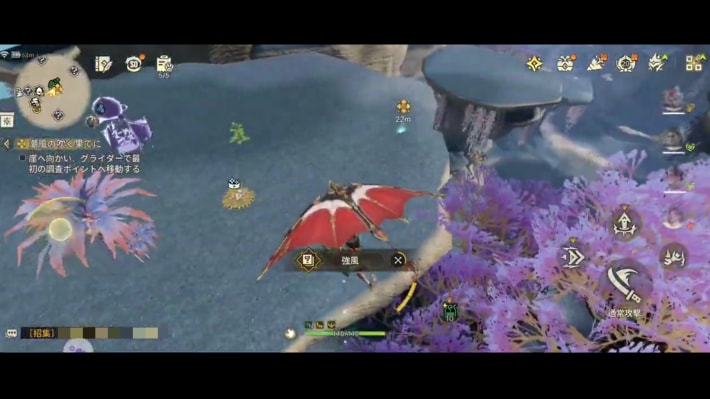
Find high ground and head to the first survey point. The goal is the spot you shoot up to with a Wind Platform. After a cutscene, the Tzitzi-Ya-Ku fight begins.
The Flashing Hunter Is Here!
Hunt the Tzitzi-Ya-Ku
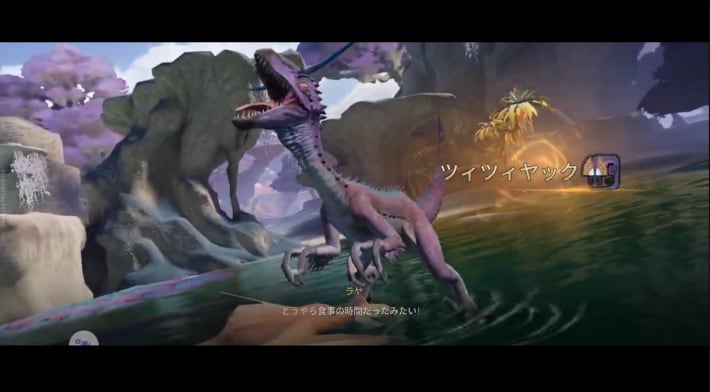
Hunt the Tzitzi-Ya-Ku that appears. Its weakness is thunder or ice. It isn't a Radiant monster, so capturing it is fine too.
Tzitzi-Ya-KuGazing upon the Grand Archipelago
Climb to High Ground (the Summit) Again and Pin Down the Survey Point
| What it looks like | Map screen |
|---|---|
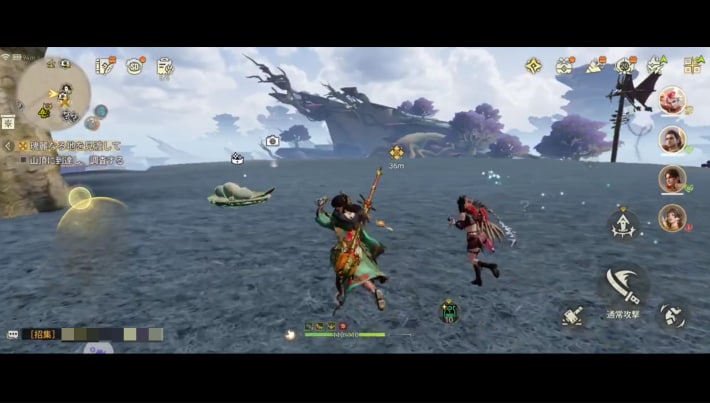 | 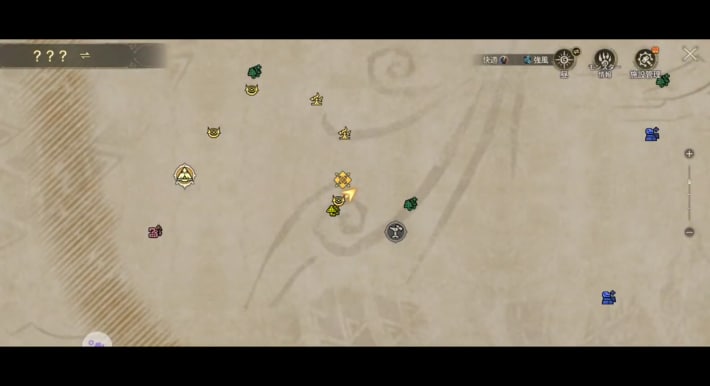 |
Look for the survey point again and climb to high ground. Building a Wind Platform makes it quicker.
Repair the Watchtower
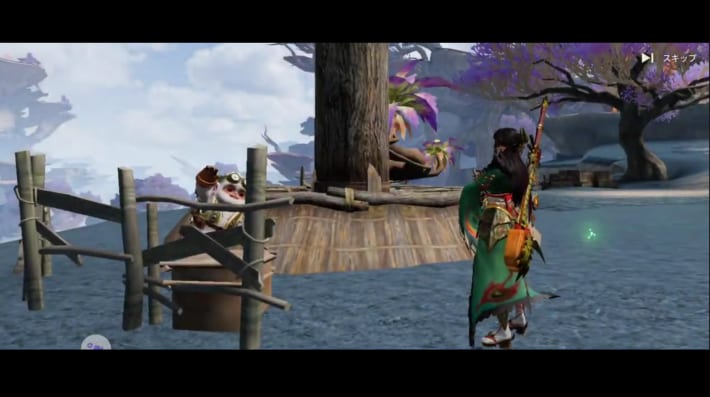
Go repair the Watchtower you spotted from the summit.
Make Your Way Through the Grand Archipelago
| Destination | Map screen |
|---|---|
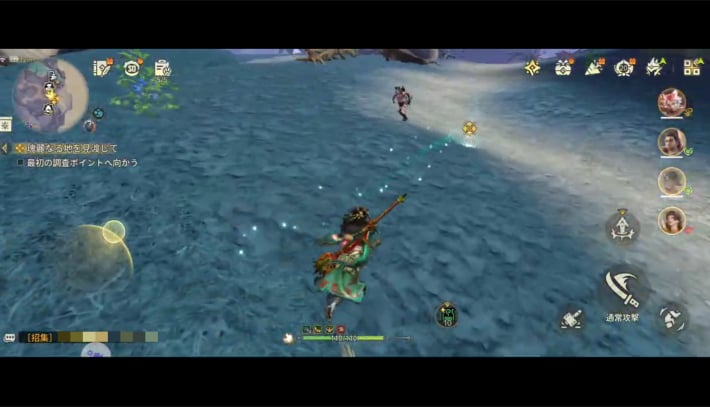 | 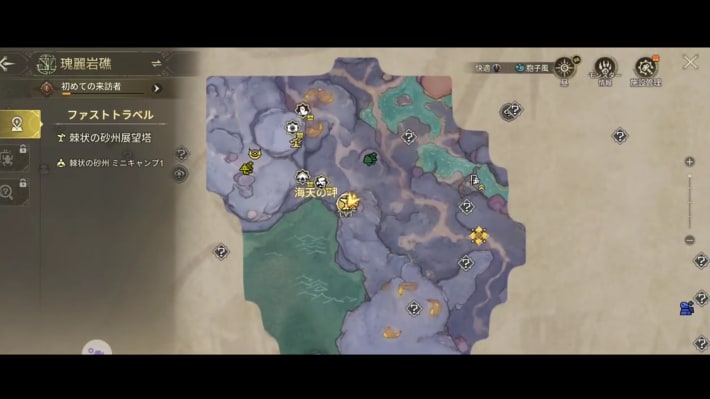 |
Keep making your way through the Grand Archipelago.
Gather a Nitroshroom
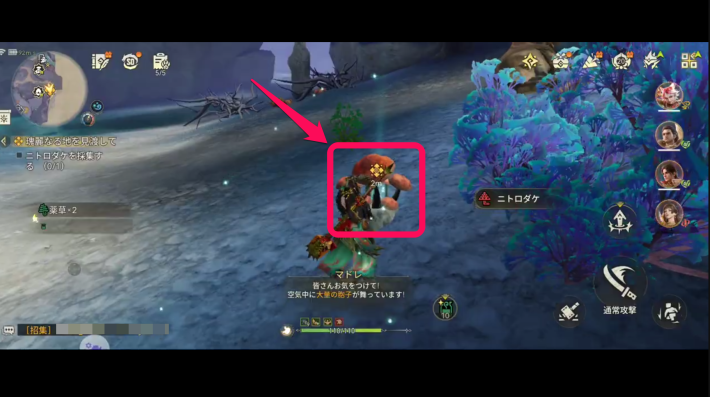
Make an Energy Drink to fight off drowsiness. The quest moves on once you gather a Nitroshroom, the ingredient.
Craft an Energy Drink
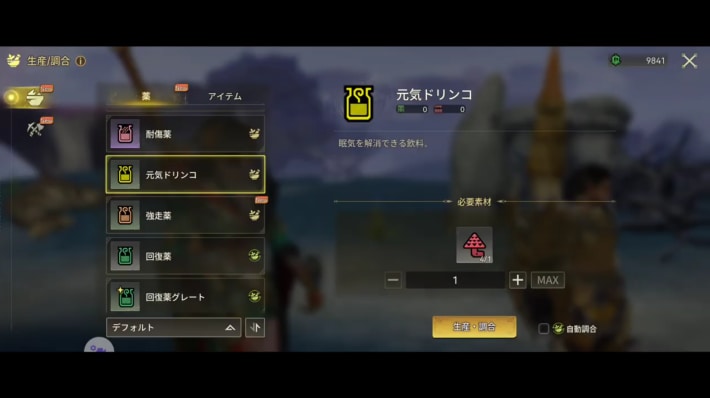
Use the Nitroshroom you gathered to craft an Energy Drink. It counters spore winds, a weather that only occurs in the Grand Archipelago, and drinking it moves the story forward.
Make Your Way Through the Grand Archipelago Again
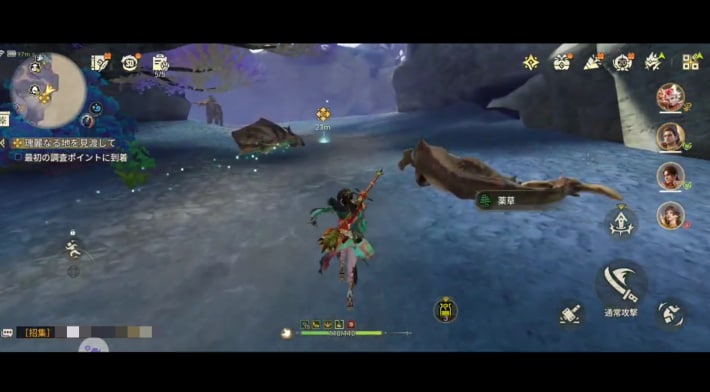
Follow the quest guide and a cutscene starts. Be careful: the Paolumu fight begins right after it.
Sweet Dream Disrupted
Hunt the Paolumu
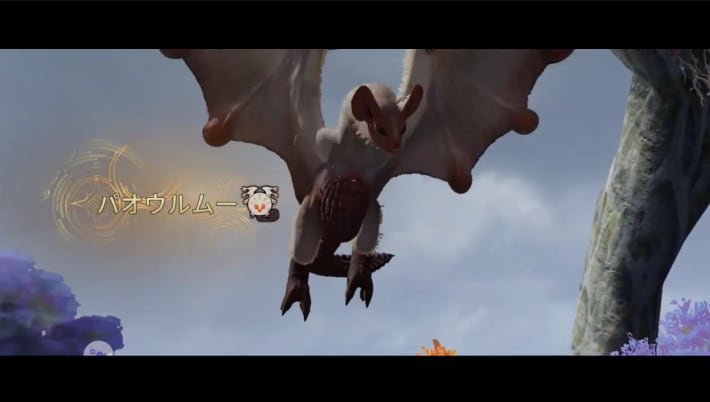
Hunt the Paolumu that appears. Its main weakness is fire, followed by thunder. It isn't a Radiant monster, so capturing it is fine too.
PaolumuGentle Dusk Falls
Head to the Second Survey Point
| Destination | Map screen |
|---|---|
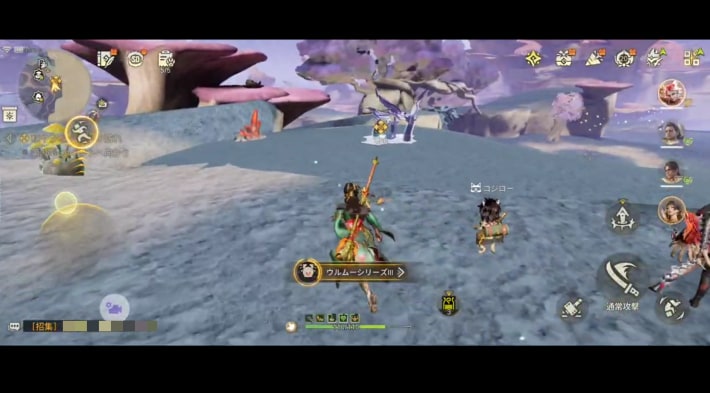 | 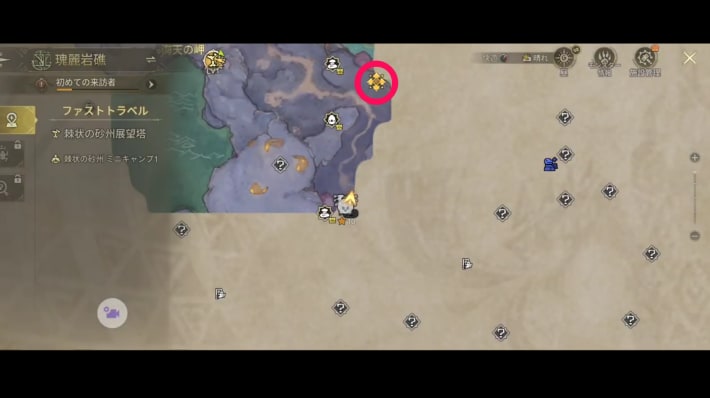 |
Head to the second survey point. Building a Zip Line toward the destination gets you to the next point smoothly.
Follow the Guide Through the Grand Archipelago
| Destination | Map screen |
|---|---|
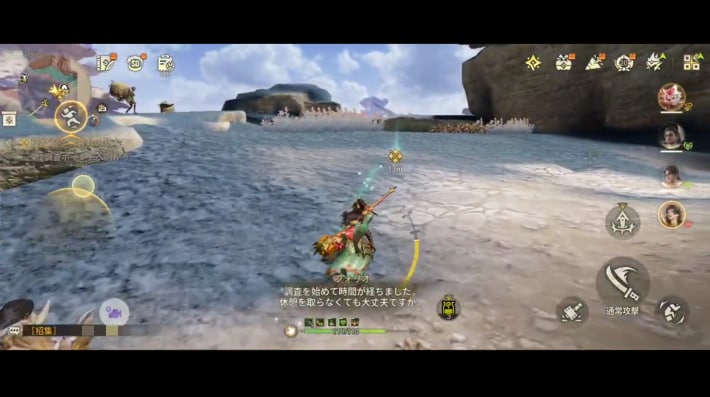 | |
Keep making your way through the Grand Archipelago to reach the second survey point.
Push Further Through the Grand Archipelago
| Destination | Map screen |
|---|---|
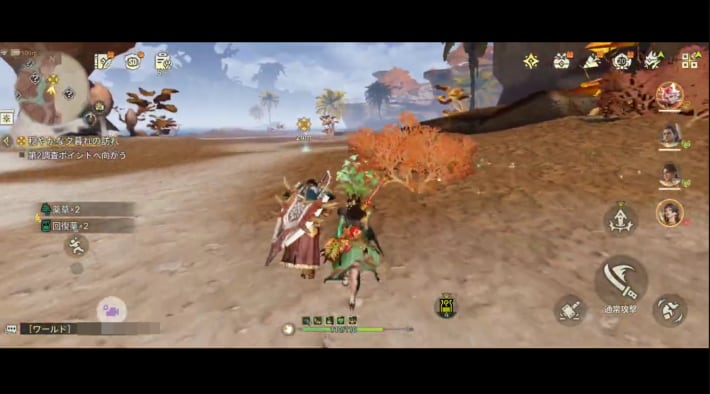 | 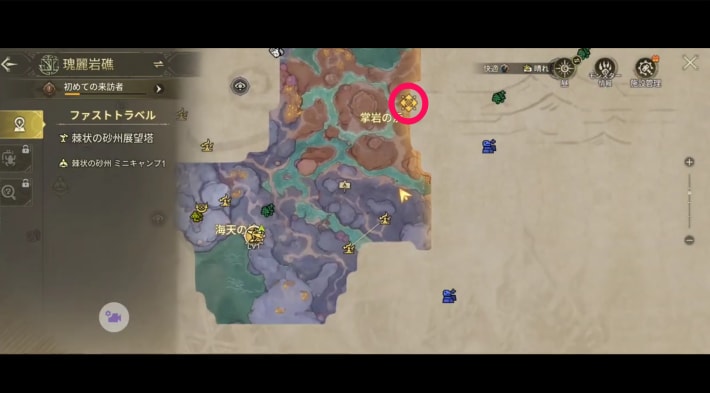 |
Keep making your way through the Grand Archipelago.
Investigate the Suspicious Man-Made Traces
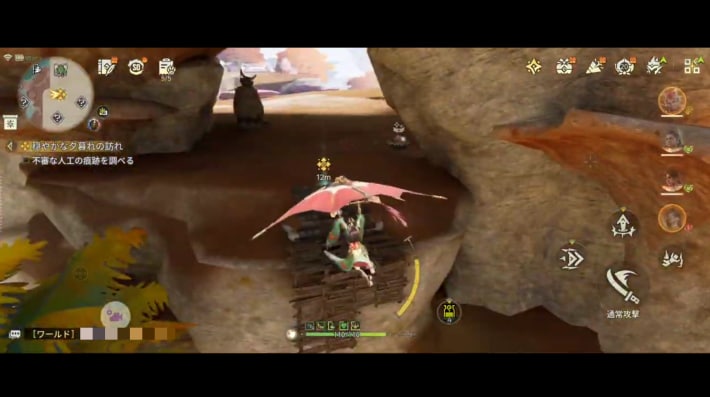
From where you arrive, head to the platform you can see above you. A Wind Platform gets you there smoothly here too.
Observe Three Statues
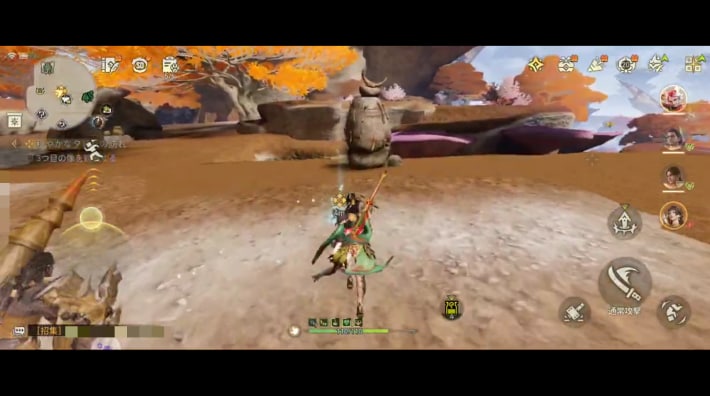
Observe the three statues near the platform. Just approach each statue as the quest guide shows.
Approach the Statue on the Other Mountain
| Destination | Map screen |
|---|---|
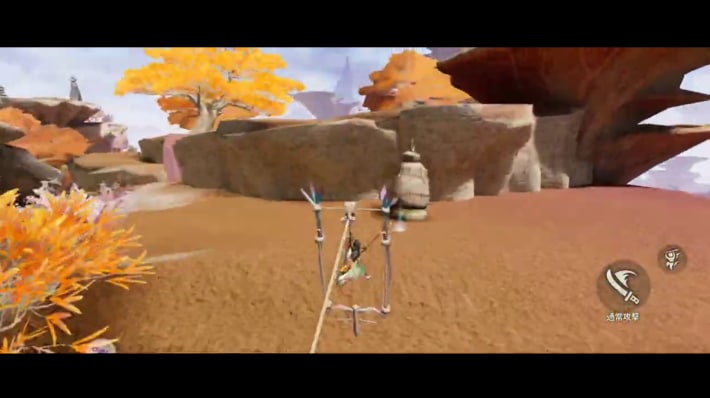 | 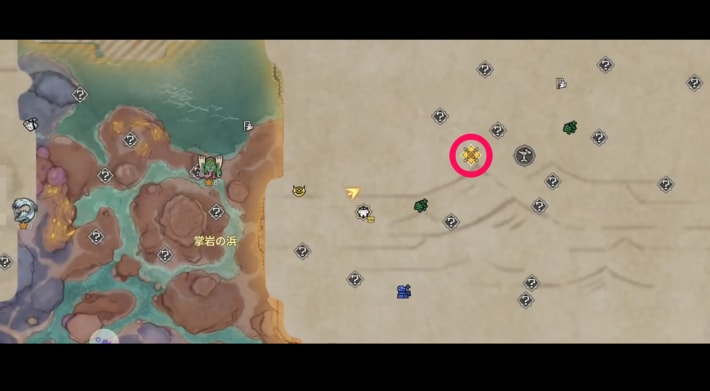 |
Go check the statue on the other mountain. You can cross straight over with a Zip Line.
Repair the Watchtower
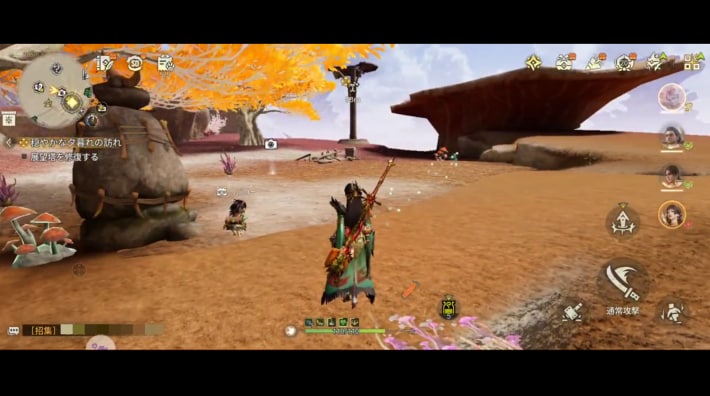
After checking the statue on the other mountain, you find a Watchtower. Repair it to clear the fog on the map.
Get Stronger, Adventurer
Raise your Adventurer Rank to 36. If you meet the requirement, the quest completes and you move on to the next chapter; if not, raise your Adventurer Rank with daily requests and Free Hunt.
How to Raise Adventurer RankIcy Wings Dance in the Night Sky
Head to the Second Survey Point
| Destination | Map screen |
|---|---|
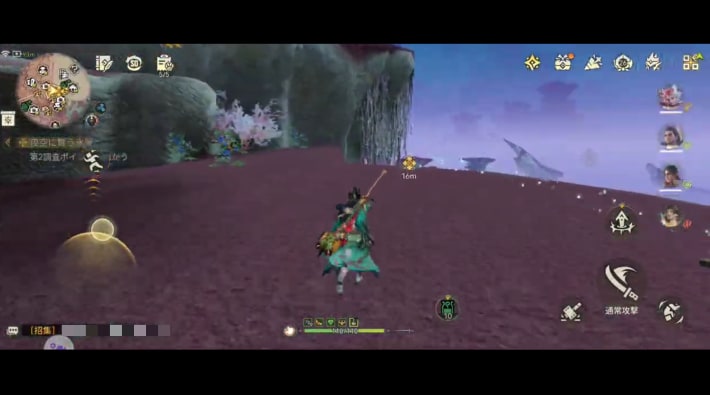 | 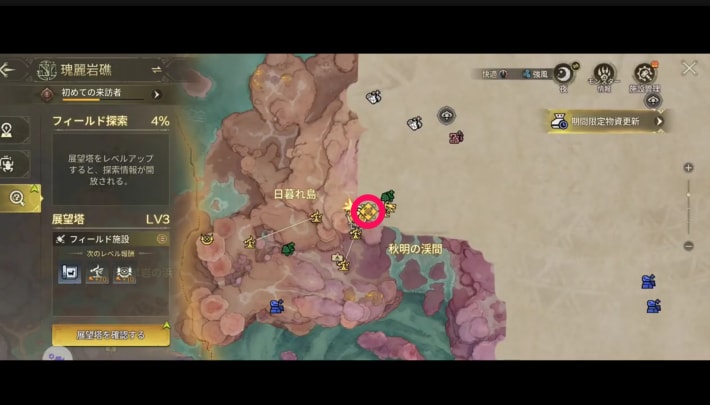 |
Once your Adventurer Rank reaches 36, go back to the Watchtower and head to the second survey point nearby. A cutscene plays when you get there.
Follow the Shooting Star
| Destination | Map screen |
|---|---|
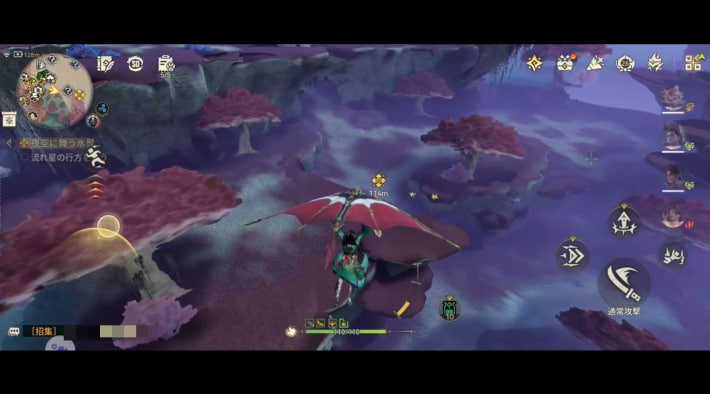 | 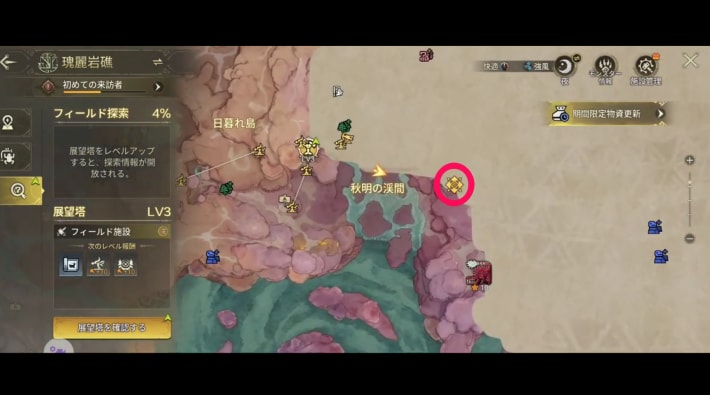 |
Follow the shooting star. You can reach it just by flying to the destination with the glider or a Catapult, and the quest moves on when you get close.
Examine the Raphinos Carcass
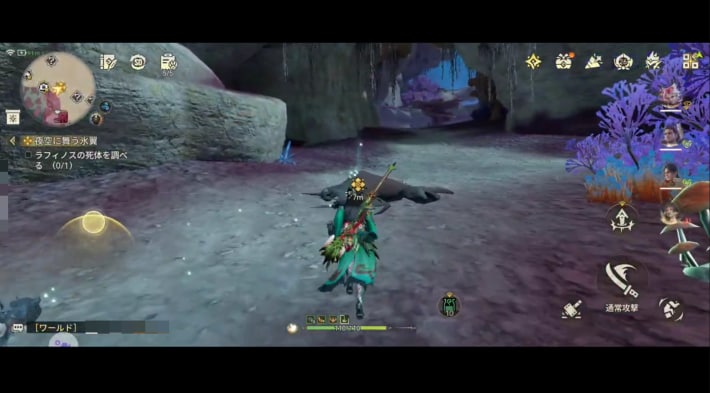
Examine the Raphinos carcass.
Examine the Claw Marks Covered in Ice Crystals
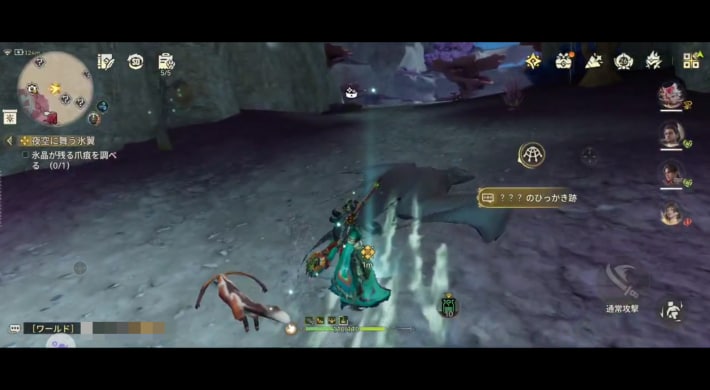
There are scratch marks a little further on. Examining them shows the next point.
Reach the Spot Where the Shooting Star Fell
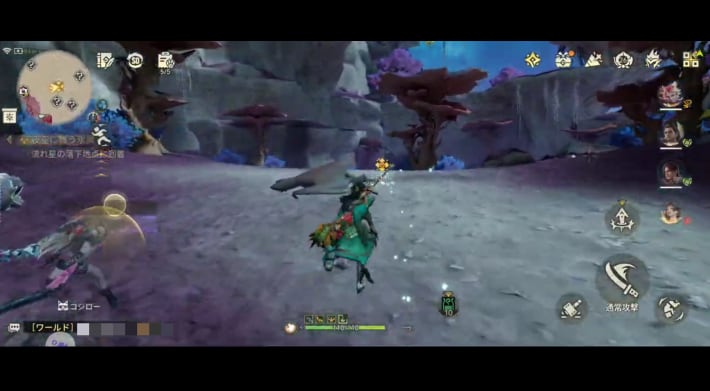
A cutscene plays when you reach the spot where the shooting star fell. Be careful: the Legiana fight begins right after it.
Hunt the Legiana
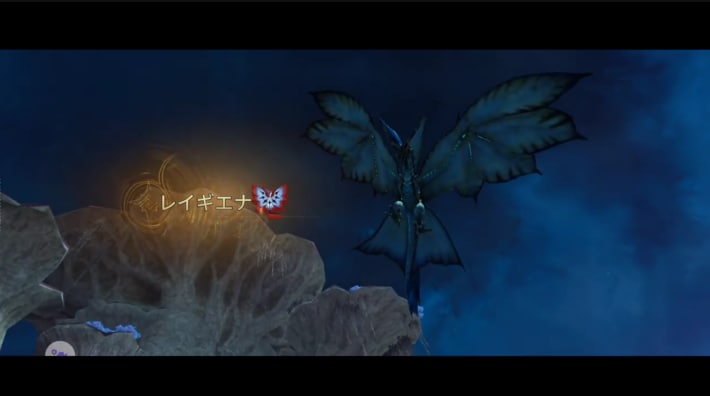
Hunt the Legiana that appears. Its main weakness is thunder, followed by fire. It isn't a Radiant monster, so capturing it is fine too.
Radiant Hunt
Take Part in One Radiant Hunt
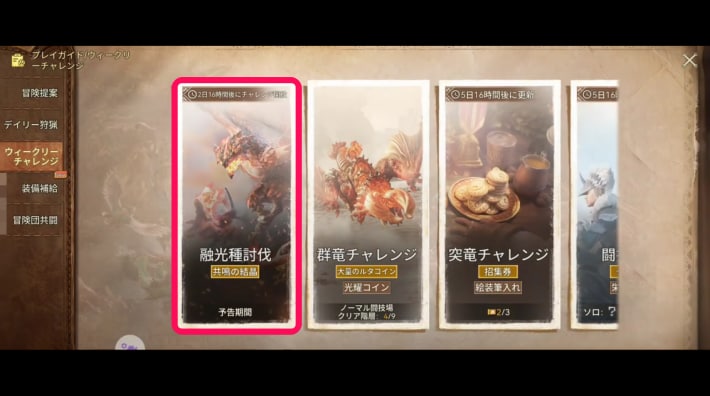
Take on the newly unlocked Radiant Hunt once. Bringing weapons and adventurers with the monster's weak element makes it easier to clear.
Radiant MonstersGet Stronger, Adventurer
Raise your Adventurer Rank to 38. If you meet the requirement, the quest completes and you move on to the next chapter; if not, raise your Adventurer Rank with daily requests and Free Hunt.
How to Raise Adventurer RankTravel by Night
Head to the Third Survey Point
| Destination | Map screen |
|---|---|
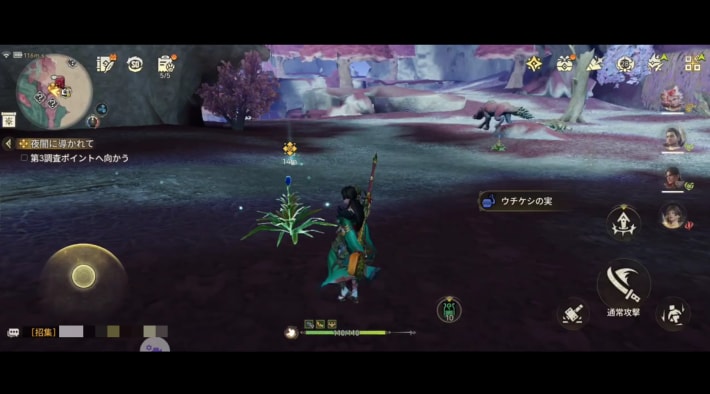 | 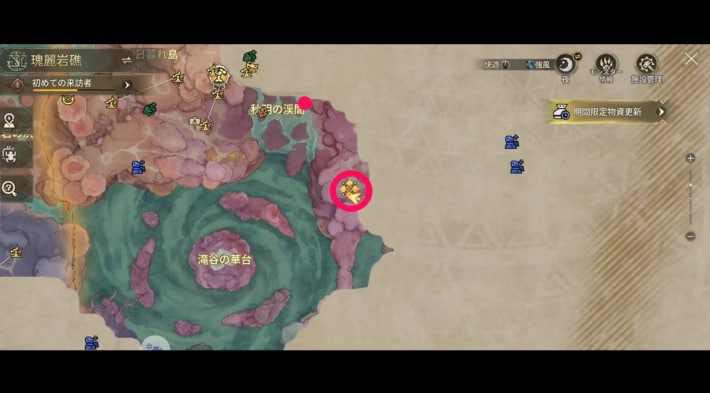 |
Head to the third survey point. The quest moves on when you get close.
Examine the Huge Claw Marks
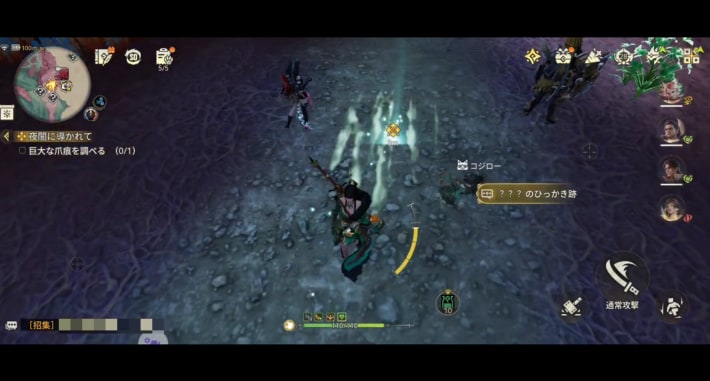
Examine the huge claw marks nearby.
Examine the Faint Tracks on the Ground
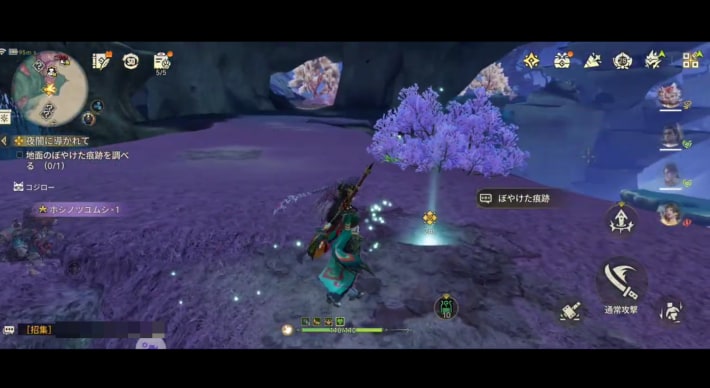
Following the quest guide, examine the faint tracks on the ground next.
Examine the Aptonoth Carcass
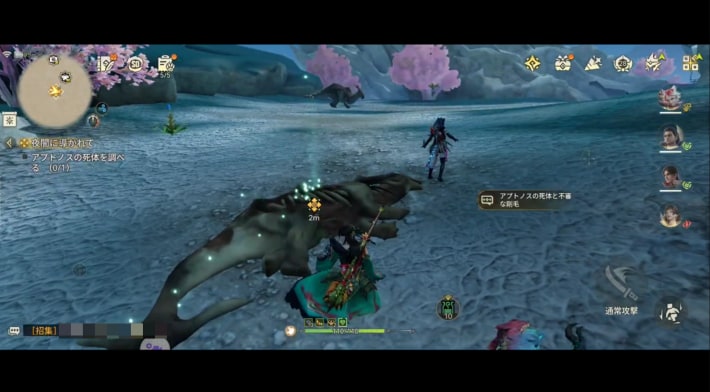
Keep following the quest guide toward the third survey point. Examine the Aptonoth carcass where you arrive to move on.
Arrive at the Third Survey Point
| Destination | Map screen |
|---|---|
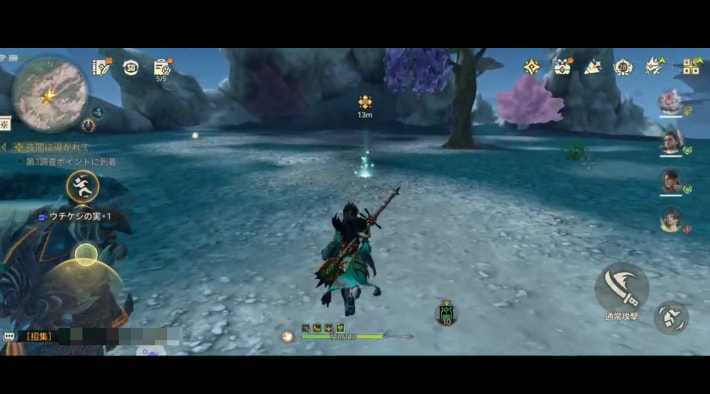 | 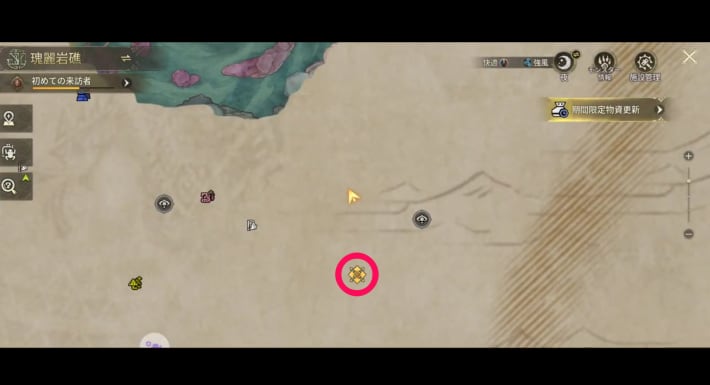 |
Head to the third survey point. When you arrive, a cutscene plays and the Pink Rathian fight begins.
Flowers Against the Tide
Hunt the Pink Rathian
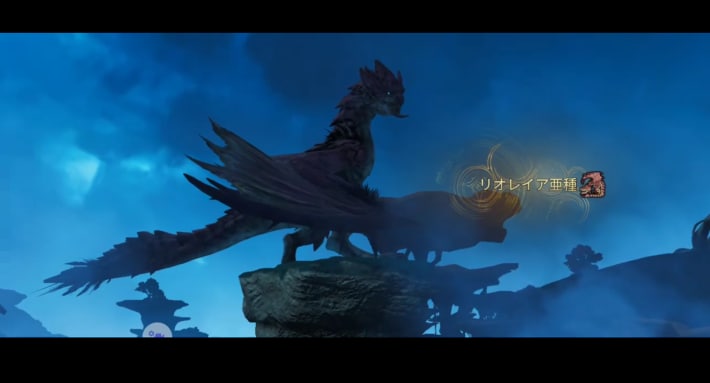
Hunt the Pink Rathian that appears. Its main weakness is dragon, followed by thunder. It isn't a Radiant monster, so you can also clear the quest by capturing it.
Pink RathianGet Stronger, Adventurer
Raise your Adventurer Rank to 40. If you meet the requirement, the quest completes and you move on to the next chapter; if not, raise your Adventurer Rank with daily requests and Free Hunt.
How to Raise Adventurer RankSound the Horn Here
Return to the Village and Talk to Holly near the Quest Counter
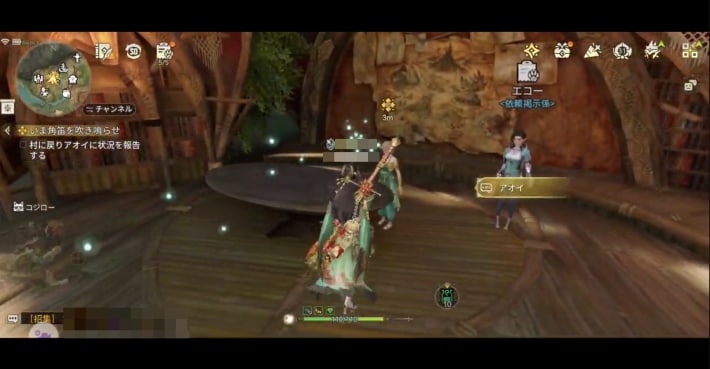
Talk to Holly near the quest counter in Kulune; a cutscene plays and a choice appears. Choosing to go ahead moves the story on into the Ruger Aidal fight, so prepare properly, for example by equipping a fire weapon to hit its weakness.
Fight Ruger Aidal
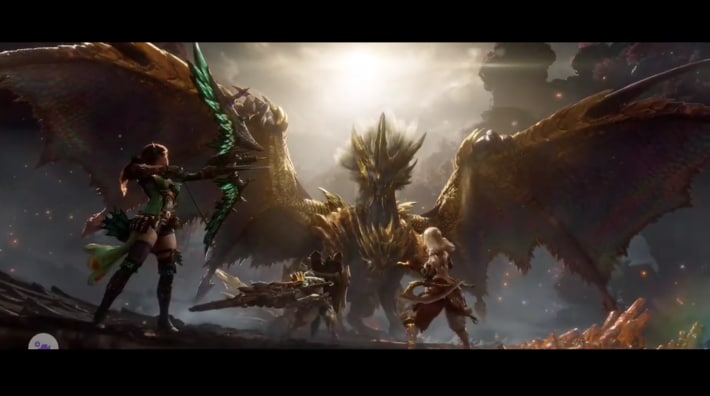
The Ruger Aidal fight begins. It's an Elder Dragon far stronger than any monster so far, so get your adventurers and gear well developed before you take it on.
 Point!
Ruger Aidal is weak to fire and ice
Carve Ruger Aidal
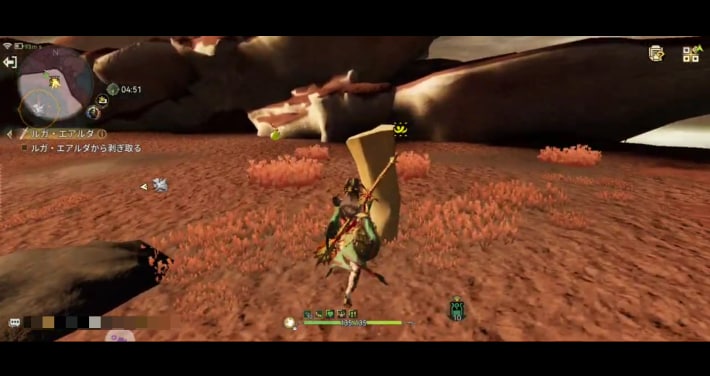
When you win the fight, carve Ruger Aidal. You can also carve parts you broke, so if you managed to break any, don't forget to carve them.
The Unfinished Journey
Talk to Freya near the Quest Counter
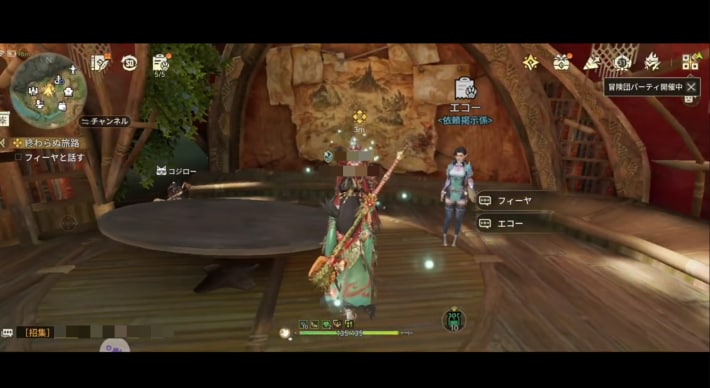
Back in Kulune, talk to Freya near the quest counter. After the cutscene, you've finished the main story that's currently available.
Chapter 6: Crimson Dusk Unlocks
| Quest | Unlocks |
|---|---|
| Radiant Hunt |
|
Story Walkthrough by Chapter
Story Walkthrough
The screenshots are from the Japanese version of the game.