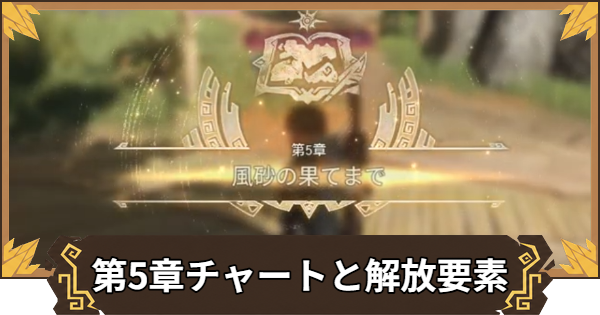
This is the walkthrough chart for Chapter 5, “To the End of the Sands,” of the Monster Hunter Outlanders story. It goes through each main quest step by step with screenshots. This chapter unlocks no new features.
Chapter 5: To the End of the Sands Walkthrough
A Glimmer in the Notes
Approach Holly near the Quest Counter
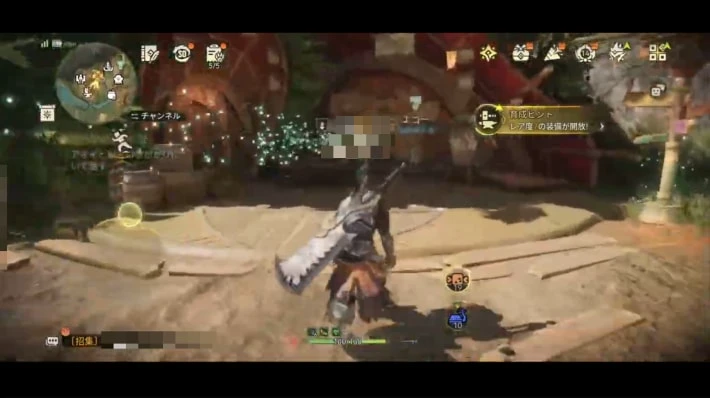
Approach Holly near the quest counter in Kulune, and a cutscene plays and the story moves on.
Head to the Spot in the Notes (Searing Plains)
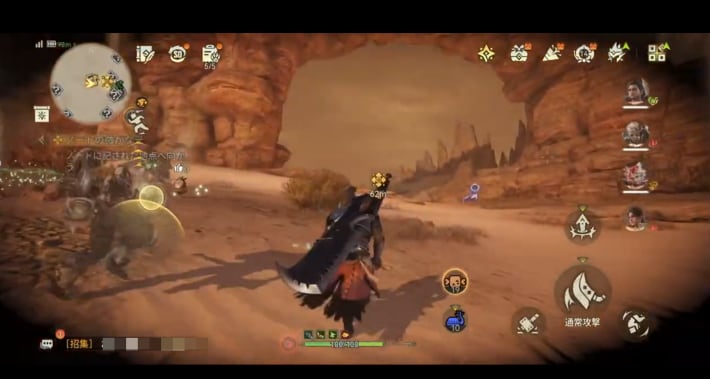
Go to the Searing Plains to reach the spot written in the notes. When you arrive at the marked spot, a cutscene plays and the Diablos fight begins.
Horns Bursting Through the Sand
Hunt the Diablos
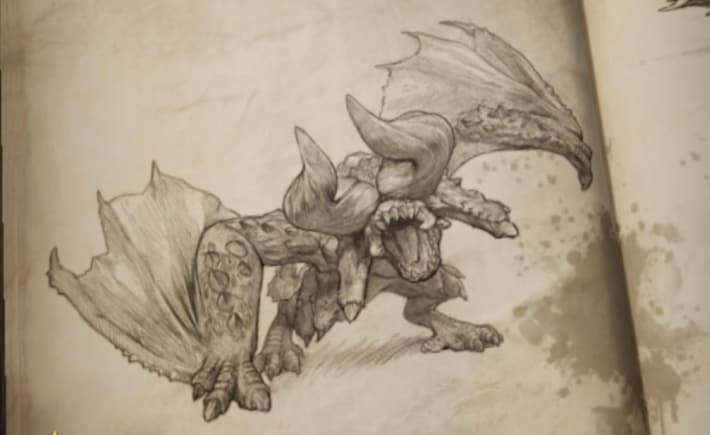
Hunt the Diablos that appears. Its main weakness is ice, followed by water and dragon.
DiablosCarve the Diablos
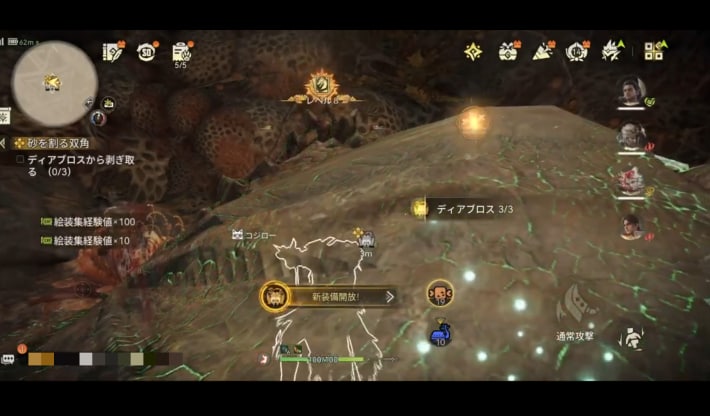
You follow the fleeing Diablos into a new map. First, carve the Diablos lying in front of you.
The Path to the Lost Land
Slide Down the Slope
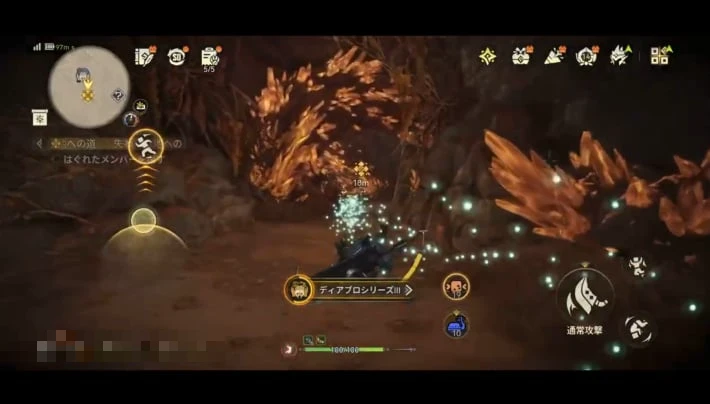
Look for your separated party members. Slide down the slope as the quest guide shows, and a cutscene starts.
Repair the Watchtower
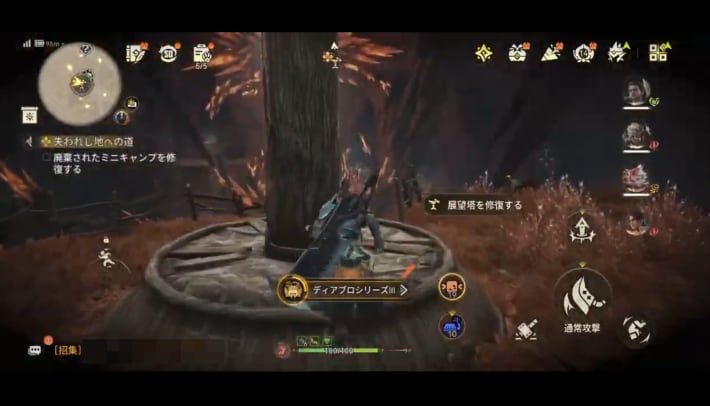
Repair the nearby Watchtower. The fog on the map clears, making it easier to get around.
Head Toward the Voice
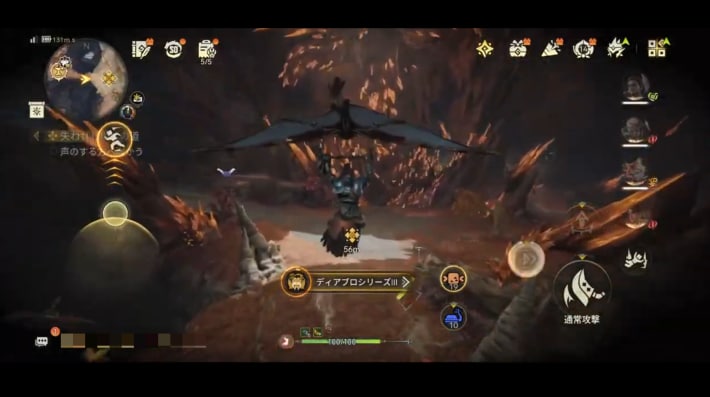
From the Watchtower, jump off in the direction the quest guide shows and glide straight ahead. When you arrive at the marked spot, a cutscene plays and the Radiant Great Girros fight begins.
Venomous Glow in the Dark
Hunt the Radiant Great Girros
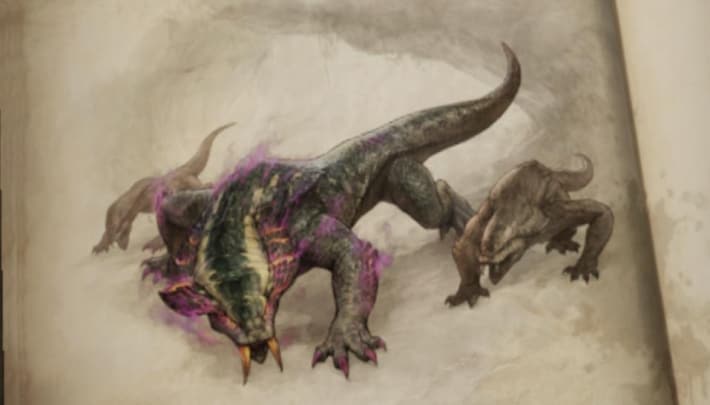
Hunt the Radiant Great Girros that appears. Its weakness is dragon.
Radiant Great GirrosCarve the Radiant Great Girros
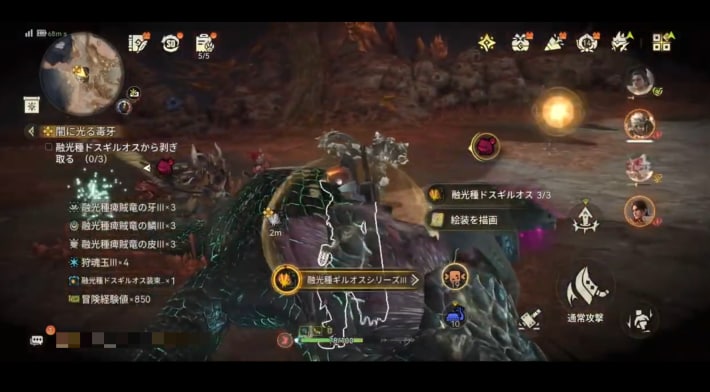
Carve the Radiant Great Girros you slew.
Follow the Clues Using Zip Lines
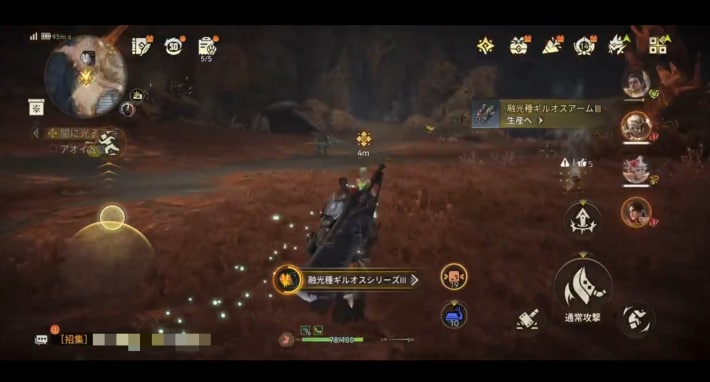
Make your way through the Rotfall Abyss as the quest guide shows. Using Zip Lines and Catapults gets you there smoothly.
The Battering Chariot
Hunt the Radobaan
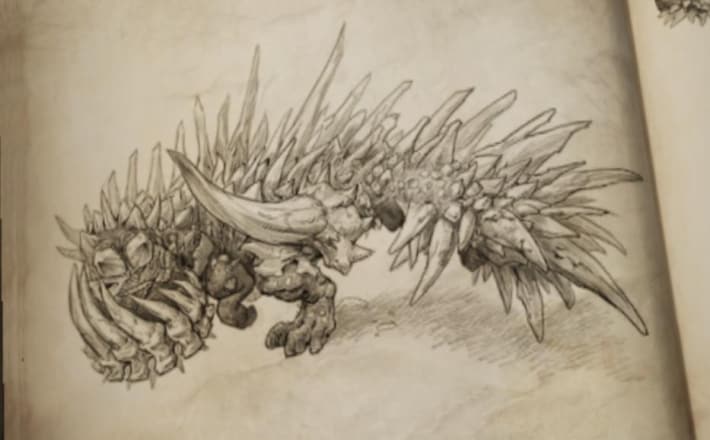
Hunt the Radobaan that appears. Its weakness is dragon.
RadobaanCarve the Radobaan
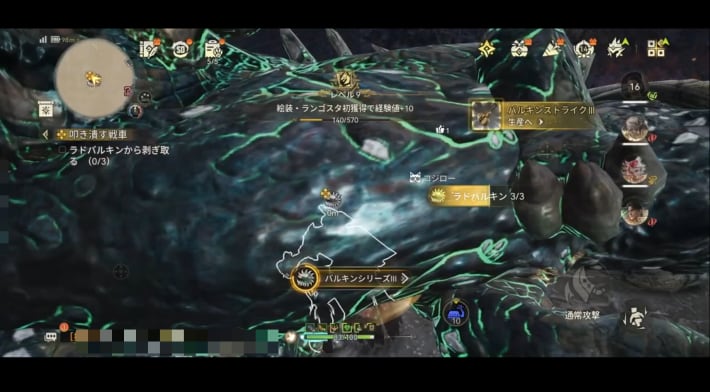
Carve the Radobaan you slew. A cutscene plays automatically once you finish carving.
The Border Between Light and Darkness
Head to the Spot in the Draft
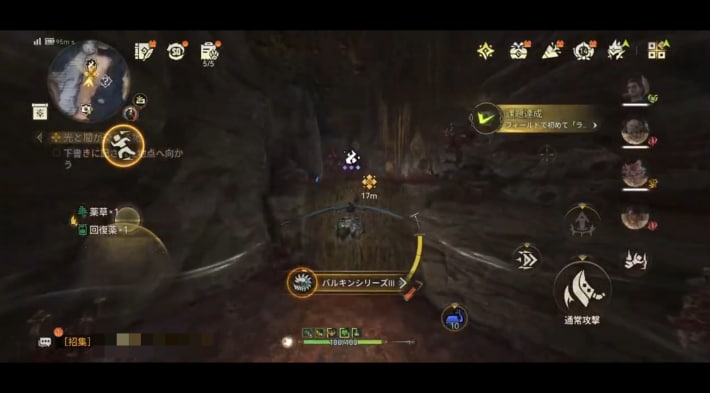
Make your way through the Rotfall Abyss as the quest guide shows.
Investigate the Clues as You Go
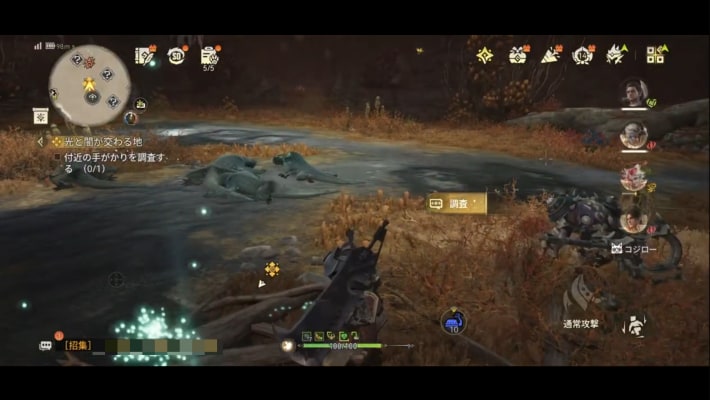
Keep making your way through the Rotfall Abyss as the quest guide shows. When the objective says "Investigate," you need to tap the spot to investigate it.
Set Up a Camp and Look Around
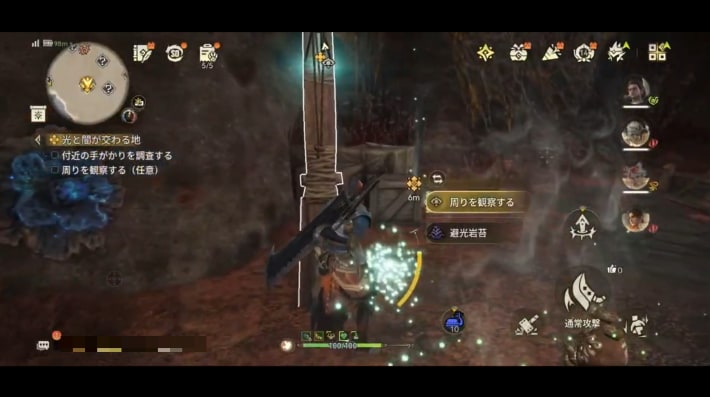
Set up a Camp. Clearing the fog on the map at the nearby observation point makes later exploring easier.
Find the Next Recorded Spot
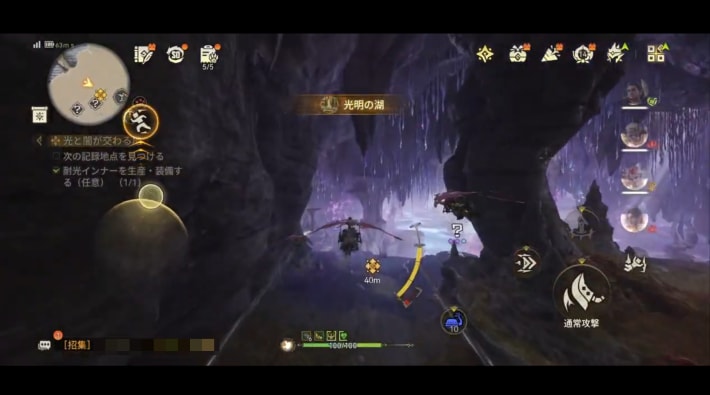
Make your way through the Rotfall Abyss as the quest guide shows.
Repair the Watchtower
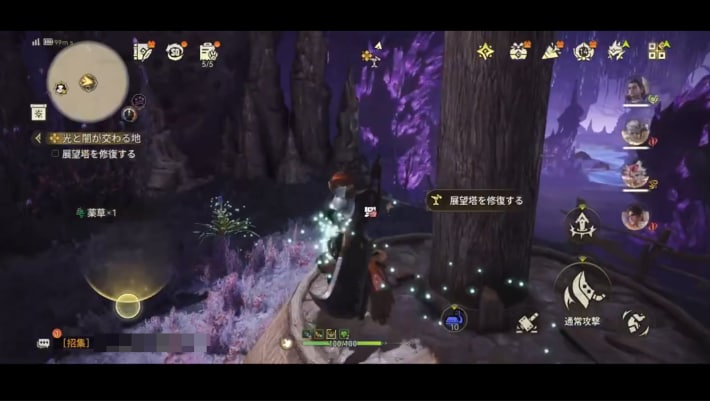
Repair the second Watchtower.
Investigate Near the Water
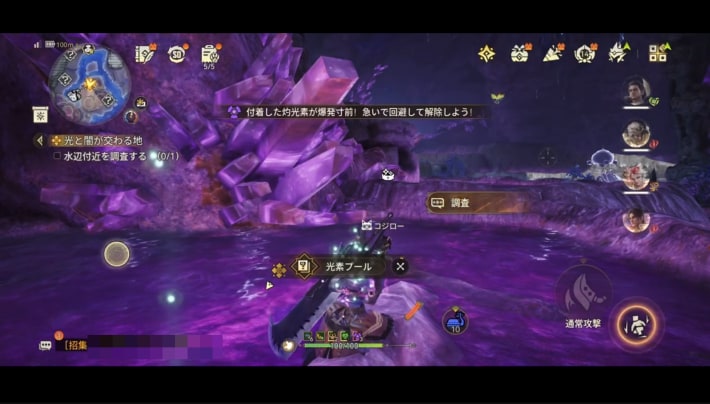
Investigate the area near the purple water. The glowing water explodes if you stay in it too long, so investigate from the rocks sticking out of it.
Lightning from the Abyss
Hunt the Radiant Tobi-Kadachi
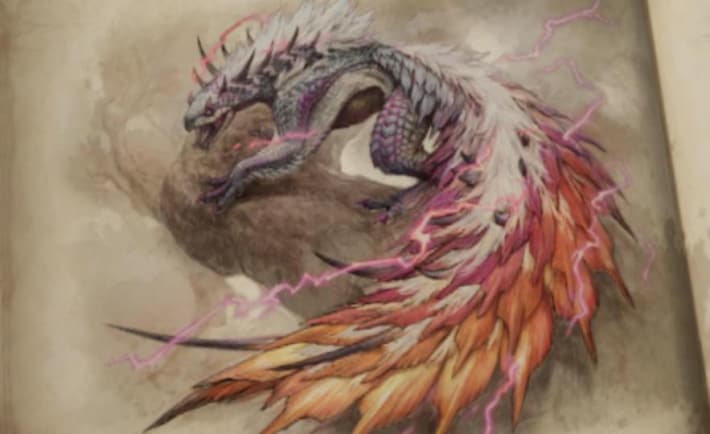
Hunt the Radiant Tobi-Kadachi that appears. Its weakness is water.
Radiant Tobi-KadachiCarve the Radiant Tobi-Kadachi
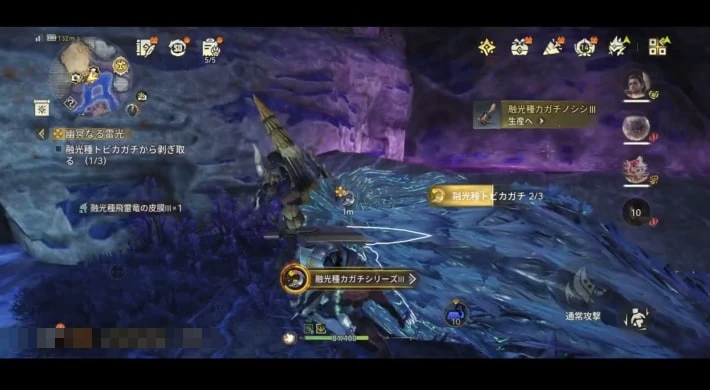
Carve the Radiant Tobi-Kadachi you slew. A cutscene plays automatically once you finish carving.
Get Stronger, Adventurer
Raise your Adventurer Rank to 32. If you meet the requirement, the quest completes and you move on to the next chapter; if not, raise your Adventurer Rank with daily requests and Free Hunt.
How to Raise Adventurer RankRoad's End
Keep Heading to the Spot in the Draft
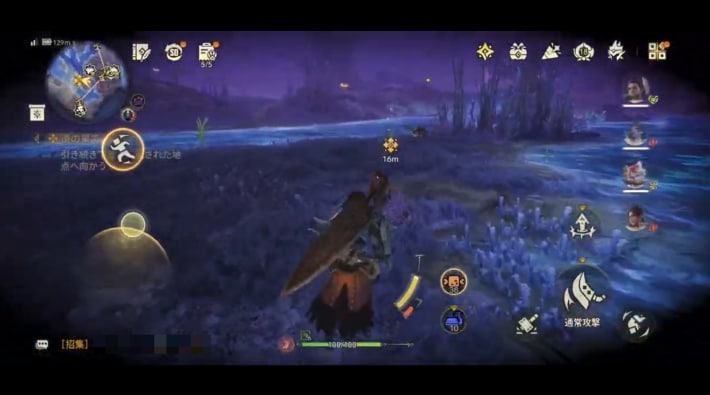
Once your Adventurer Rank reaches 32, go back to the Rotfall Abyss and head for the spot in the draft again. Following the quest guide is basically all you need to do.
Investigate the Black Substance
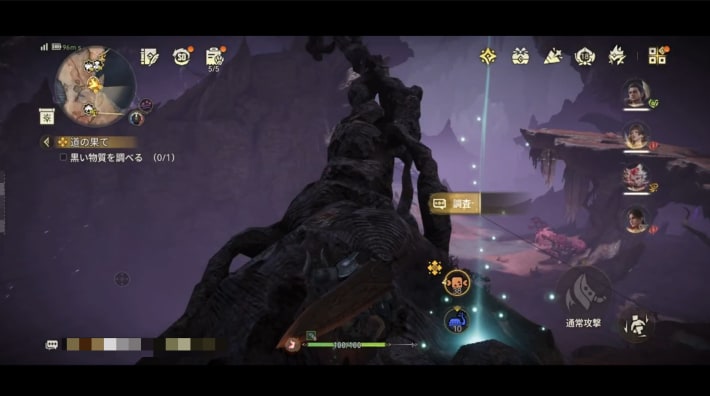
Investigate the black substance scattered across the map.
Follow the Trail of Black Substance
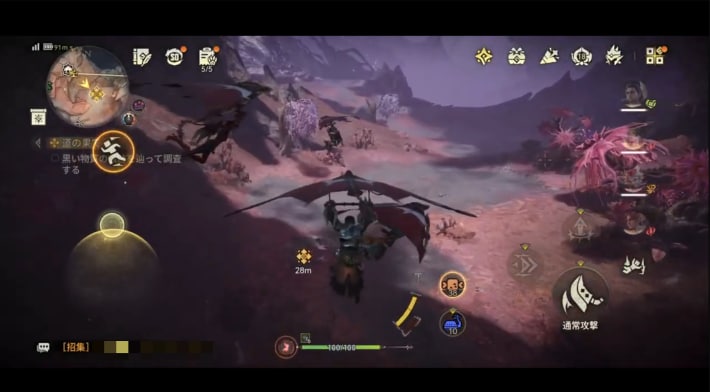
Follow the trail of black substance and keep investigating. When you drop down lower, a cutscene plays automatically and the Odogaron fight begins.
Rock-Rending Claws
Hunt the Odogaron
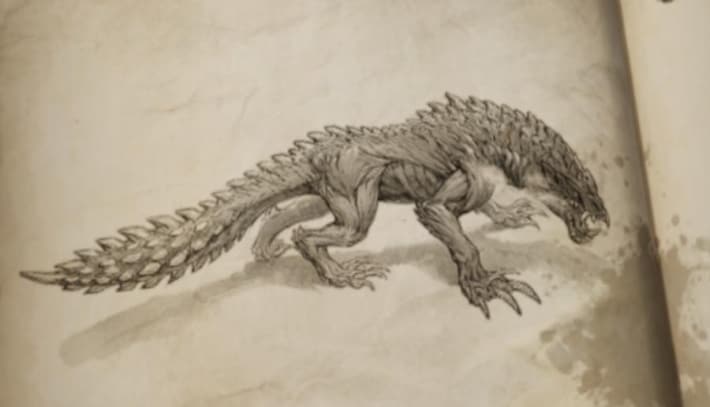
Hunt the Odogaron that appears. Its main weakness is ice, followed by thunder.
OdogaronCarve the Odogaron
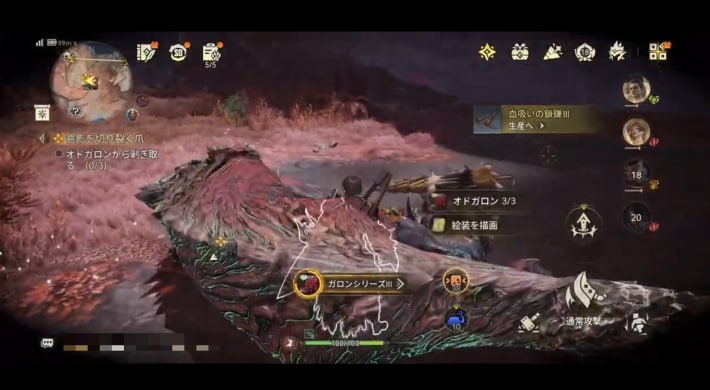
Carve the Odogaron you slew.
Beneath the Giantwood
Reach the Roots of the Giant Tree
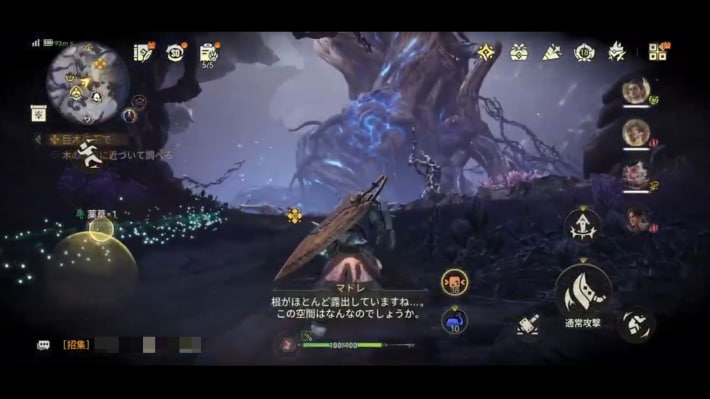
Make your way through the Rotfall Abyss and reach the roots of the giant tree. After the cutscene, you return to the village automatically and Chapter 5 is complete.
Chapter 5: To the End of the Sands Unlocks
No new features unlock in this chapter.
Story Walkthrough by Chapter
Story Walkthrough
The screenshots are from the Japanese version of the game.