Fishing in Monster Hunter Outlanders is the only way to get fish. This guide covers how the fishing mini-game works, the rods and bait you need, all 19 fishing spots on a numbered map (9 in Giantwood Locale, 6 in Searing Plains, and 4 in Rotfall Abyss), every fish with its bait and area, tips for when nothing bites, and what fish are used for.
What Fishing Is For
Fish can only be caught by fishing: the Resource Center doesn't sell them. They're ingredients for fish dishes, and you can Meld them into Research Points.
You can fish any time while freely exploring the field: just go to a fishing spot. Fishing spots show up on the map with a fishing icon once you unlock that area's Watchtower, so unlock the Watchtowers first and then head to the spots. You start with a basic rod and bait, so you can fish right away.
How to Fish
Fishing is a timing mini-game. Here's the flow from casting to landing a fish.
1. Stand on a fishing spot
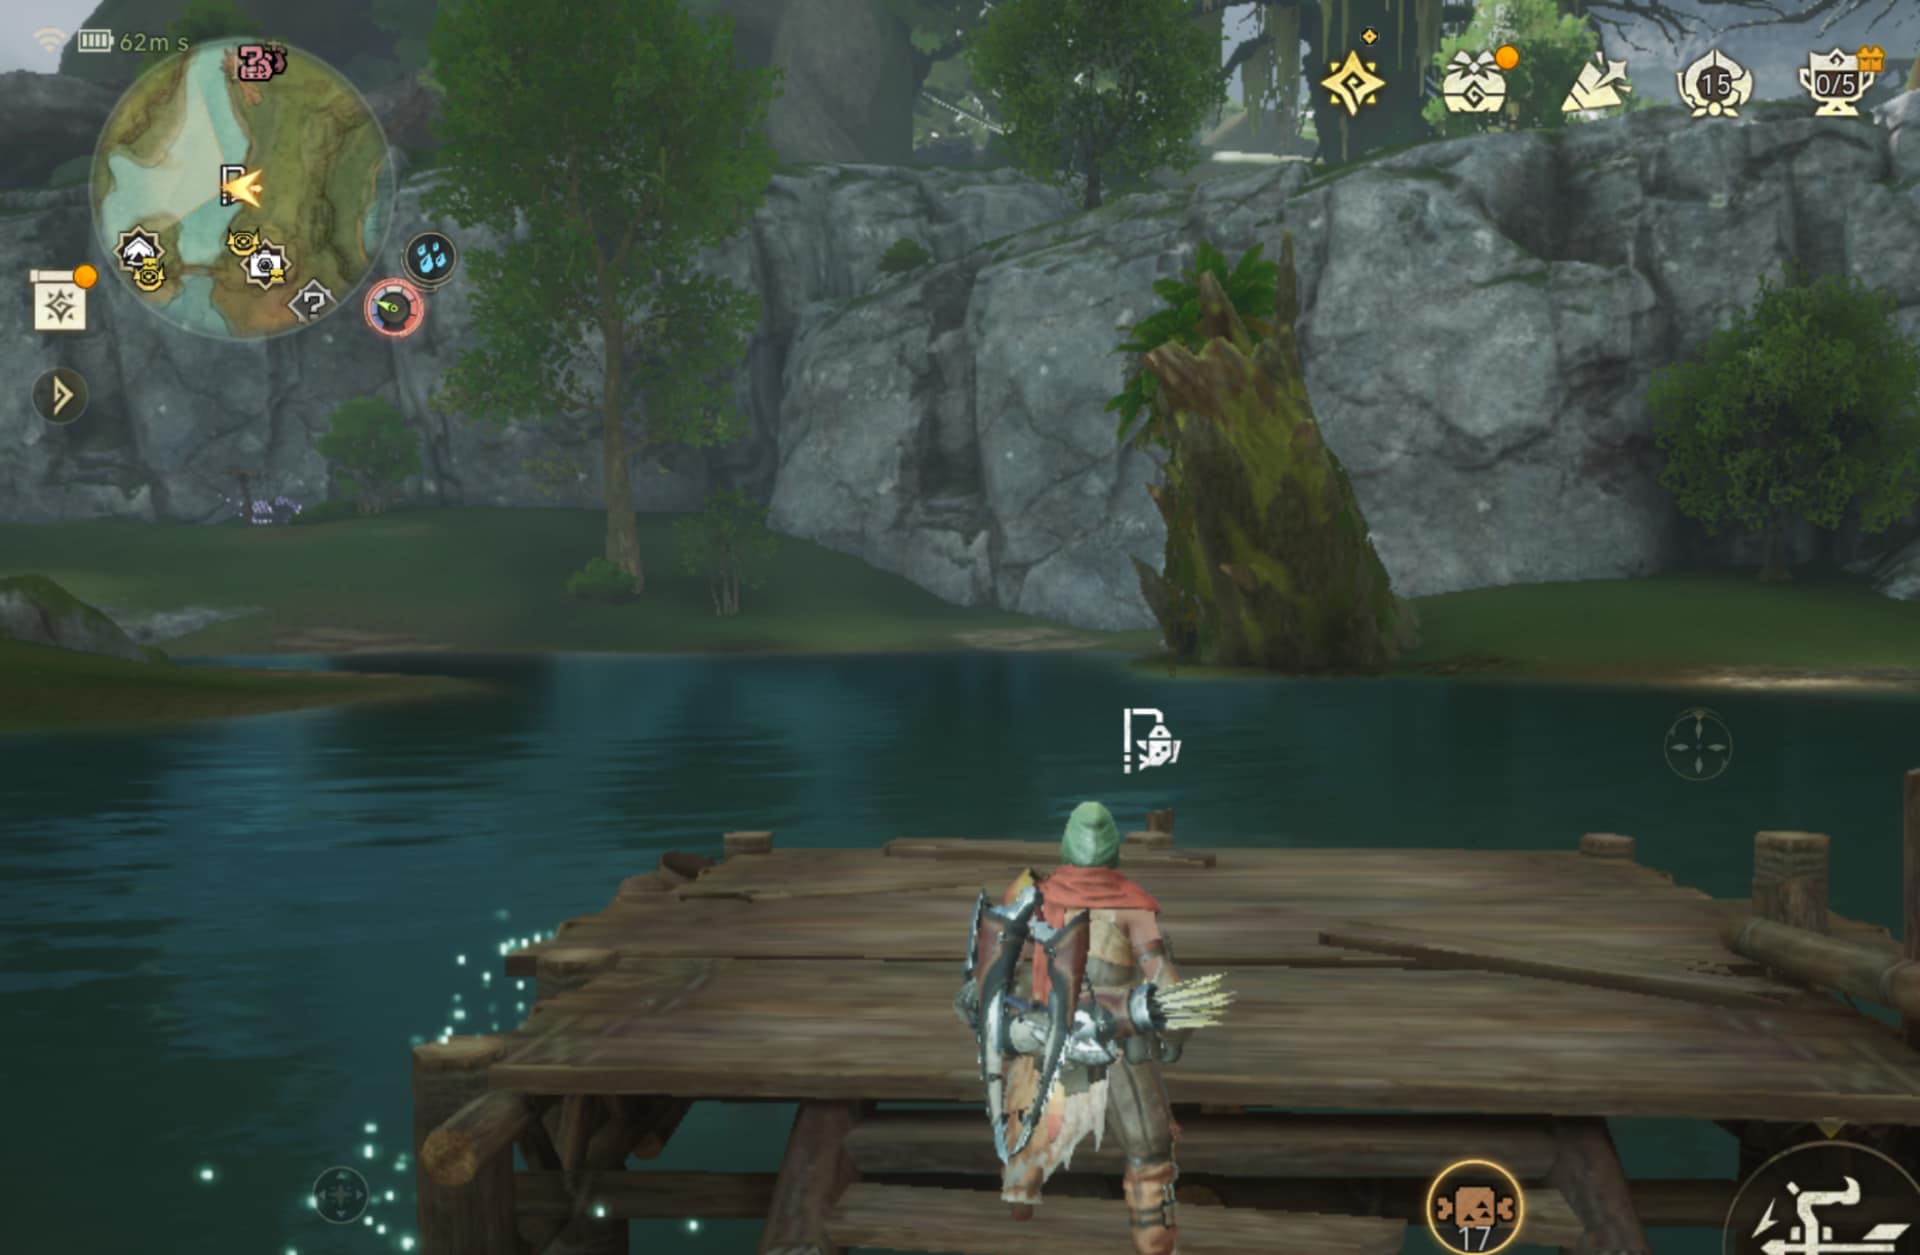
Go to a fishing spot in the field and step onto the wooden deck by the water. Tap the fishing prompt that appears to open the fishing screen.
2. Choose a rod and bait, then start
Pick a fishing rod and bait, then tap the start button. Each bait only attracts certain fish, so bait with no matching fish at that spot can't be used there. Each spot also holds a limited number of fish: if they stop biting, wait a while for them to come back.
3. Aim where the fish gather
On the fishing screen, aim your rod at a spot with lots of fish. Once you've lined it up, tap the button at the bottom right to cast.
4. Tap with good timing when a fish bites
Wait for a bite. When a fish takes the bait, a gauge appears at the top; tap when it lines up with the center to start reeling with an advantage. Even if you miss, the reeling phase still starts. With a higher-rarity rod, a well-timed tap lands low-rarity fish on the spot.
5. Keep the bar in the green to drain the yellow gauge
While reeling, keep the bar at the top inside the green zone to drain the fish's yellow stamina gauge. Holding the button at the bottom right moves the bar right; releasing it lets the bar drift back left. If the bar goes past the green into the red, the red gauge at the top fills, and when it's full the fish gets away.
6. Swipe when the left or right prompt appears
While reeling, prompts tell you to tilt the rod left or right: swipe in that direction. Letting go before the prompt disappears counts as a miss, the fish thrashes and the red gauge fills, so get the bar back into the green right away. When a warning shows the fish is thrashing, release the reel button. Once it calms down, reeling won't fill the red gauge, so keep holding to take a big chunk out of its stamina.
Fishing Rods and Bait
You need a fishing rod and bait to fish. You start with the lowest-rarity ones, so you can fish without any preparation, but better rods and more bait make things easier.
Fishing Rods
A higher-rarity rod makes fishing easier: it drains the fish's stamina gauge faster, and a well-timed tap when a fish bites lands low-rarity fish right away.
| Fishing Rod | How to Get | Effect |
|---|---|---|
| Wooden Fishing Rod | You have it from the start | A simple fishing rod made of hardwood. |
| Iron Fishing Rod | Learn the recipe with the Research Fishing Rod (unlocked by the quest Palico's Craving Fish!), then make it with Tool Crafting | A fishing rod made of iron ore. Its fishing speed is slightly improved, allowing you to reel in fish faster. |
| Fine Fishing Rod | Make it with Tool Crafting (it's made from Machalite Ore) | A fishing rod made of machalite ore. Its fishing speed is maximized, allowing you to reel in fish faster. |
Bait
Each bait attracts specific fish, so the fish you want decides the bait. Apart from the starting bait, you get each one by clearing a quest. Unlock them early if you want to collect every kind of fish.
| Bait | How to Get | Fish |
|---|---|---|
| Fake Lure | Owned from the start | Scarlet Blossomfish / Great Scarlet Blossomfish / Whetfish / Great Whetfish / Sushifish / Great Sushifish |
| Gunpowderfish Bait | To Prepare a Delicacy | Goldenfry / Great Goldenfry / Bubblefish / Great Bubblefish |
| Goldenfish Bait | Meowffin's Bistro Fishing Plan I | Goldenfish / Platinumfish / Great Goldenfish / Great Platinumfish |
| Arowana Bait | Meowffin's Bistro Fishing Plan II | Burst Arowana / Bomb Arowana / Great Burst Arowana / Great Bomb Arowana |
| Baitbug | Meowffin's Bistro Fishing Plan III | King Spearfish / Great King Marlin / Gastronome Tuna / Great Gastronome Tuna / Starrycanth |
Fishing Spot Locations
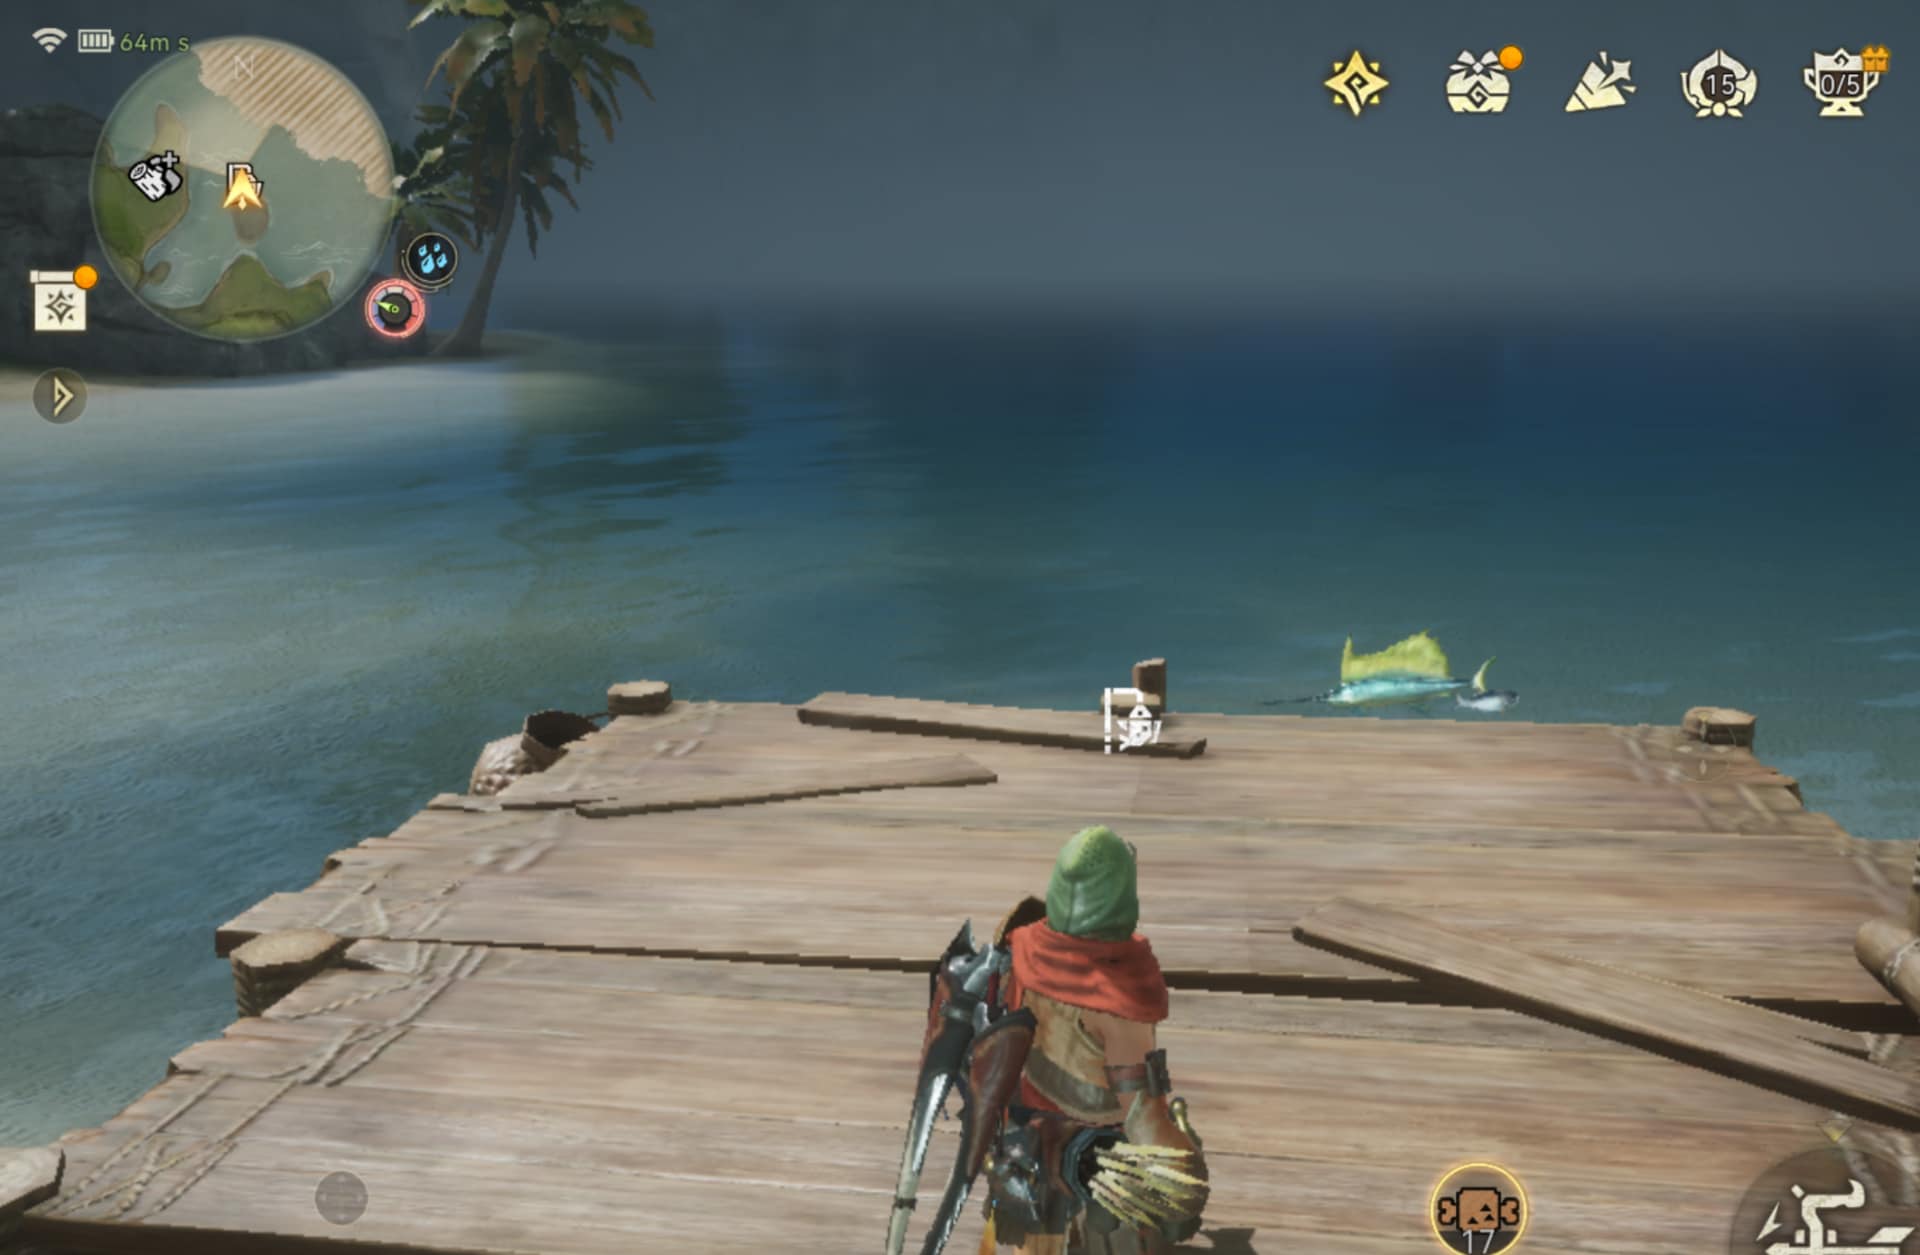
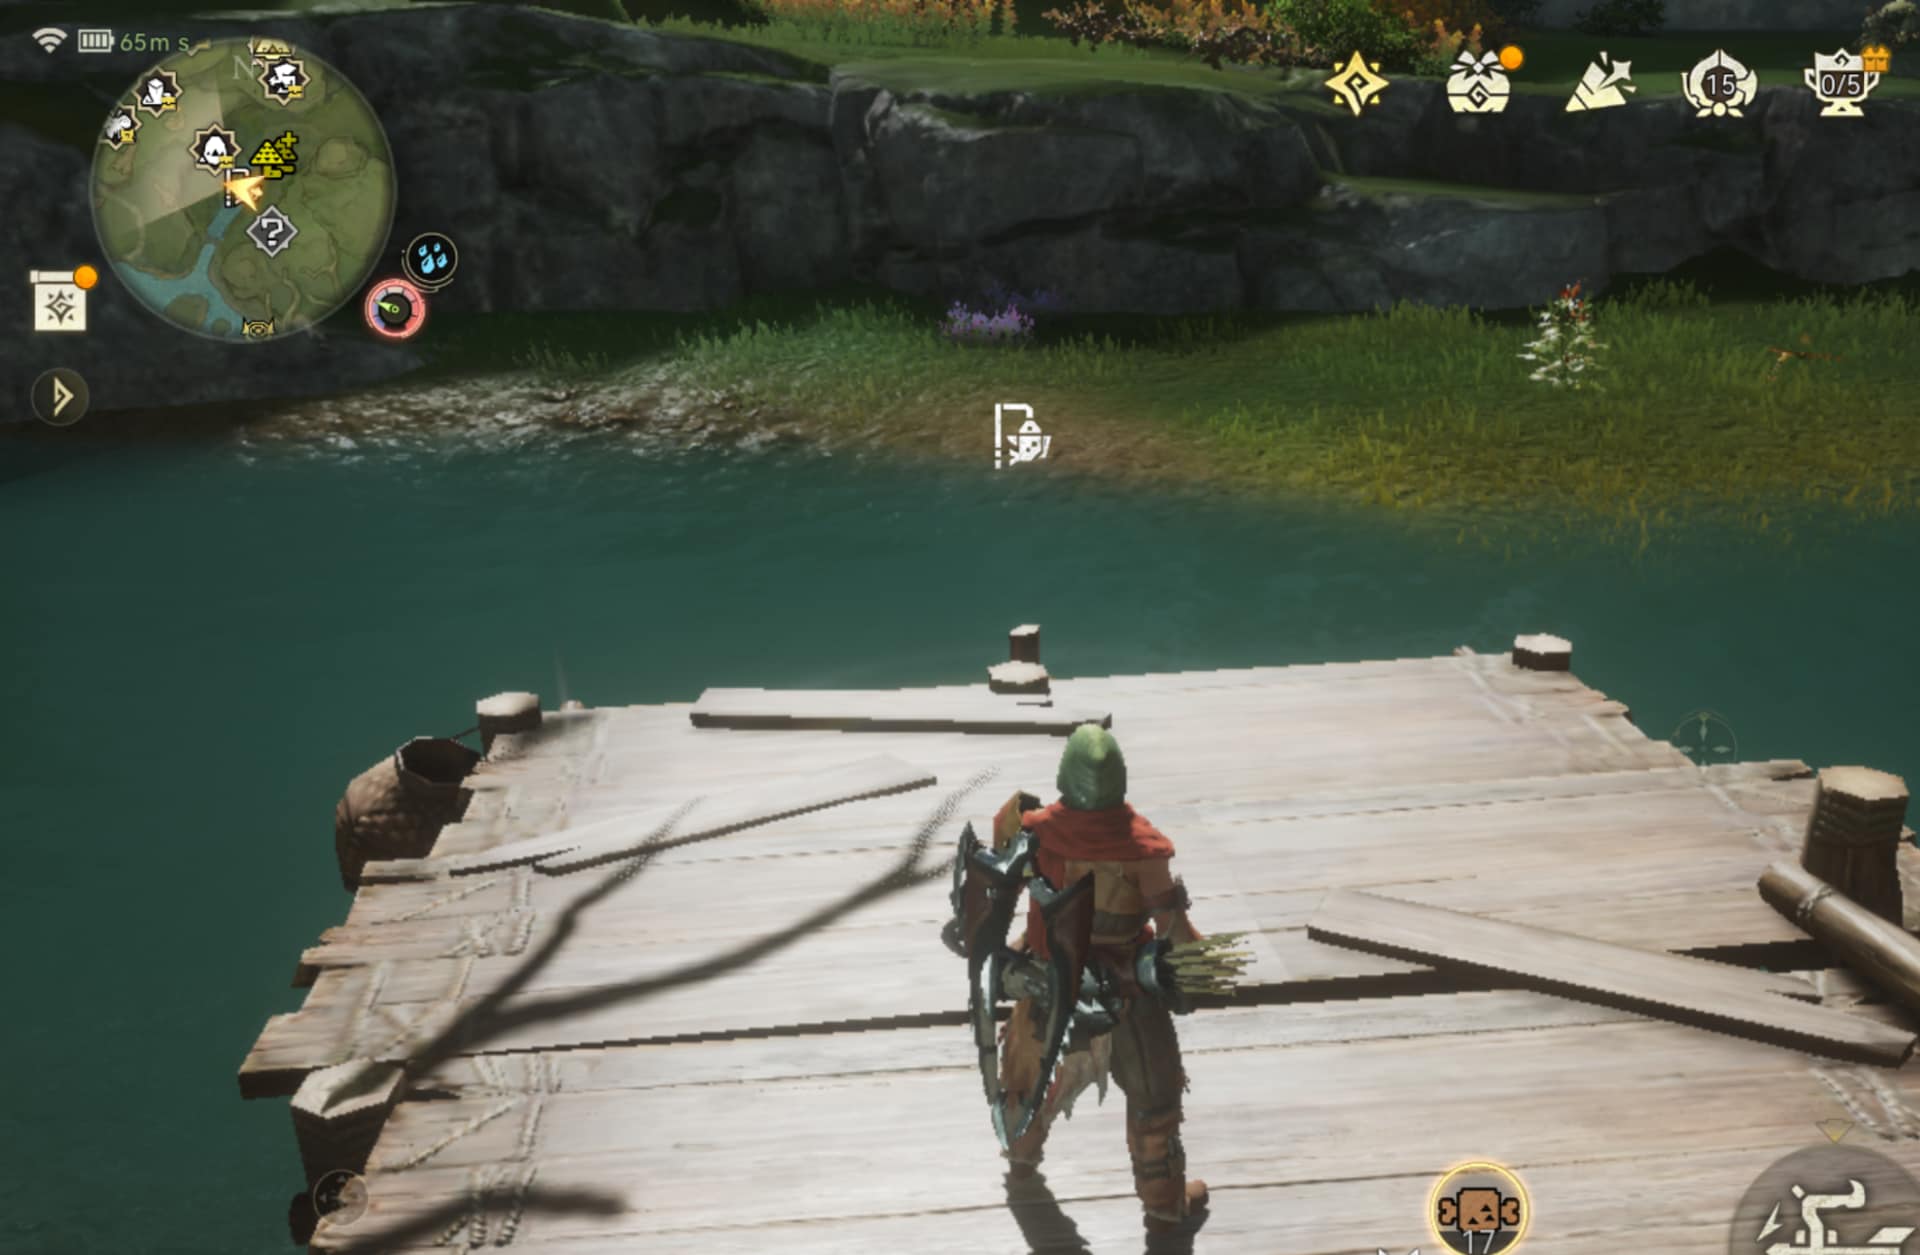
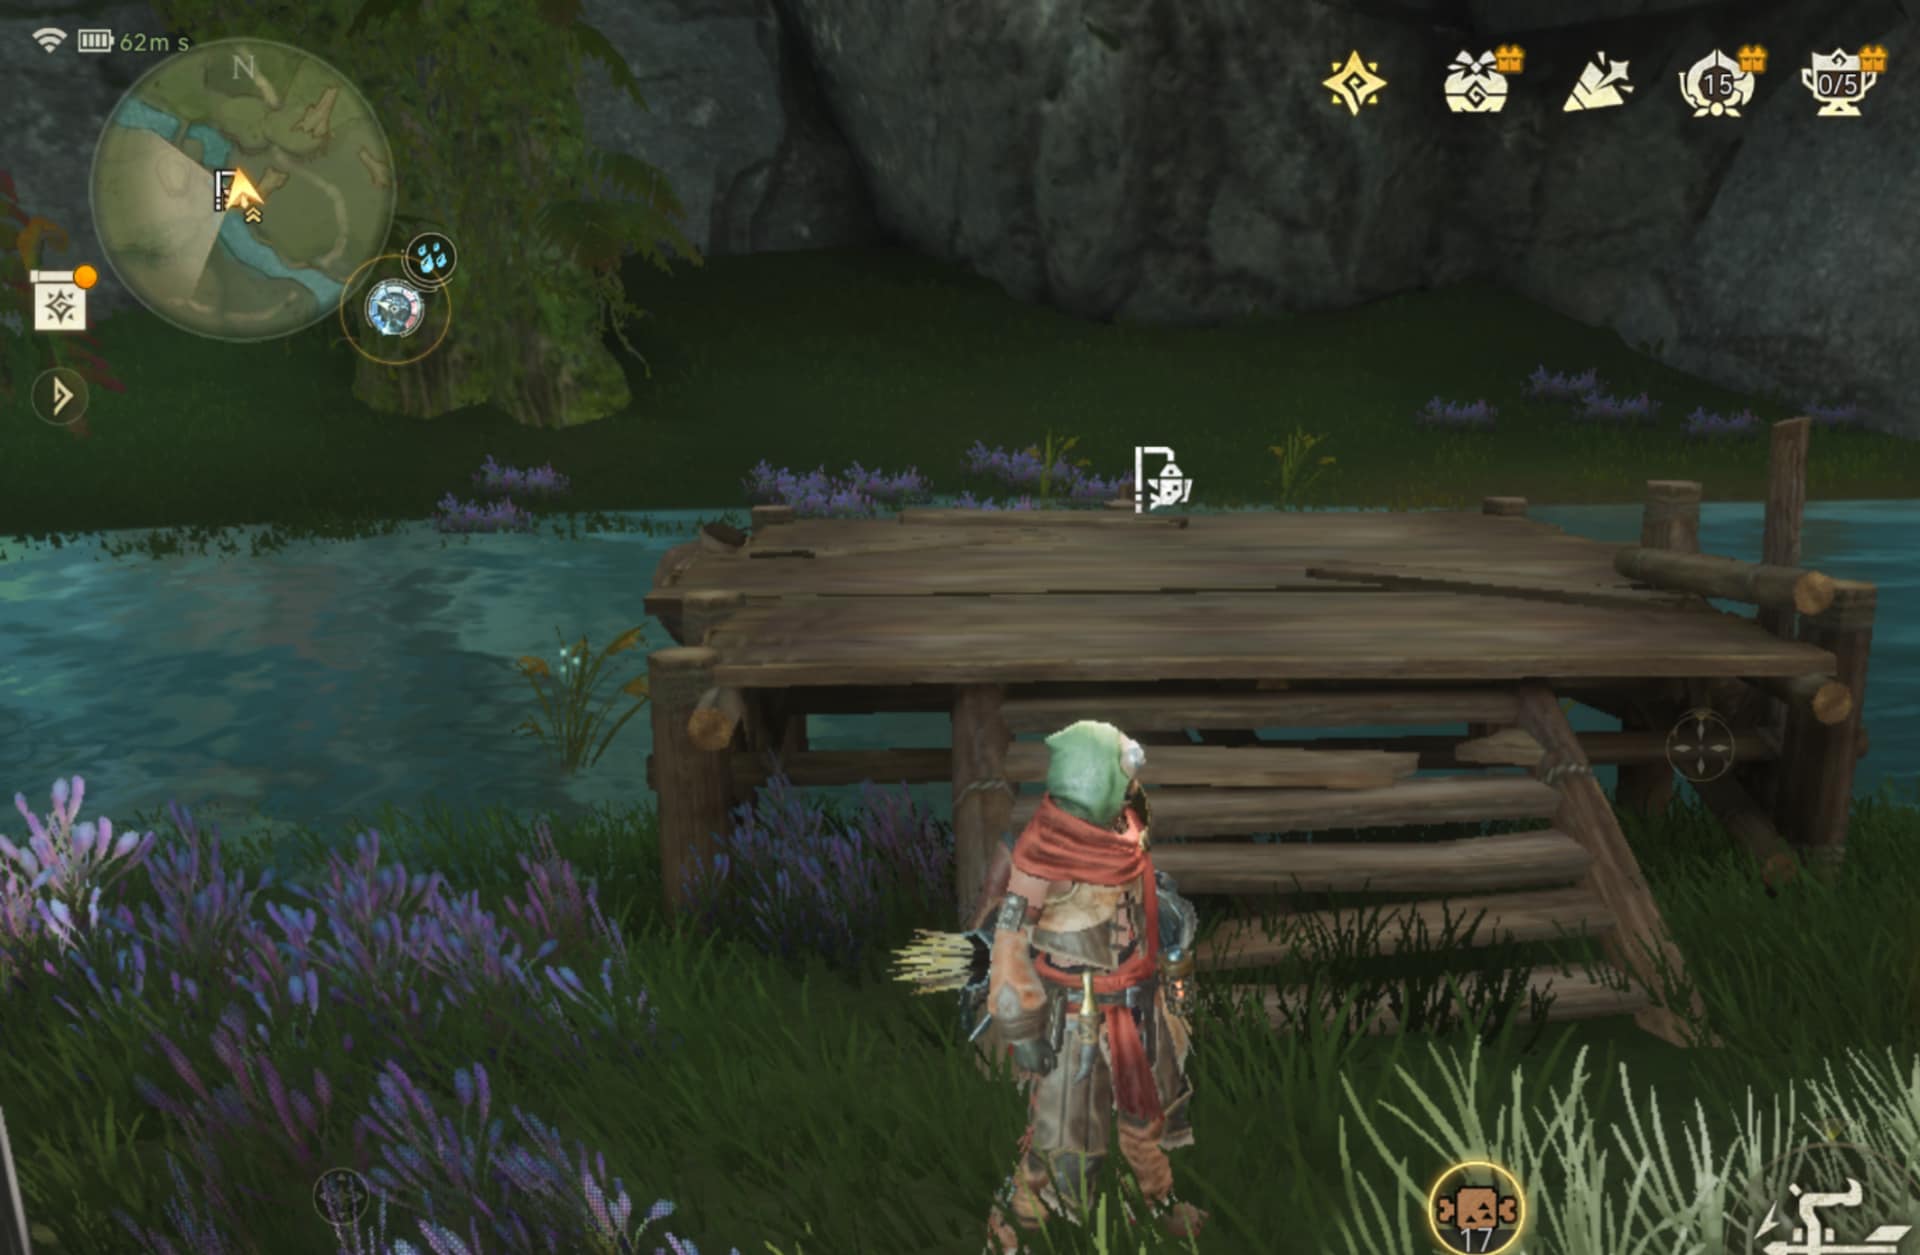
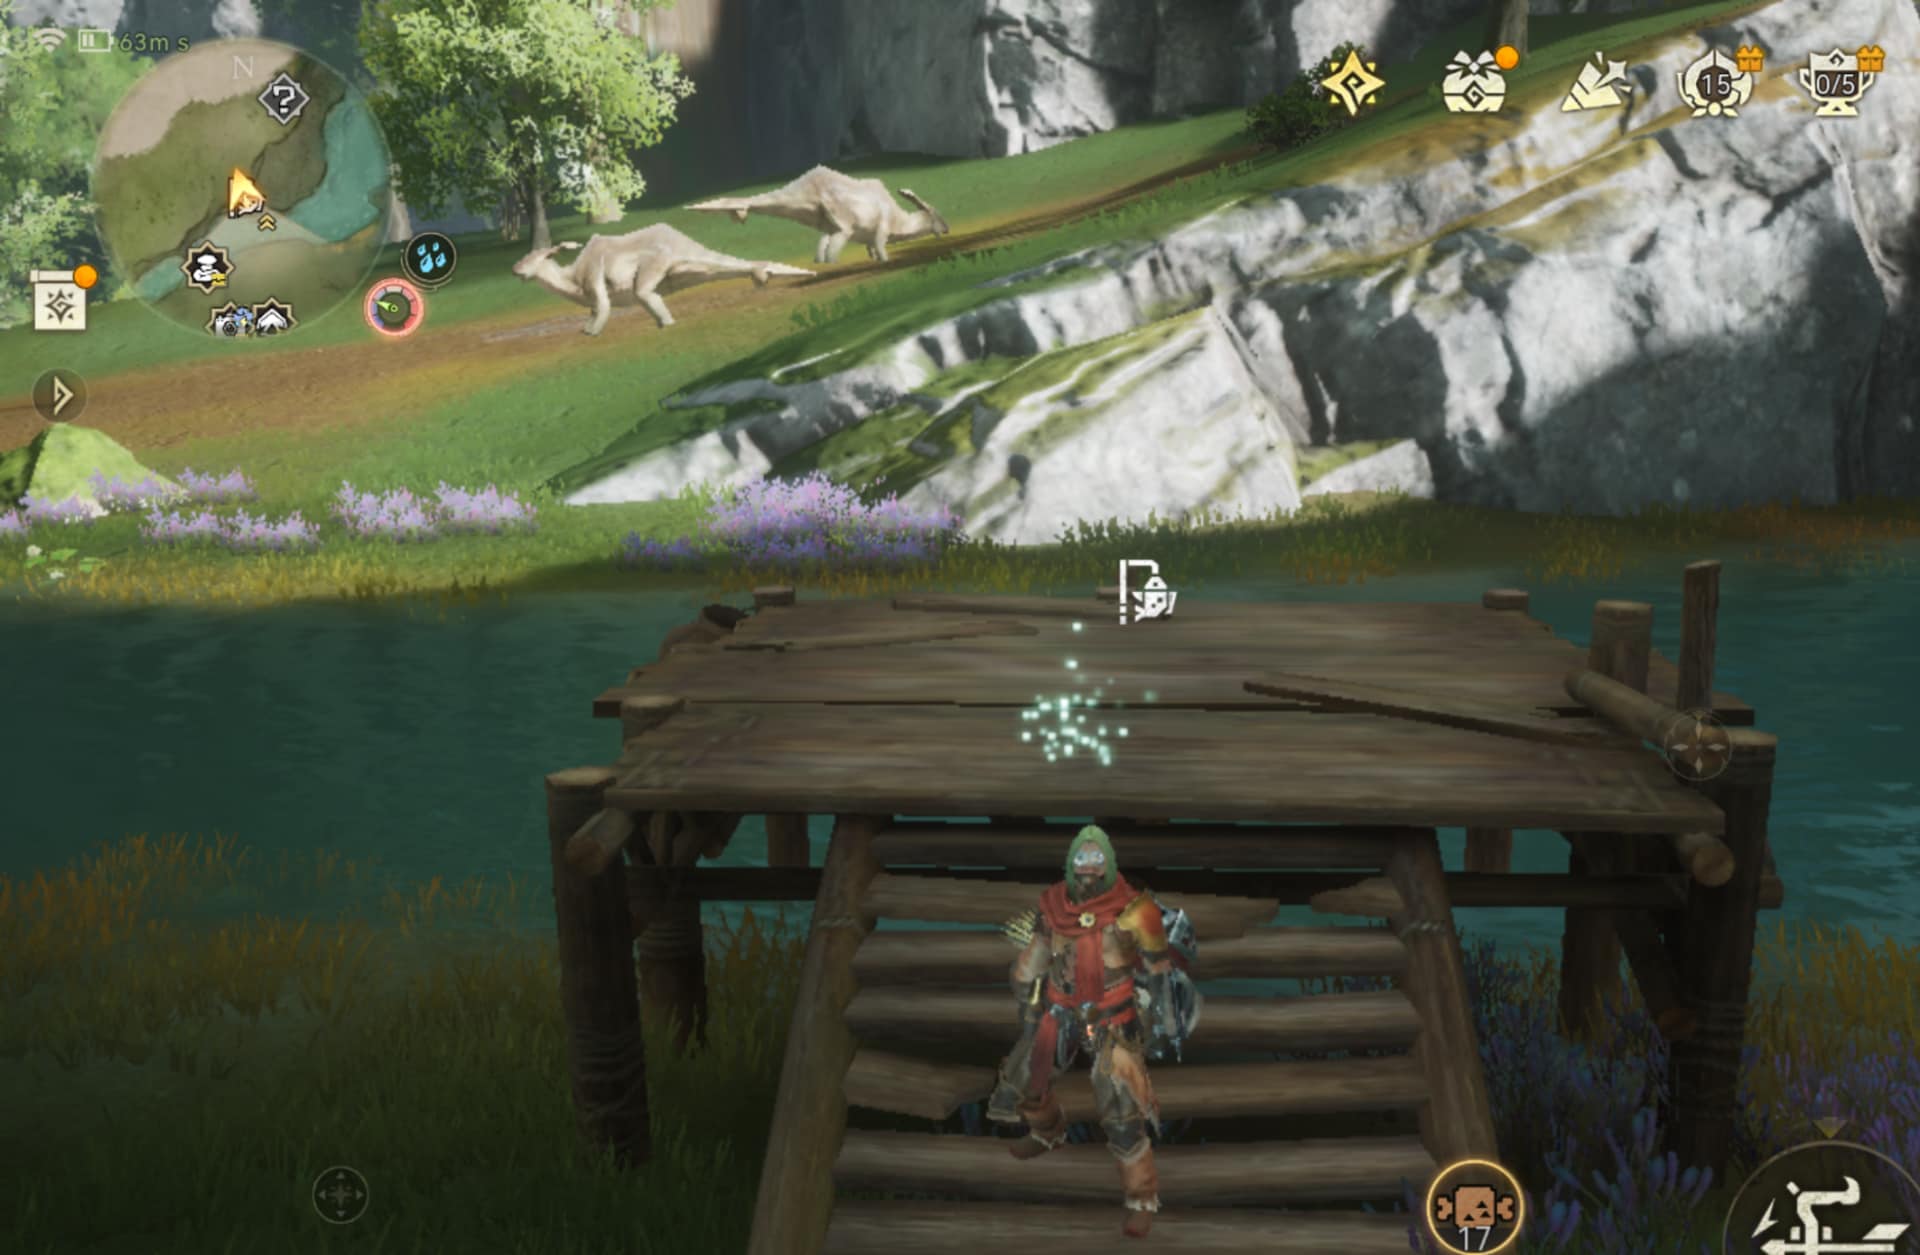
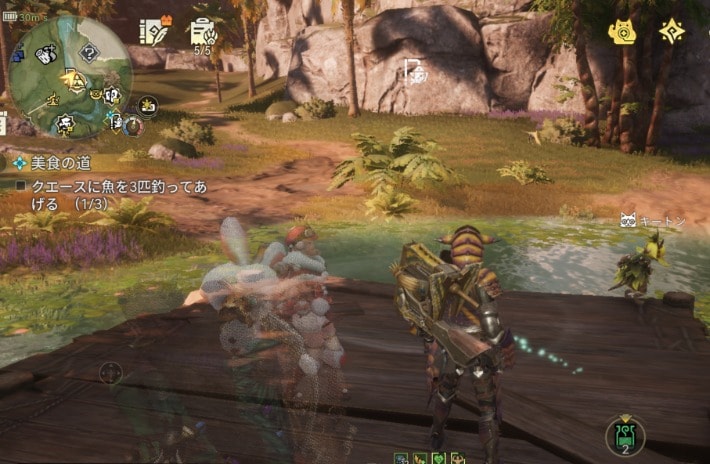
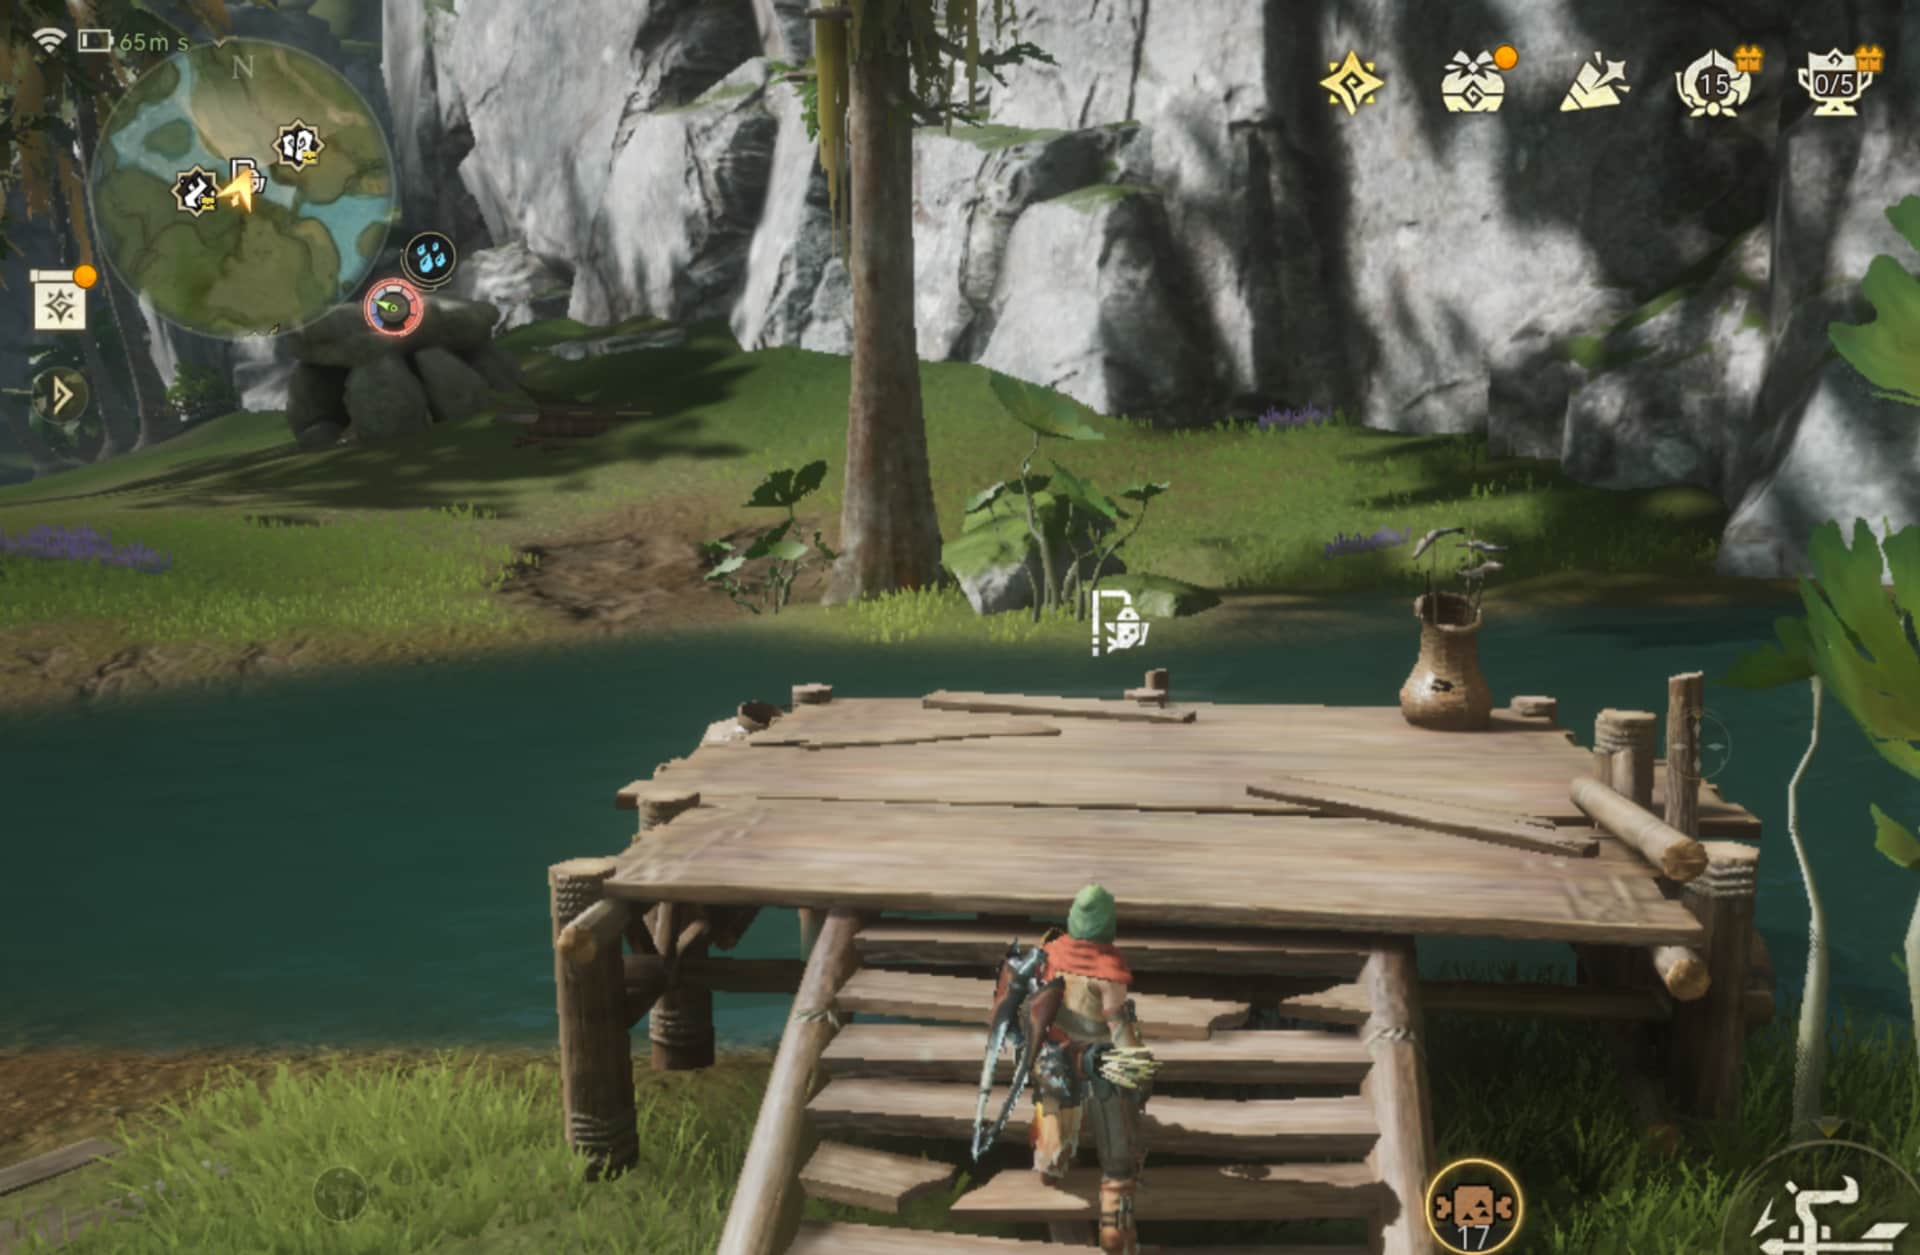
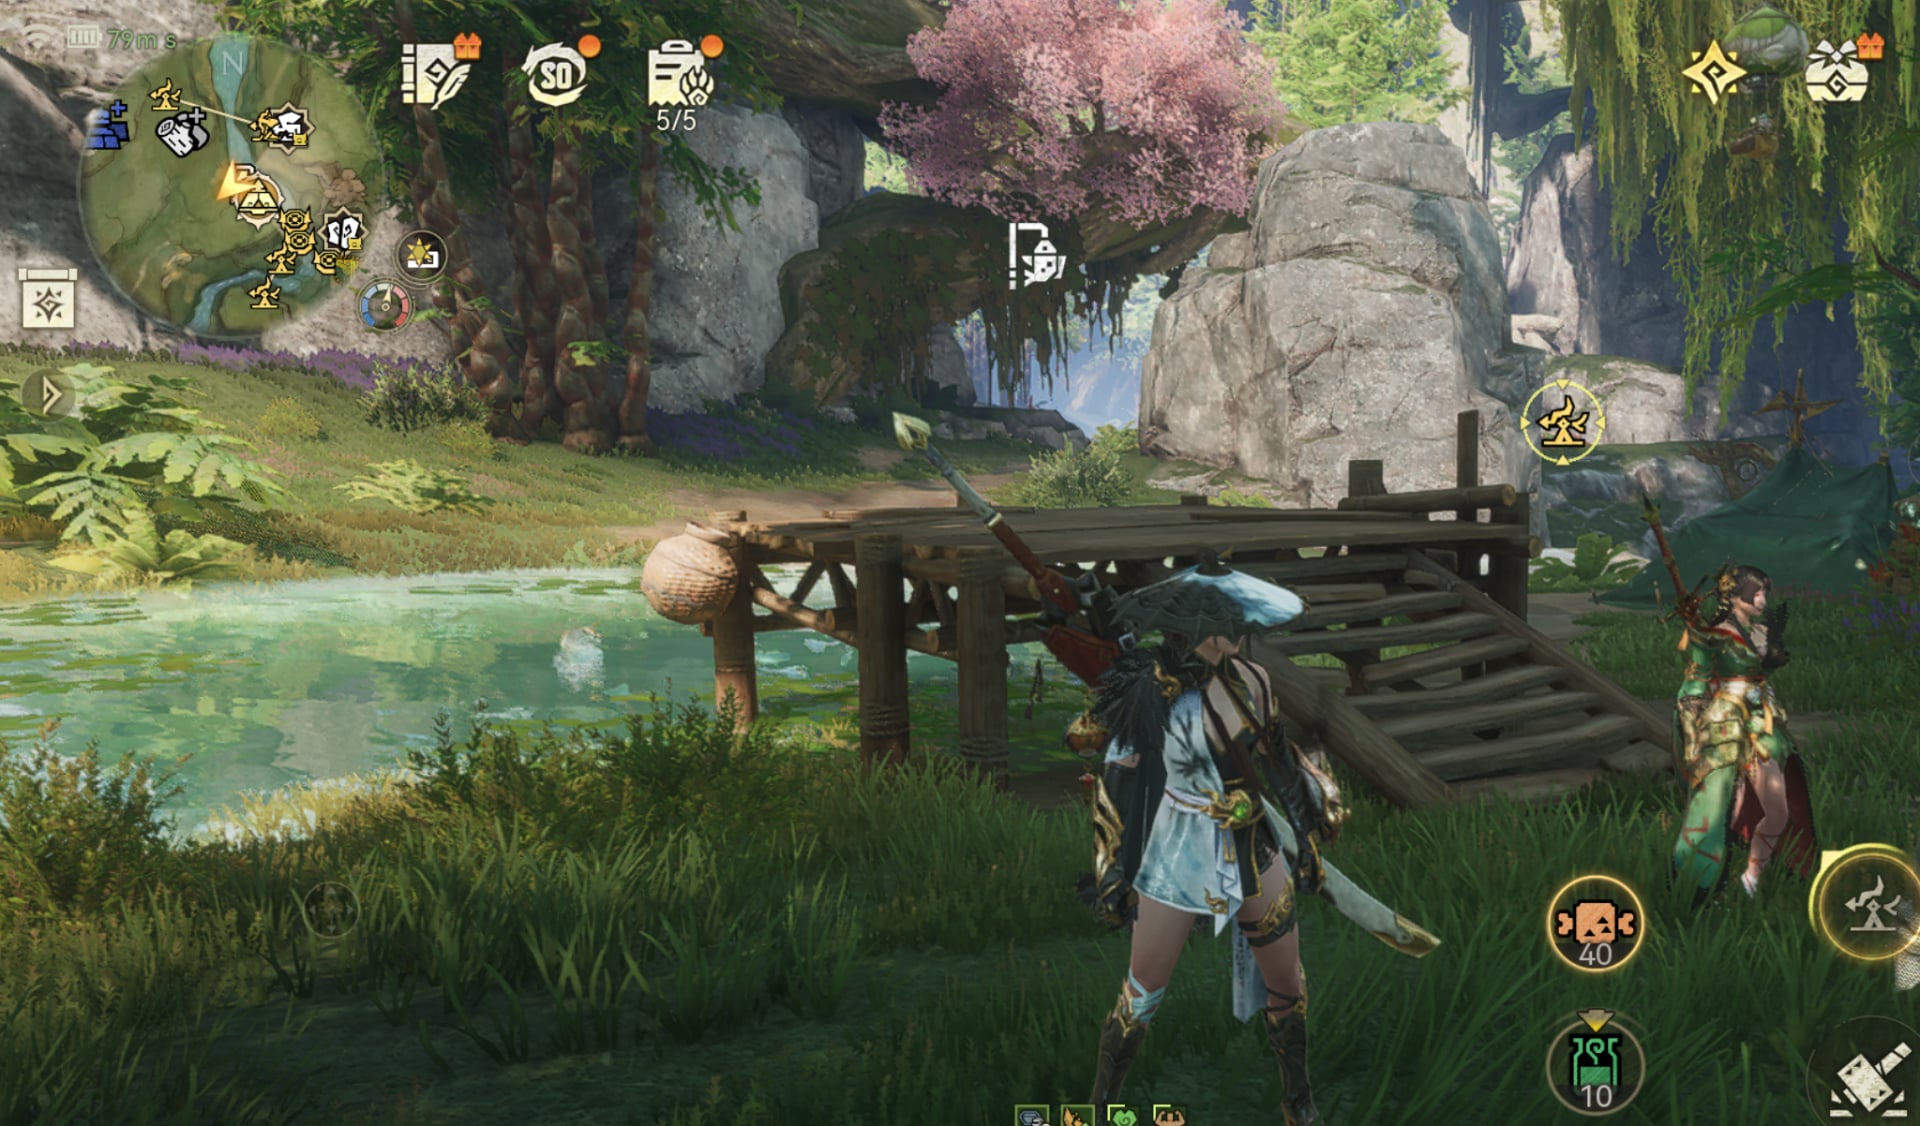
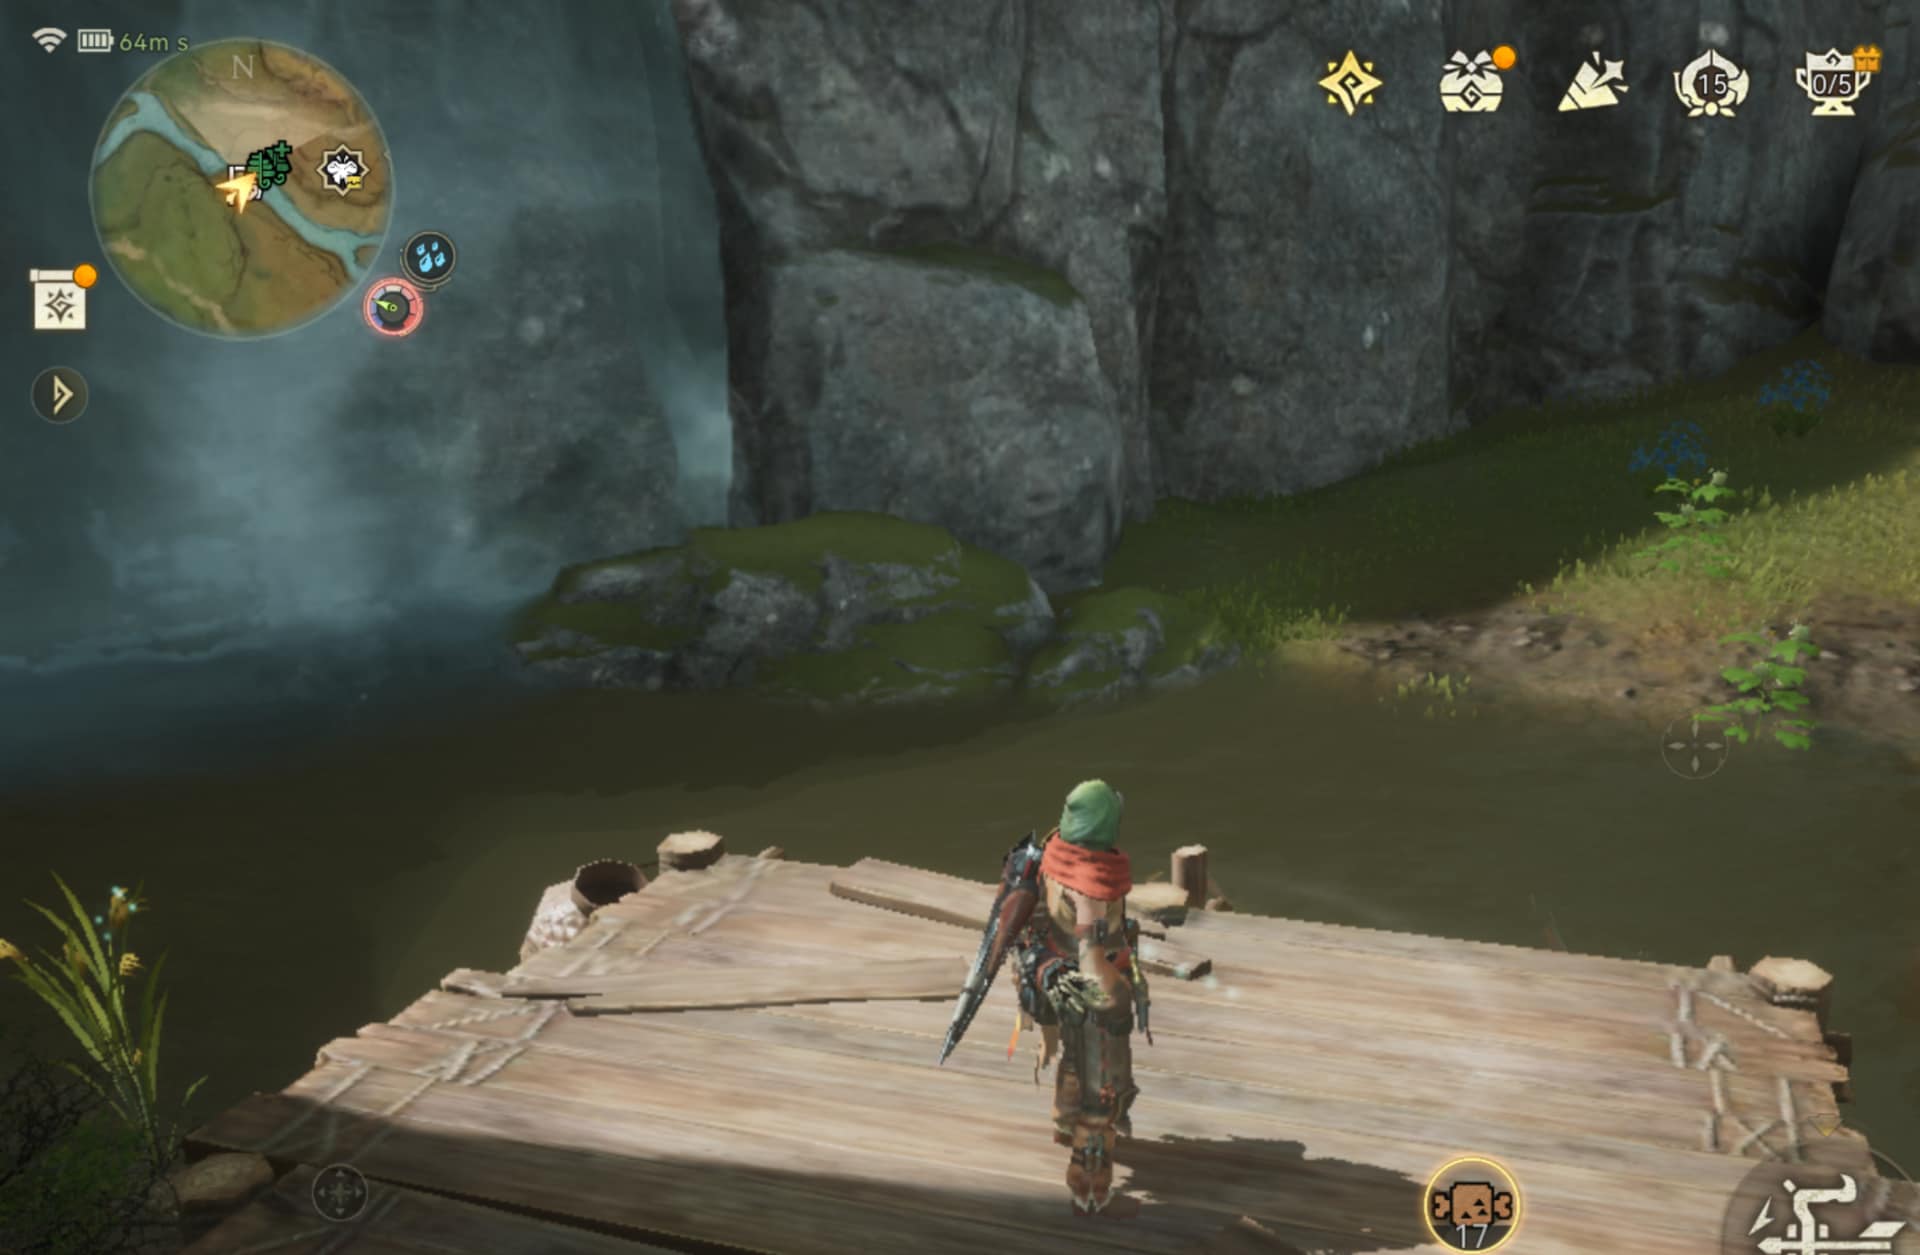
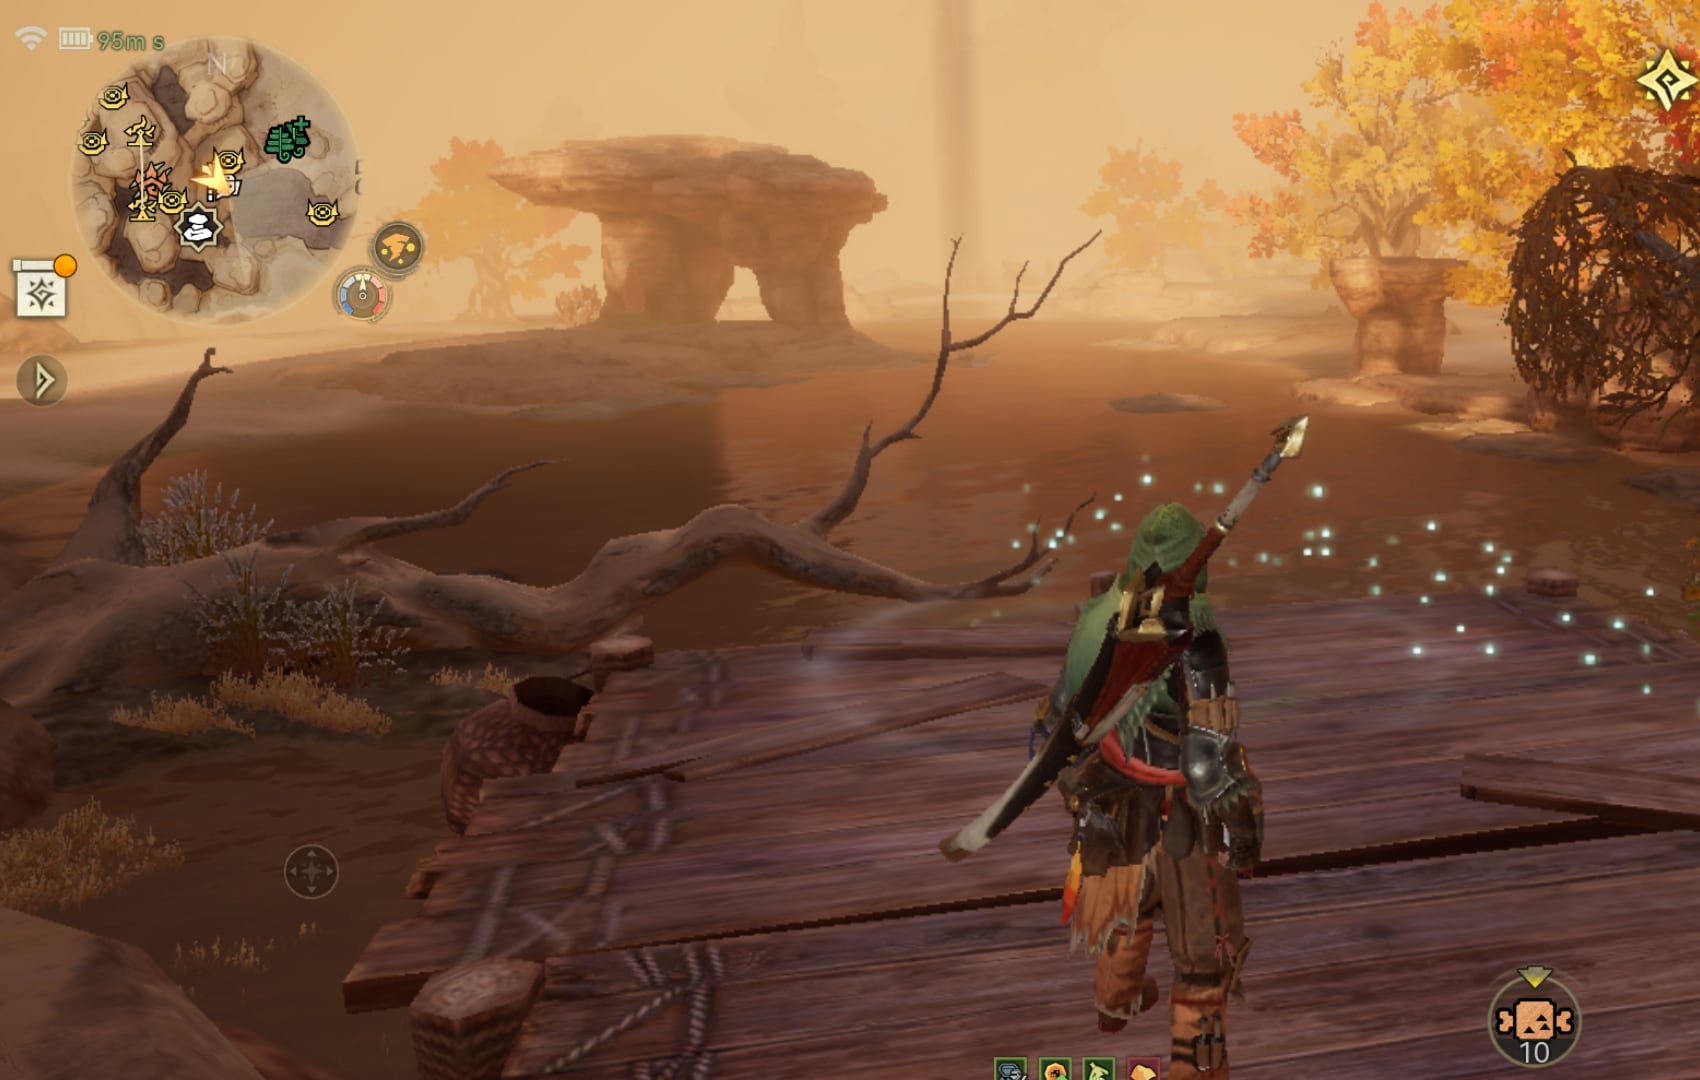
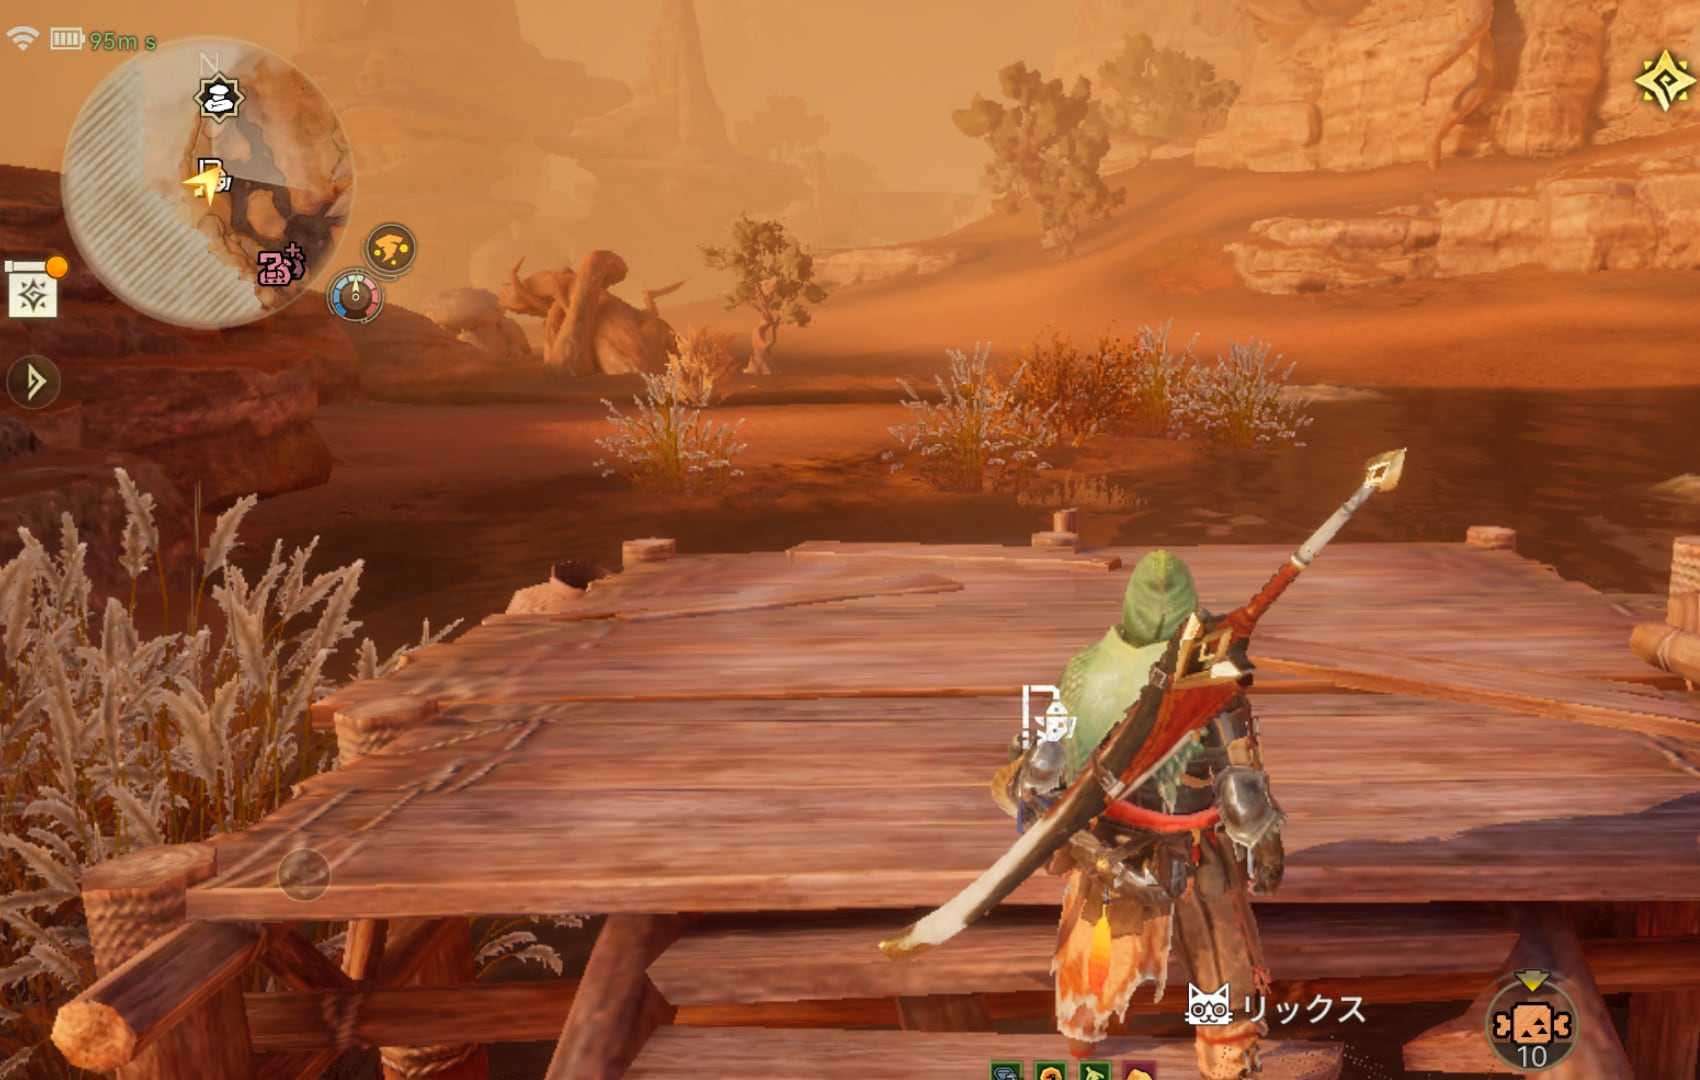
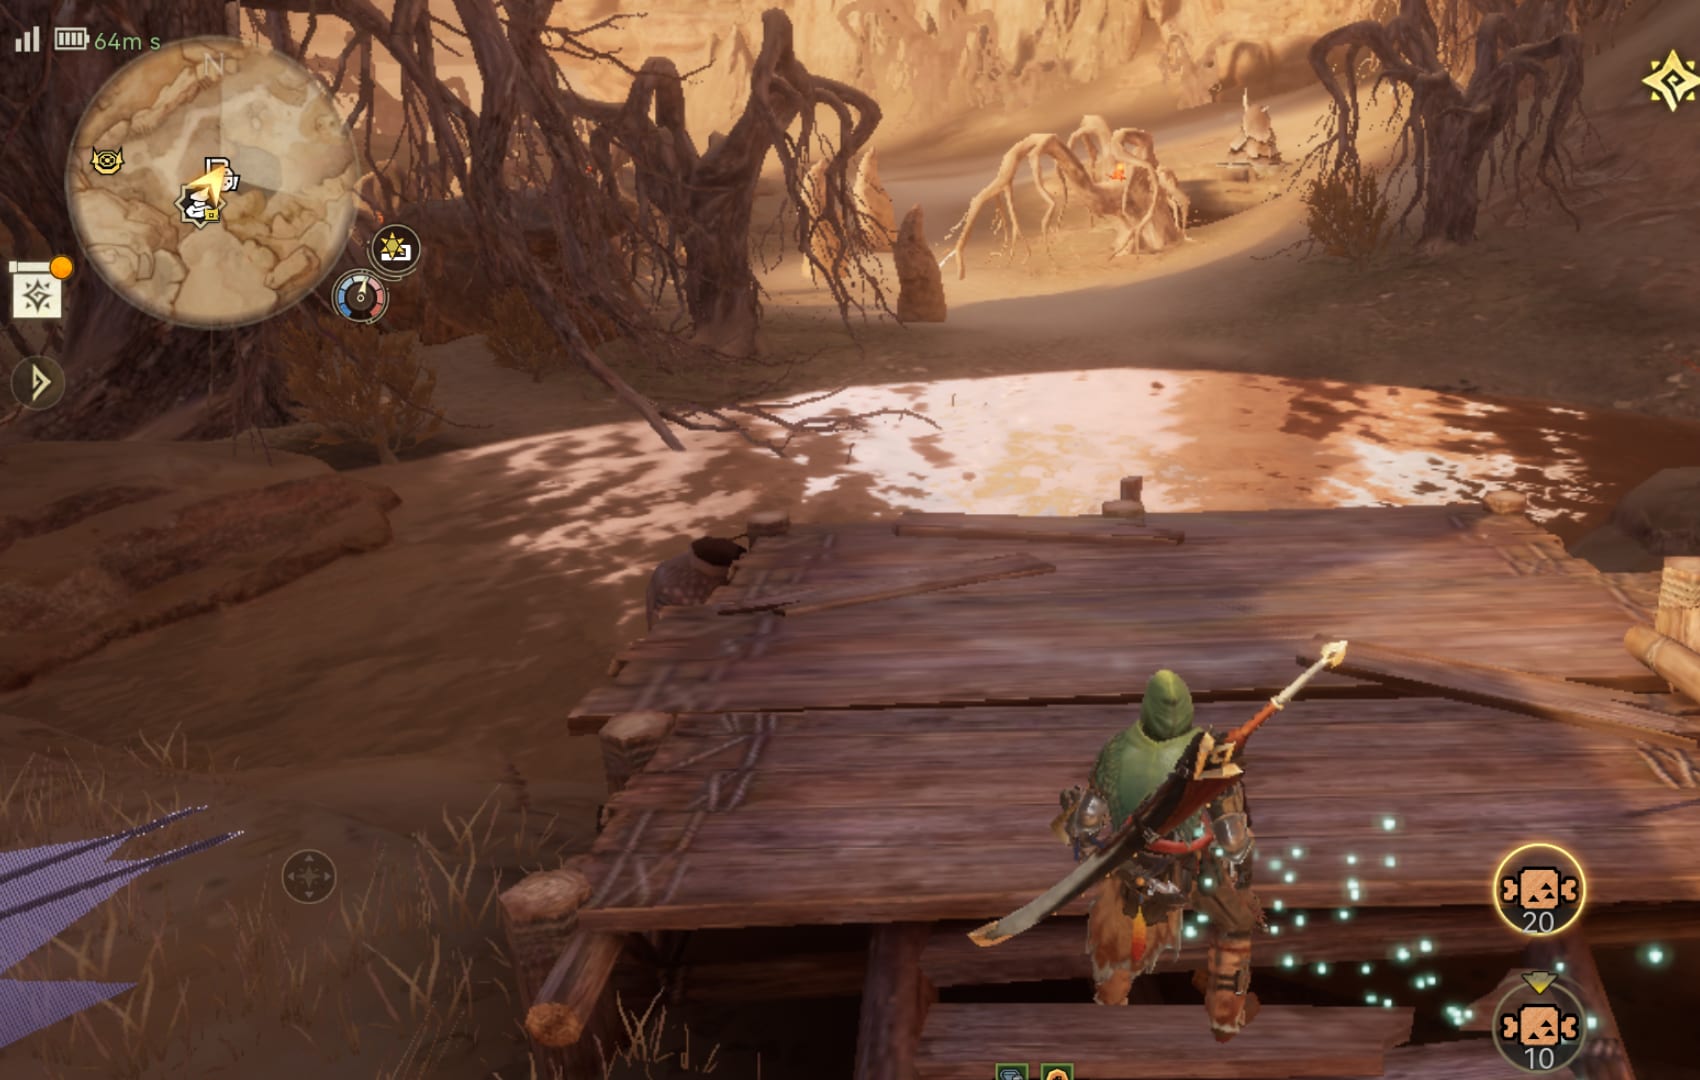
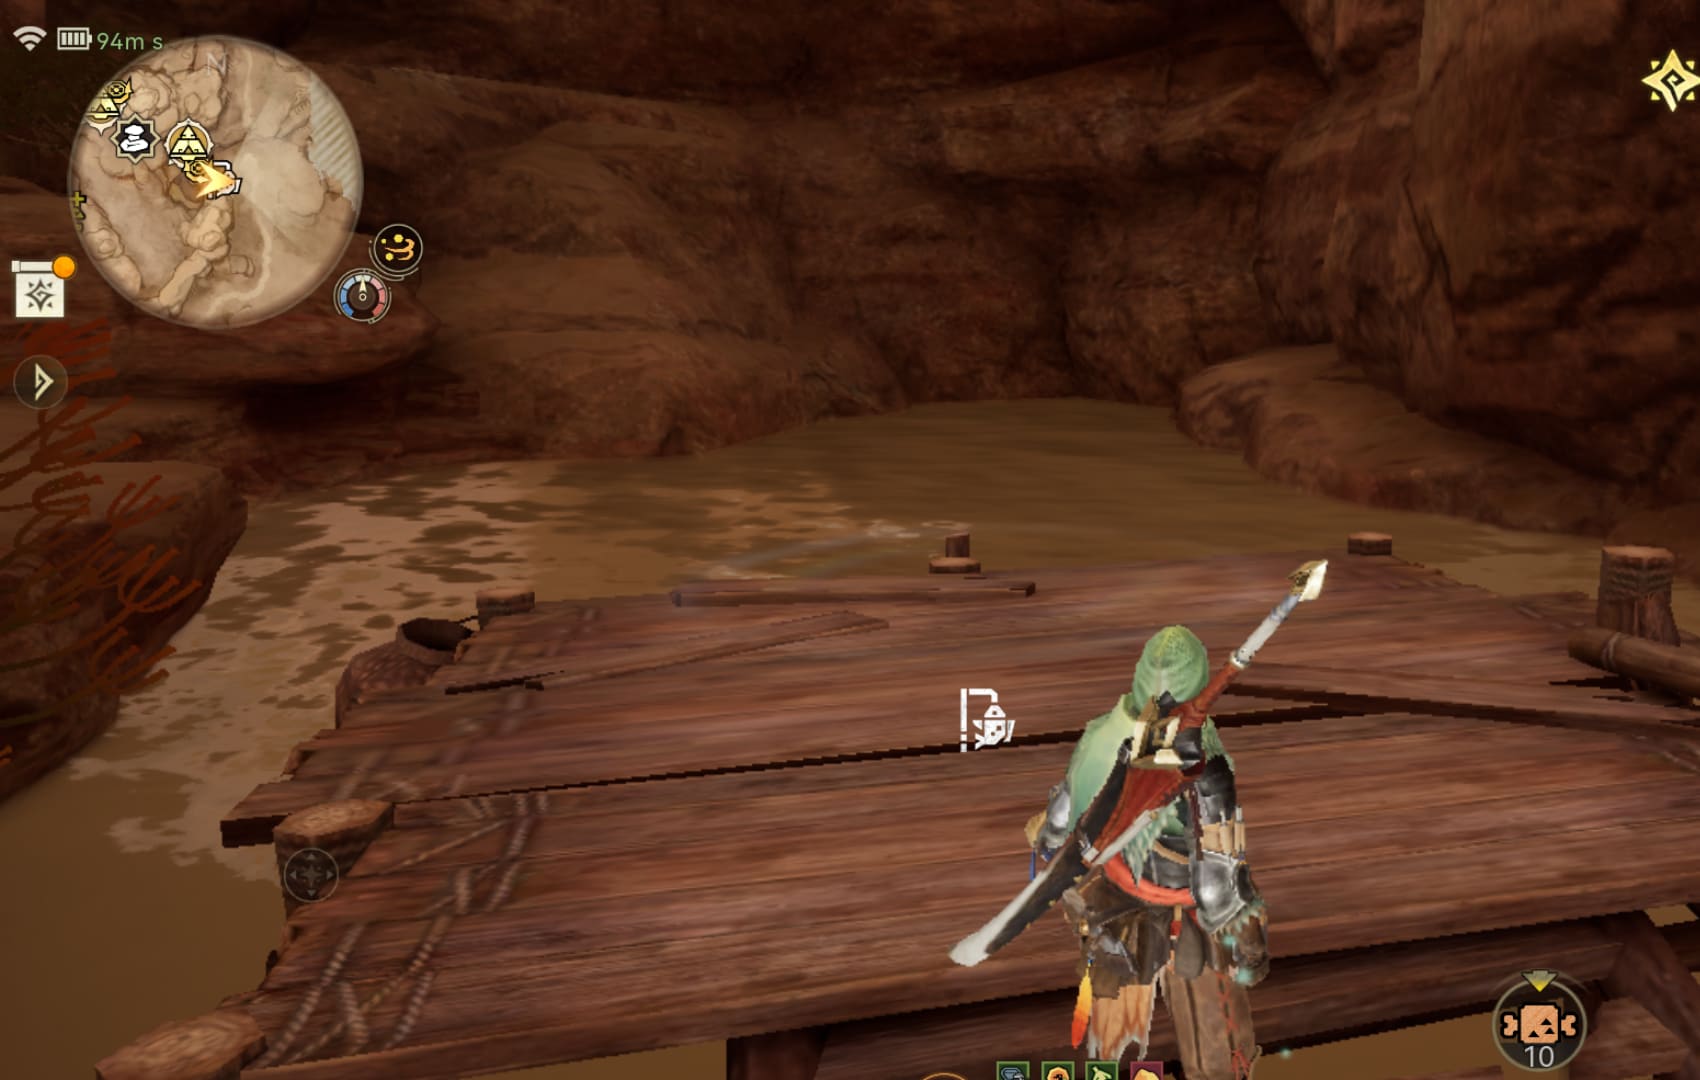
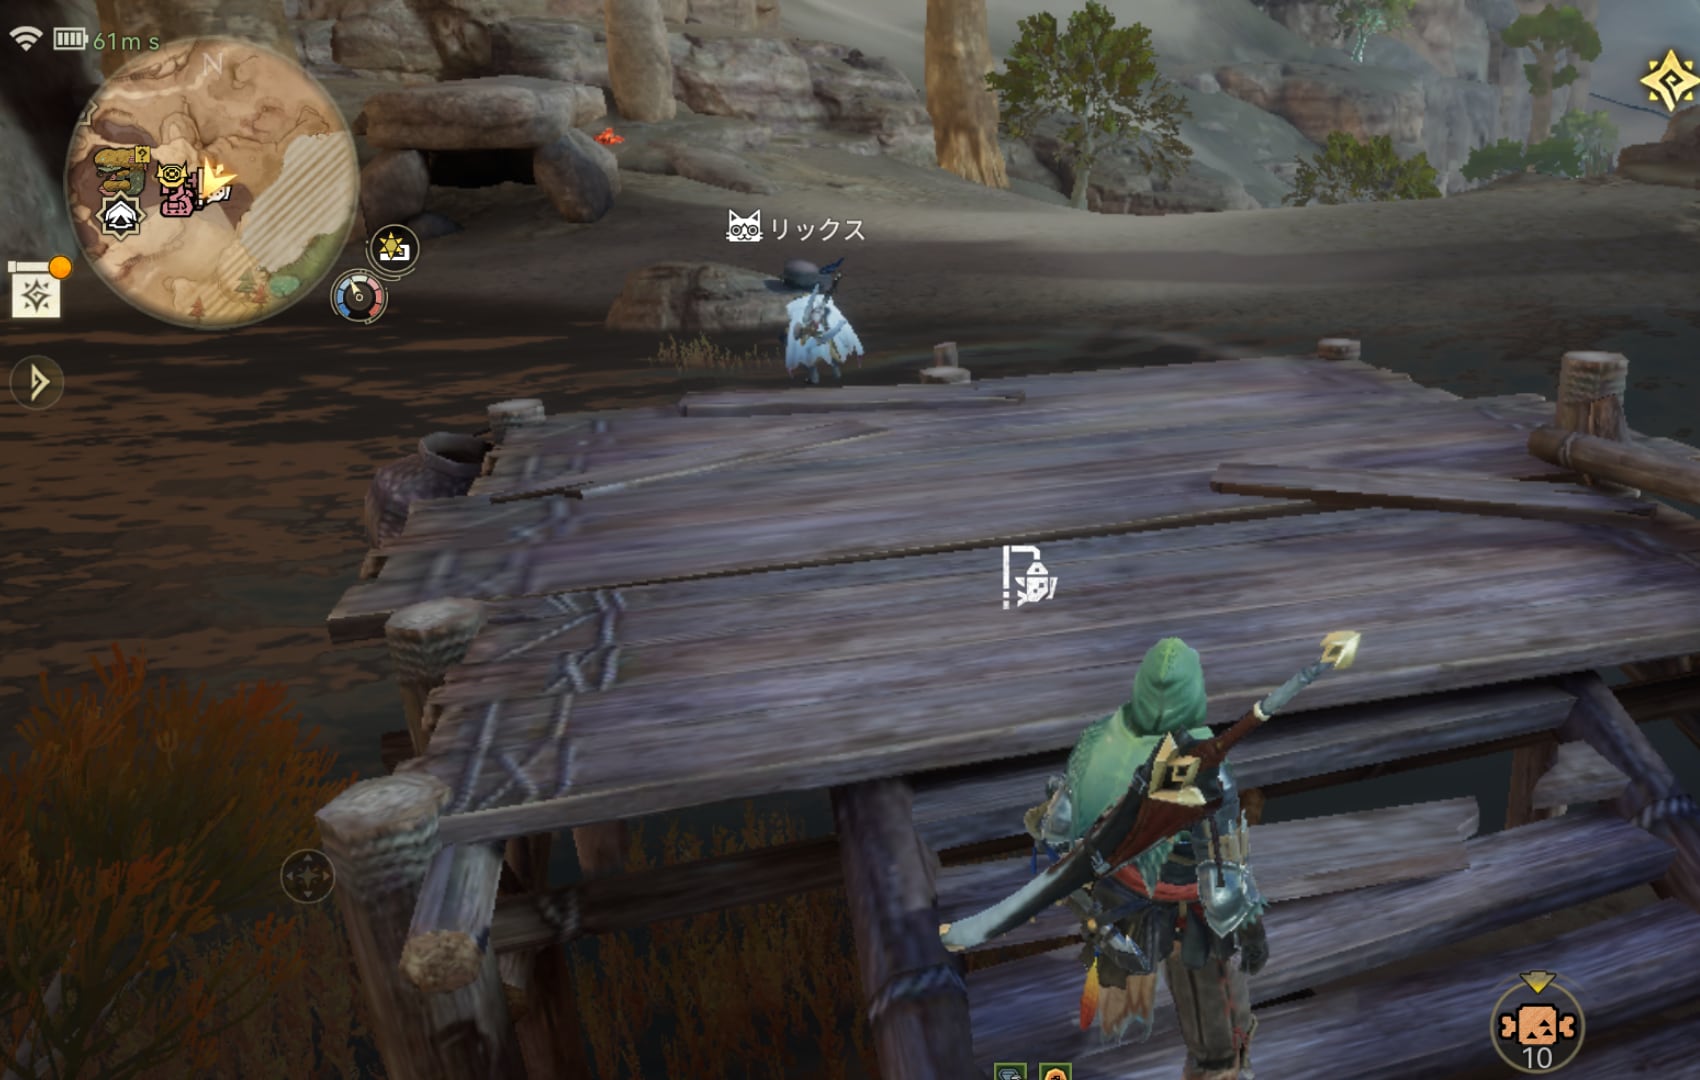
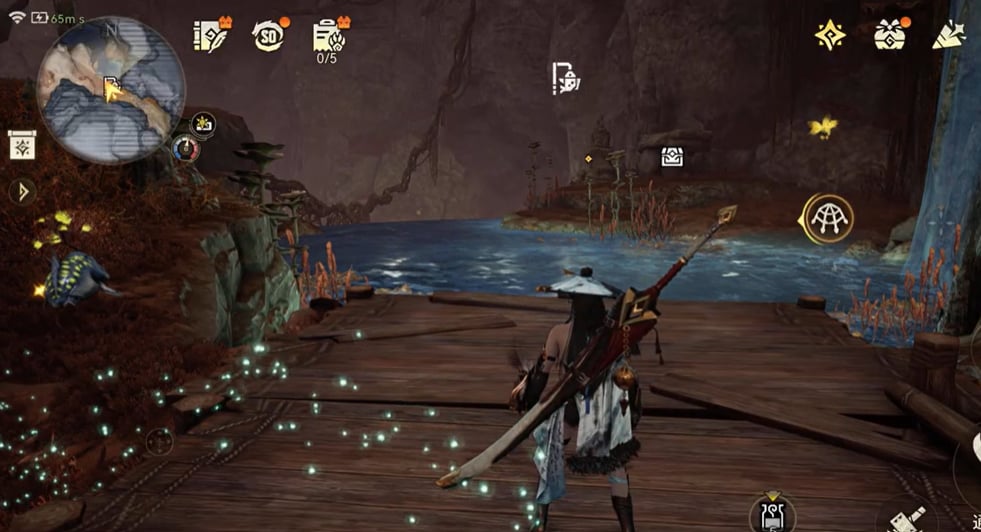
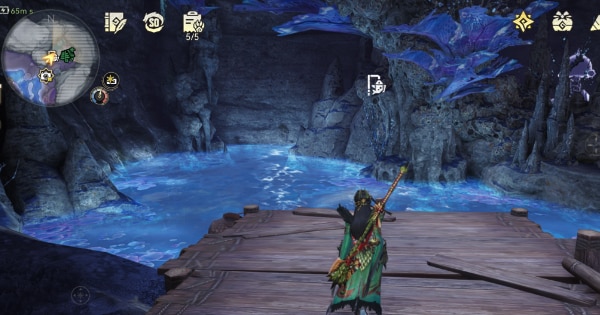
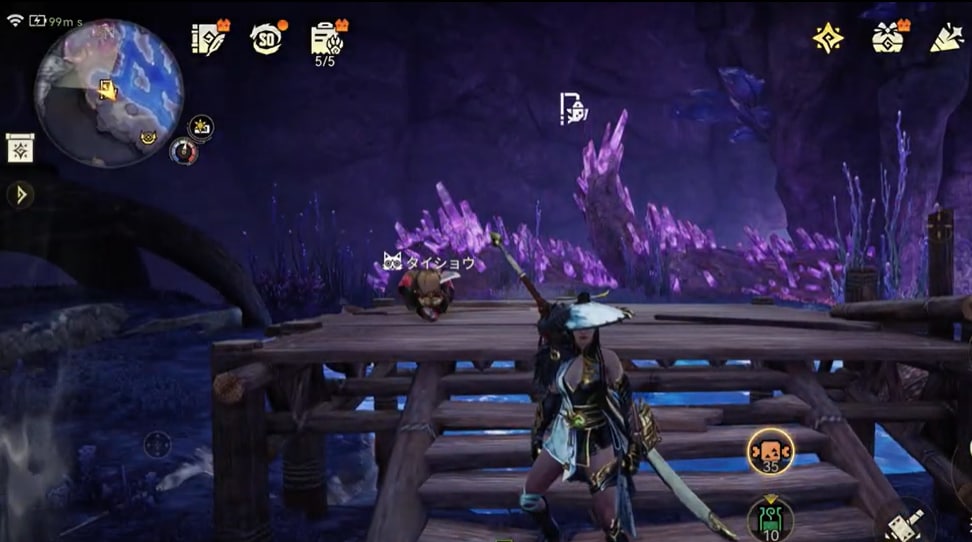
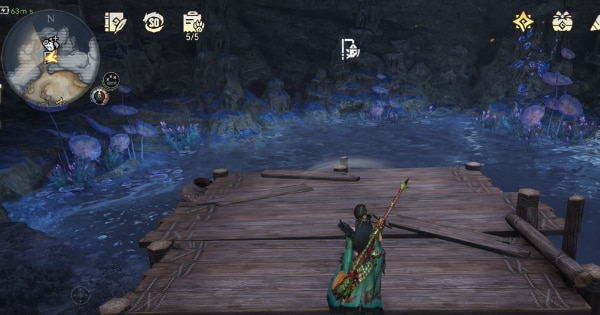
There are 19 fishing spots: 9 in Giantwood Locale, 6 in Searing Plains, and 4 in Rotfall Abyss. They're wooden decks by the water, and each one has its own set of fish.
The numbers on the map match the checklist below. Tap a number to see a screenshot of the spot, and tick it off once you've got it. Checks are shared with the Interactive Map.
Spots are numbered in a route order, so you can work through them from 1 without crossing the map back and forth. Tap Show on map to jump to a spot.
Giantwood Locale (9)
Found 0/9
Searing Plains (6)
Found 0/6
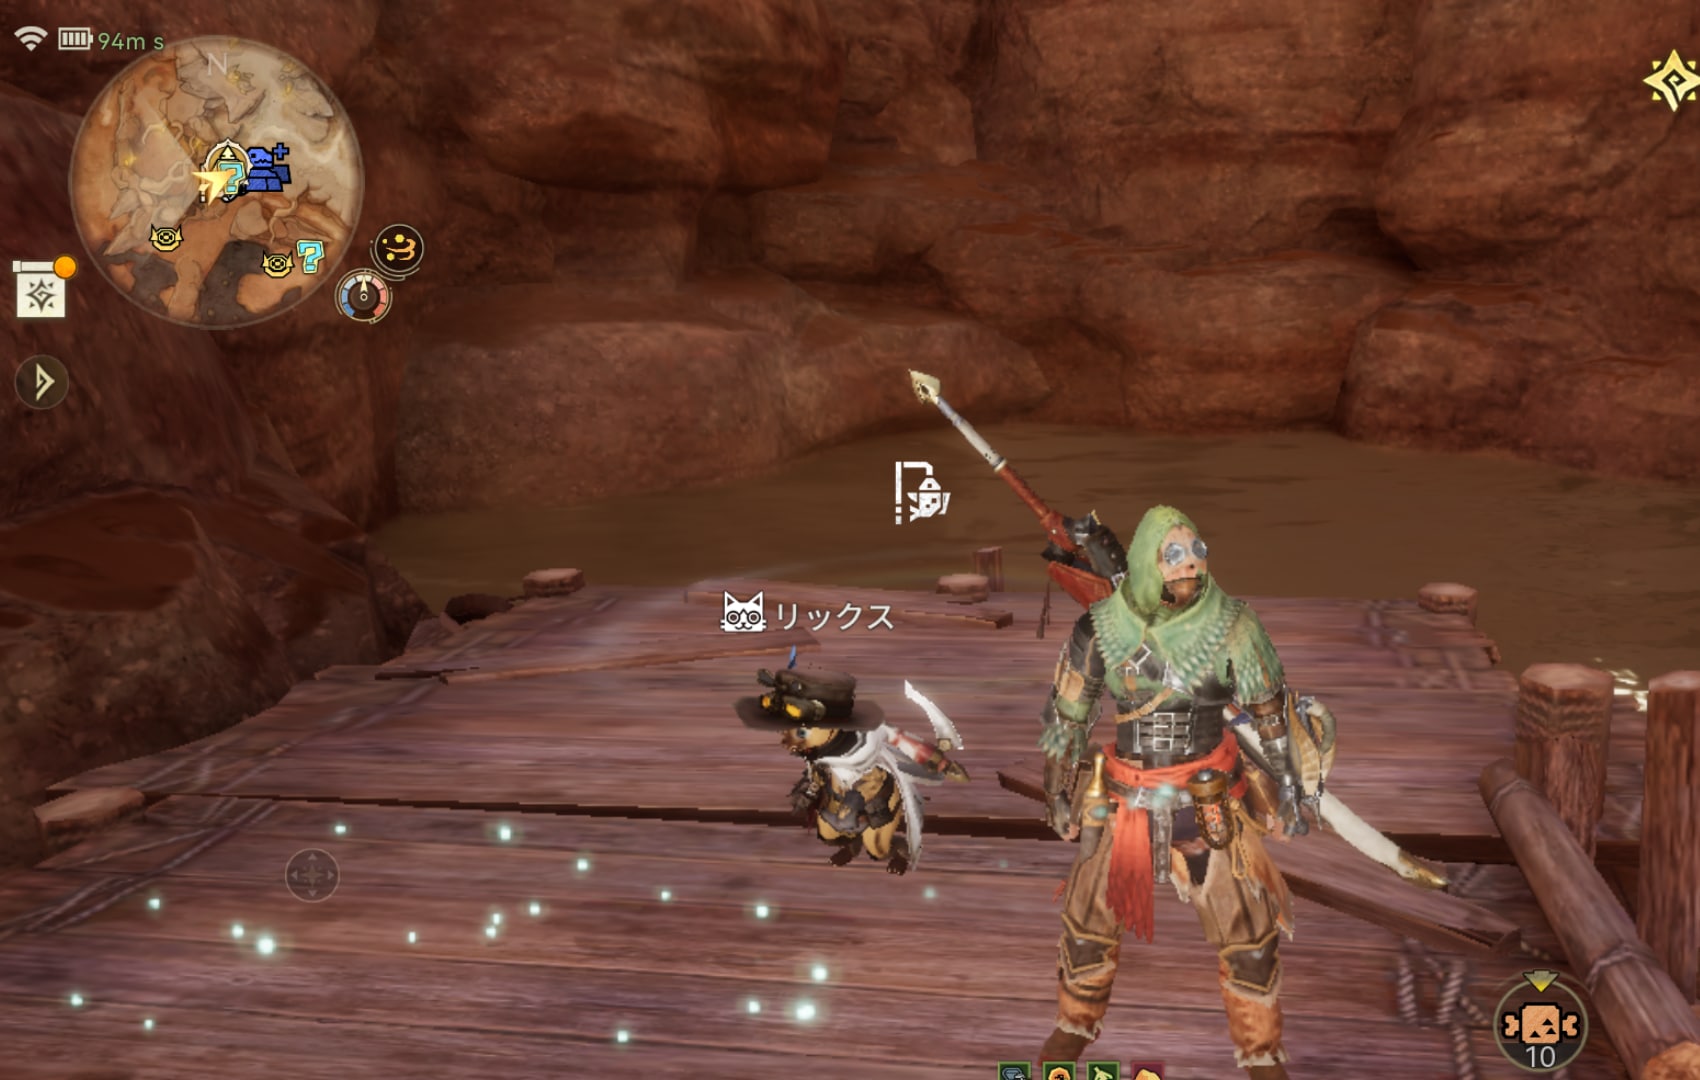
Rotfall Abyss (4)
Found 0/4
Fish in Each Area
These are the fish you can catch in each area. Within an area, each fishing spot has its own set of fish, so if the fish you want won't bite, try another spot in the same area.
| Area | Fish |
|---|---|
| Giantwood Locale | Scarlet Blossomfish / Great Scarlet Blossomfish / Whetfish / Great Whetfish / Sushifish / Great Sushifish / Goldenfry / Great Goldenfry / Bubblefish / Great Bubblefish / Goldenfish / Platinumfish / Great Goldenfish / Great Platinumfish / King Spearfish / Great King Marlin / Gastronome Tuna / Great Gastronome Tuna / Burst Arowana / Bomb Arowana / Great Burst Arowana / Great Bomb Arowana |
| Searing Plains | Scarlet Blossomfish / Great Scarlet Blossomfish / Whetfish / Great Whetfish / Sushifish / Great Sushifish / Goldenfry / Great Goldenfry / Bubblefish / Great Bubblefish / Gastronome Tuna / Great Gastronome Tuna / Burst Arowana / Bomb Arowana / Great Burst Arowana / Great Bomb Arowana |
| Rotfall Abyss | Whetfish / Great Whetfish / Goldenfish / Great Goldenfish / Gastronome Tuna / Great Gastronome Tuna / Burst Arowana / Bomb Arowana / Great Burst Arowana / Great Bomb Arowana / Starrycanth |
All Fish: Bait and Where to Catch
All 23 fish, with the bait that catches them, where they live and the Research Points you get by Melding one. Tap a fish to see its details.
| Fish | Bait | Area | Research Points (Meld) |
|---|---|---|---|
| Scarlet Blossomfish | Fake Lure | Giantwood Locale / Searing Plains | 10 |
| Great Scarlet Blossomfish | Fake Lure | Giantwood Locale / Searing Plains | 50 |
| Whetfish | Fake Lure | Giantwood Locale / Searing Plains / Rotfall Abyss | 10 |
| Great Whetfish | Fake Lure | Giantwood Locale / Searing Plains / Rotfall Abyss | 50 |
| Sushifish | Fake Lure | Giantwood Locale / Searing Plains | 10 |
| Great Sushifish | Fake Lure | Giantwood Locale / Searing Plains | 50 |
| Goldenfry | Gunpowderfish Bait | Giantwood Locale / Searing Plains | 50 |
| Great Goldenfry | Gunpowderfish Bait | Giantwood Locale / Searing Plains | 200 |
| Bubblefish | Gunpowderfish Bait | Giantwood Locale / Searing Plains | 50 |
| Great Bubblefish | Gunpowderfish Bait | Giantwood Locale / Searing Plains | 200 |
| Goldenfish | Goldenfish Bait | Giantwood Locale / Rotfall Abyss | 50 |
| Platinumfish | Goldenfish Bait | Giantwood Locale | 50 |
| Great Goldenfish | Goldenfish Bait | Giantwood Locale / Rotfall Abyss | 200 |
| Great Platinumfish | Goldenfish Bait | Giantwood Locale | 200 |
| King Spearfish | Baitbug | Giantwood Locale | 200 |
| Great King Marlin | Baitbug | Giantwood Locale | 500 |
| Gastronome Tuna | Baitbug | Giantwood Locale / Searing Plains / Rotfall Abyss | 200 |
| Great Gastronome Tuna | Baitbug | Giantwood Locale / Searing Plains / Rotfall Abyss | 500 |
| Burst Arowana | Arowana Bait | Giantwood Locale / Searing Plains / Rotfall Abyss | 50 |
| Bomb Arowana | Arowana Bait | Giantwood Locale / Searing Plains / Rotfall Abyss | 50 |
| Great Burst Arowana | Arowana Bait | Giantwood Locale / Searing Plains / Rotfall Abyss | 200 |
| Great Bomb Arowana | Arowana Bait | Giantwood Locale / Searing Plains / Rotfall Abyss | 200 |
| Starrycanth | Baitbug | Rotfall Abyss | 500 |
Fish list as of November 10, 2026.
Can't Catch Anything? Tips
Don't let the red gauge fill
A catch only fails when the red gauge fills up, so focus on keeping it empty. Don't hold the button too long, and keep the bar out of the red zone on the right. There's no penalty while the bar sits on the left side. If the red gauge has built up a lot, let it recover over time first. When the fish thrashes, check where the bar is before you hold the button again.
Use a higher-rarity rod
Higher-rarity rods land low-rarity fish with one well-timed tap and drain the yellow stamina gauge faster. If fishing feels hard, upgrade your rod first.
Match the bait and the spot to the fish
If the fish you want won't bite, you may have the wrong bait or the wrong area. Check the bait and area in the fish list above, and if both match, try another spot in the same area. Fish names stay hidden until you catch one for the first time, so try different spots and bait to fill in the gaps.
What Fish Are Used For
Fish dishes boost part breaking
Fish are ingredients for fish dishes. Eating one raises your part break efficiency, which pays off with weapons that are good at breaking parts. Here are the fish dishes:
| Fish Dish | Effect | How to Unlock |
|---|---|---|
 Prosperity Sour Fish | Part break efficiency +16% | Prosperity Sour Fish Scroll |
 Vibrant Sashimi Platter | Part break efficiency +24% | Catch Starrycanth ×10 |
Meld fish into Research Points
You can Meld fish into Research Points. Research Points are spent on ordering meals, changing the weather and time of day, and exchanges for upgrade materials and more. The value per fish is in the fish list above: rarer fish are worth more.